lightweight walking
Walking along the River Slea
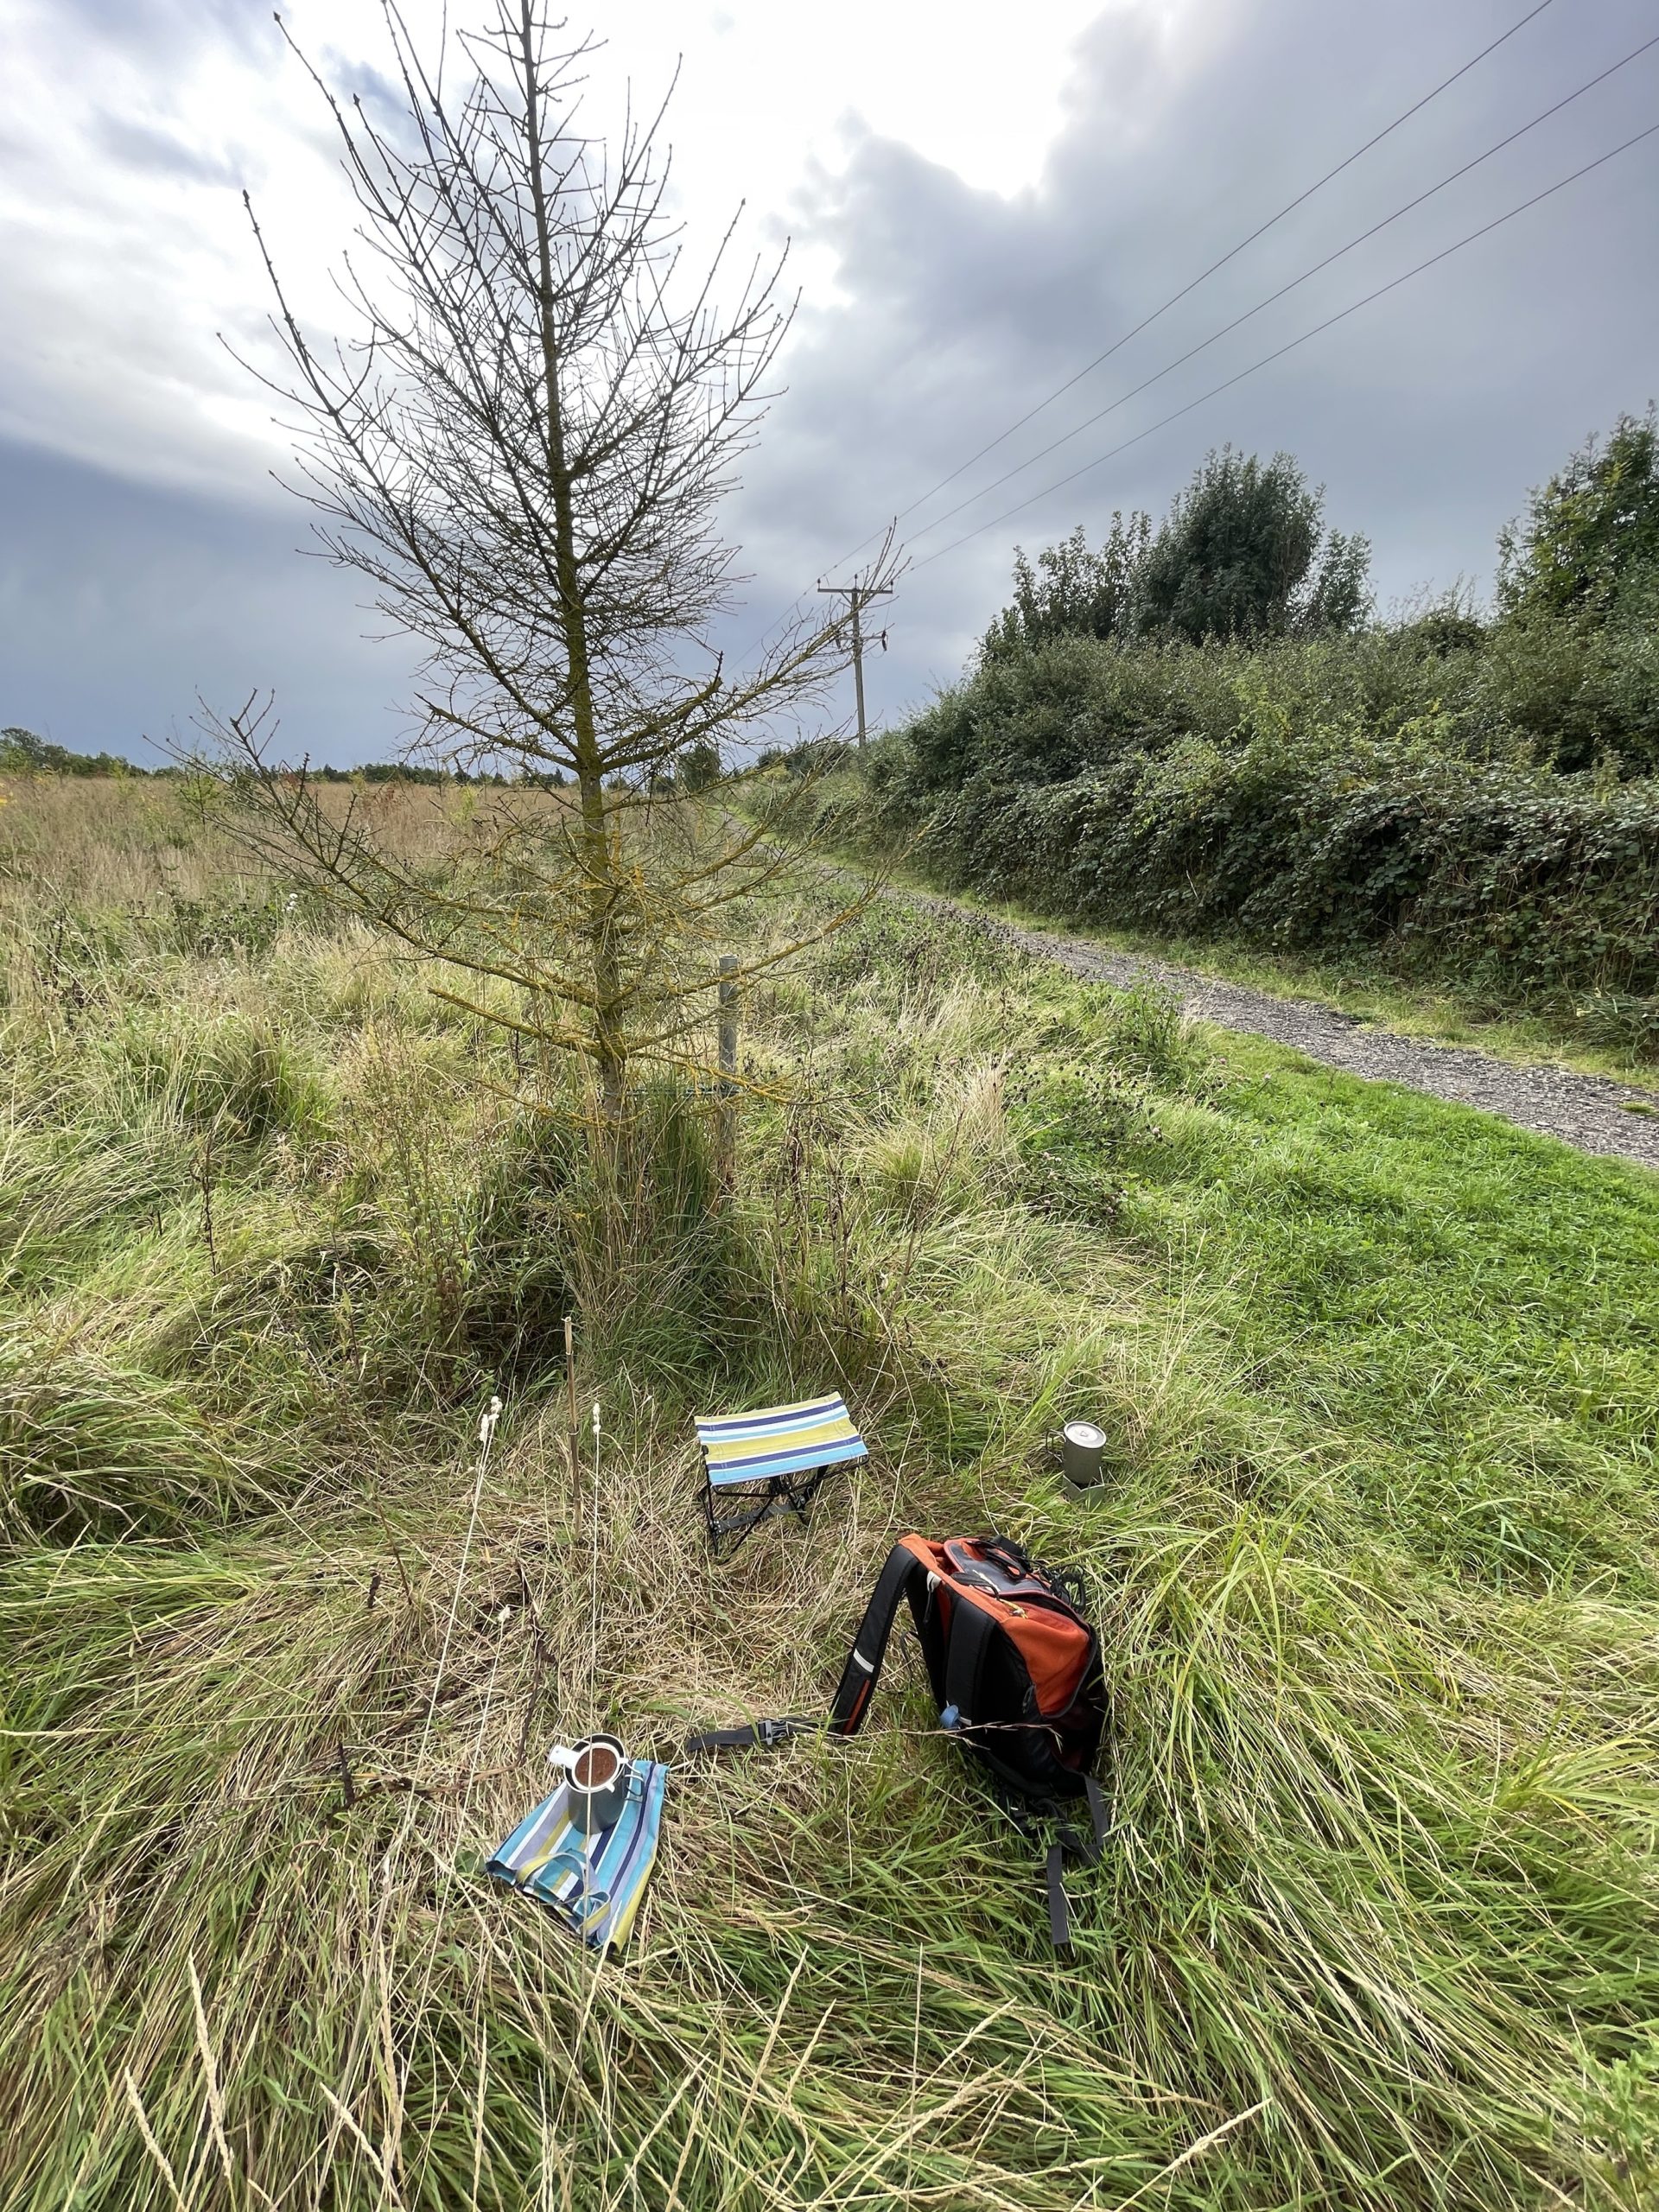
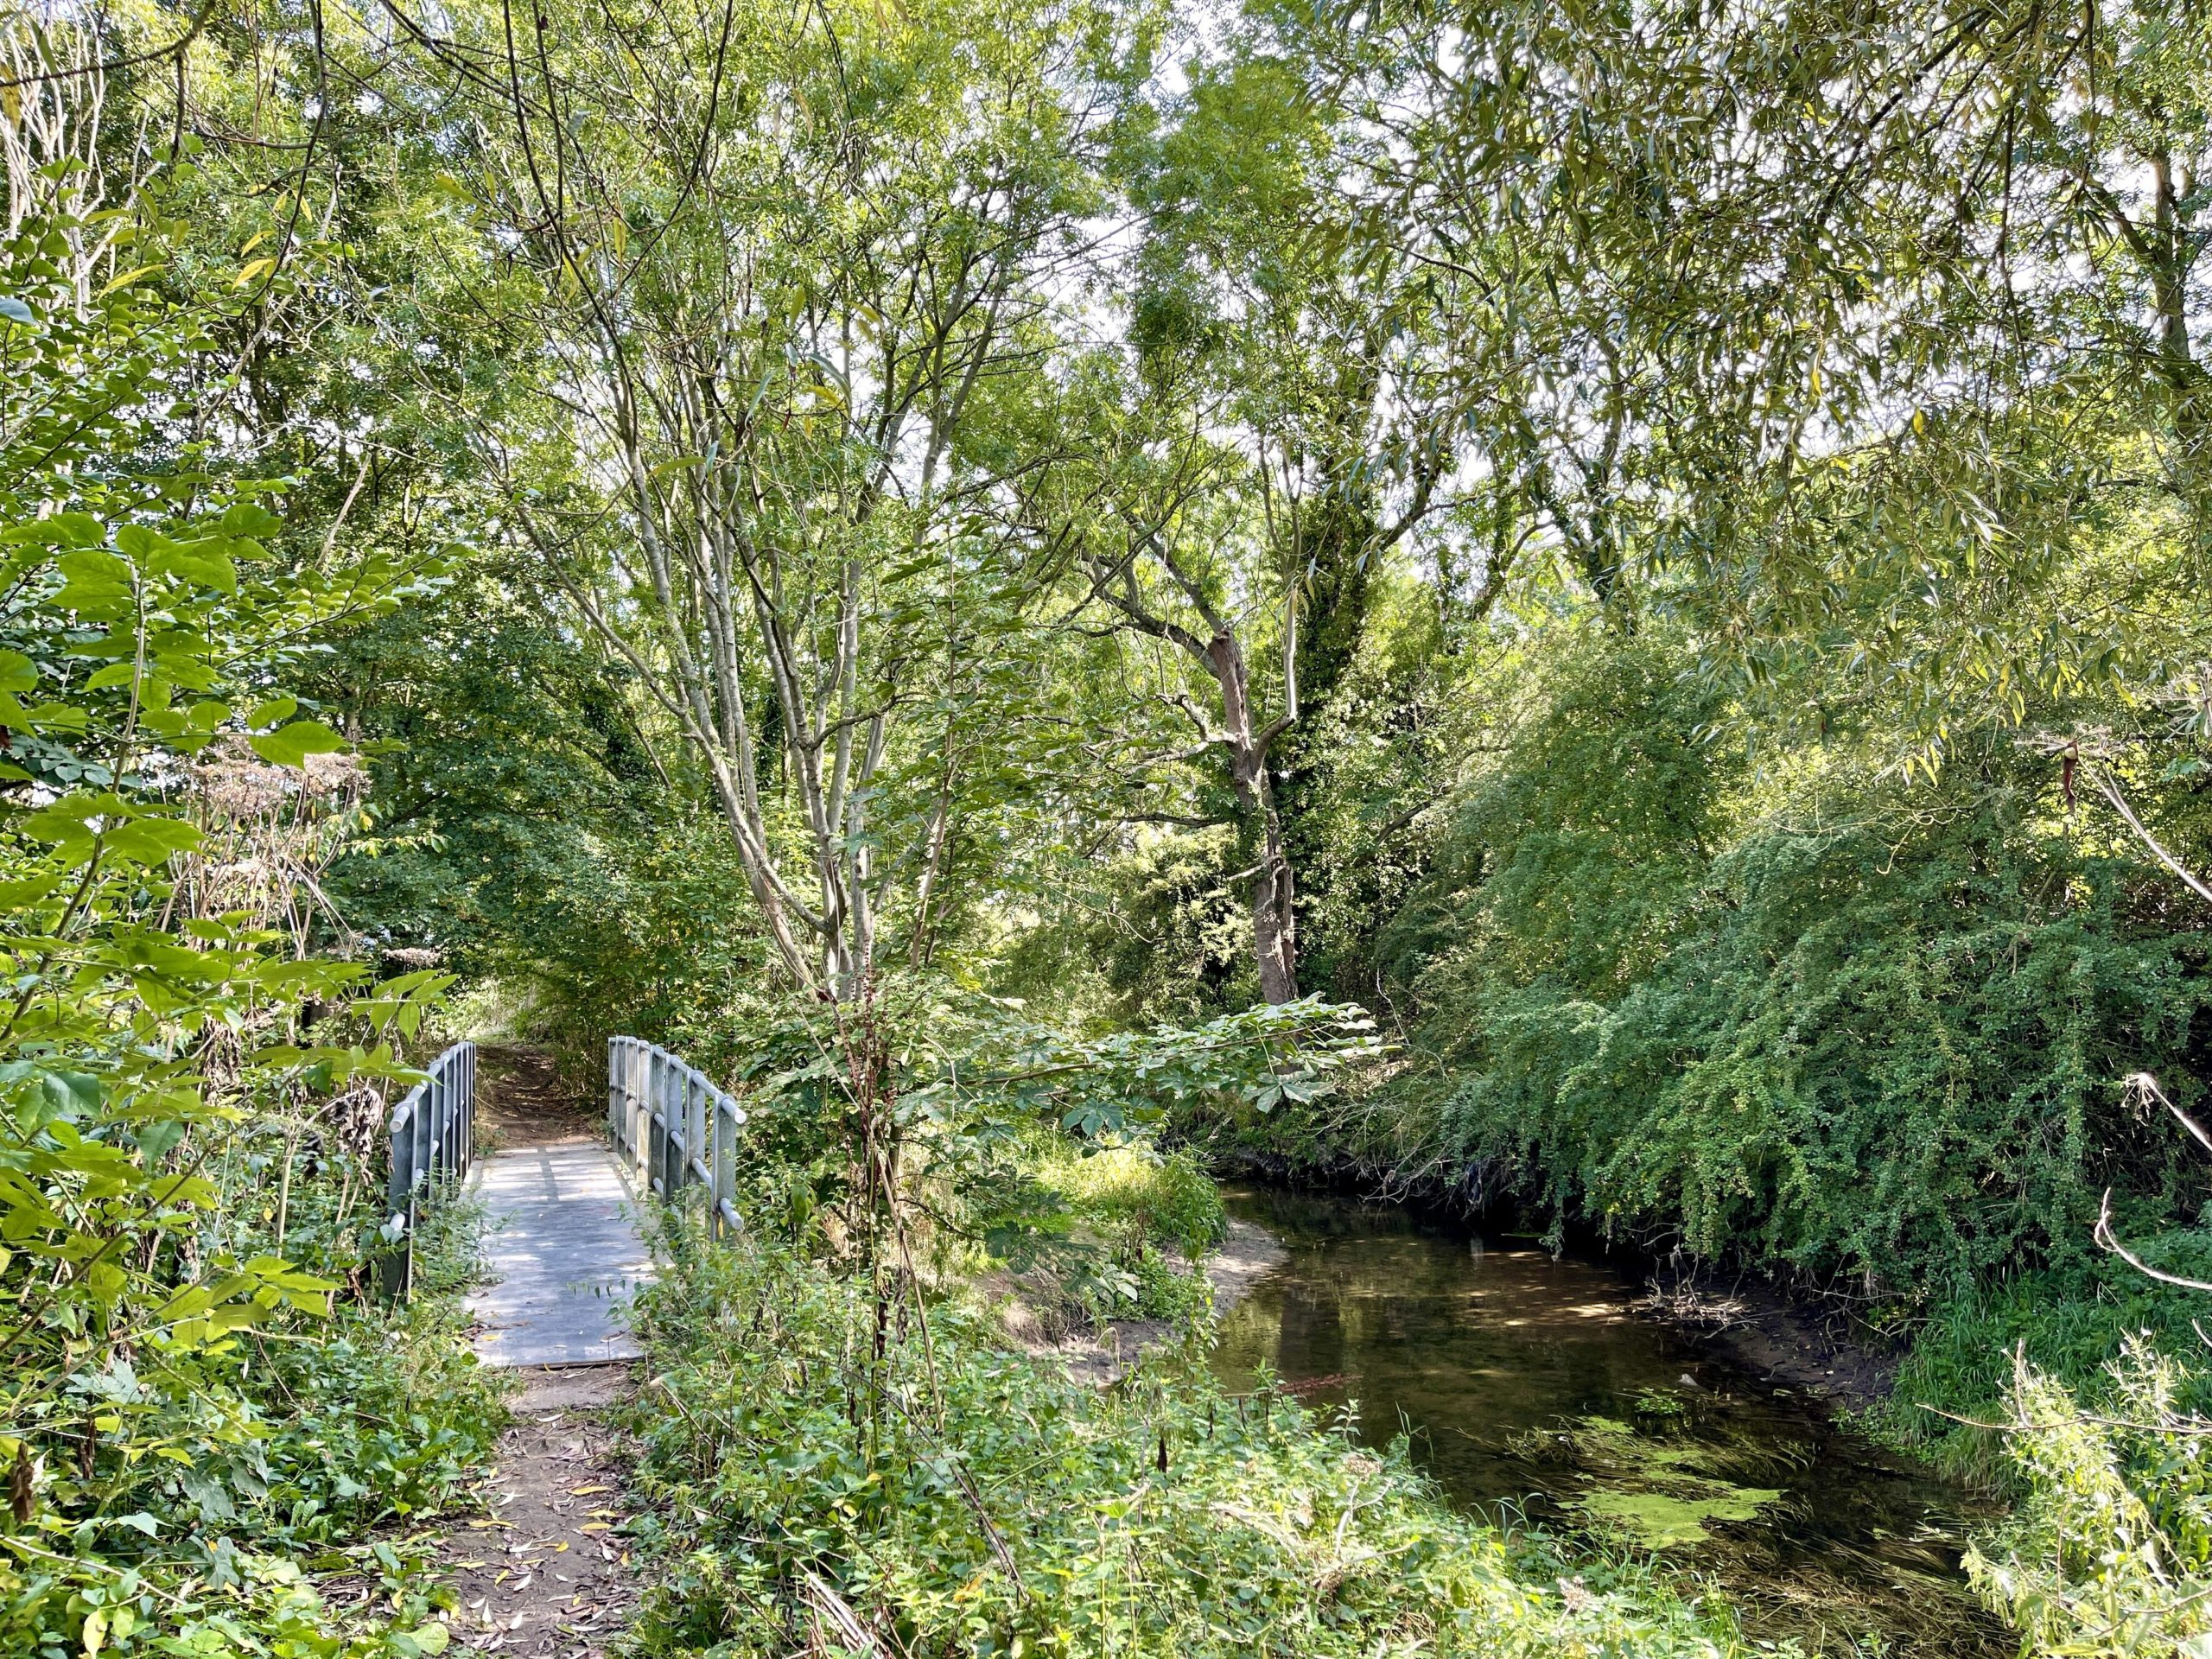
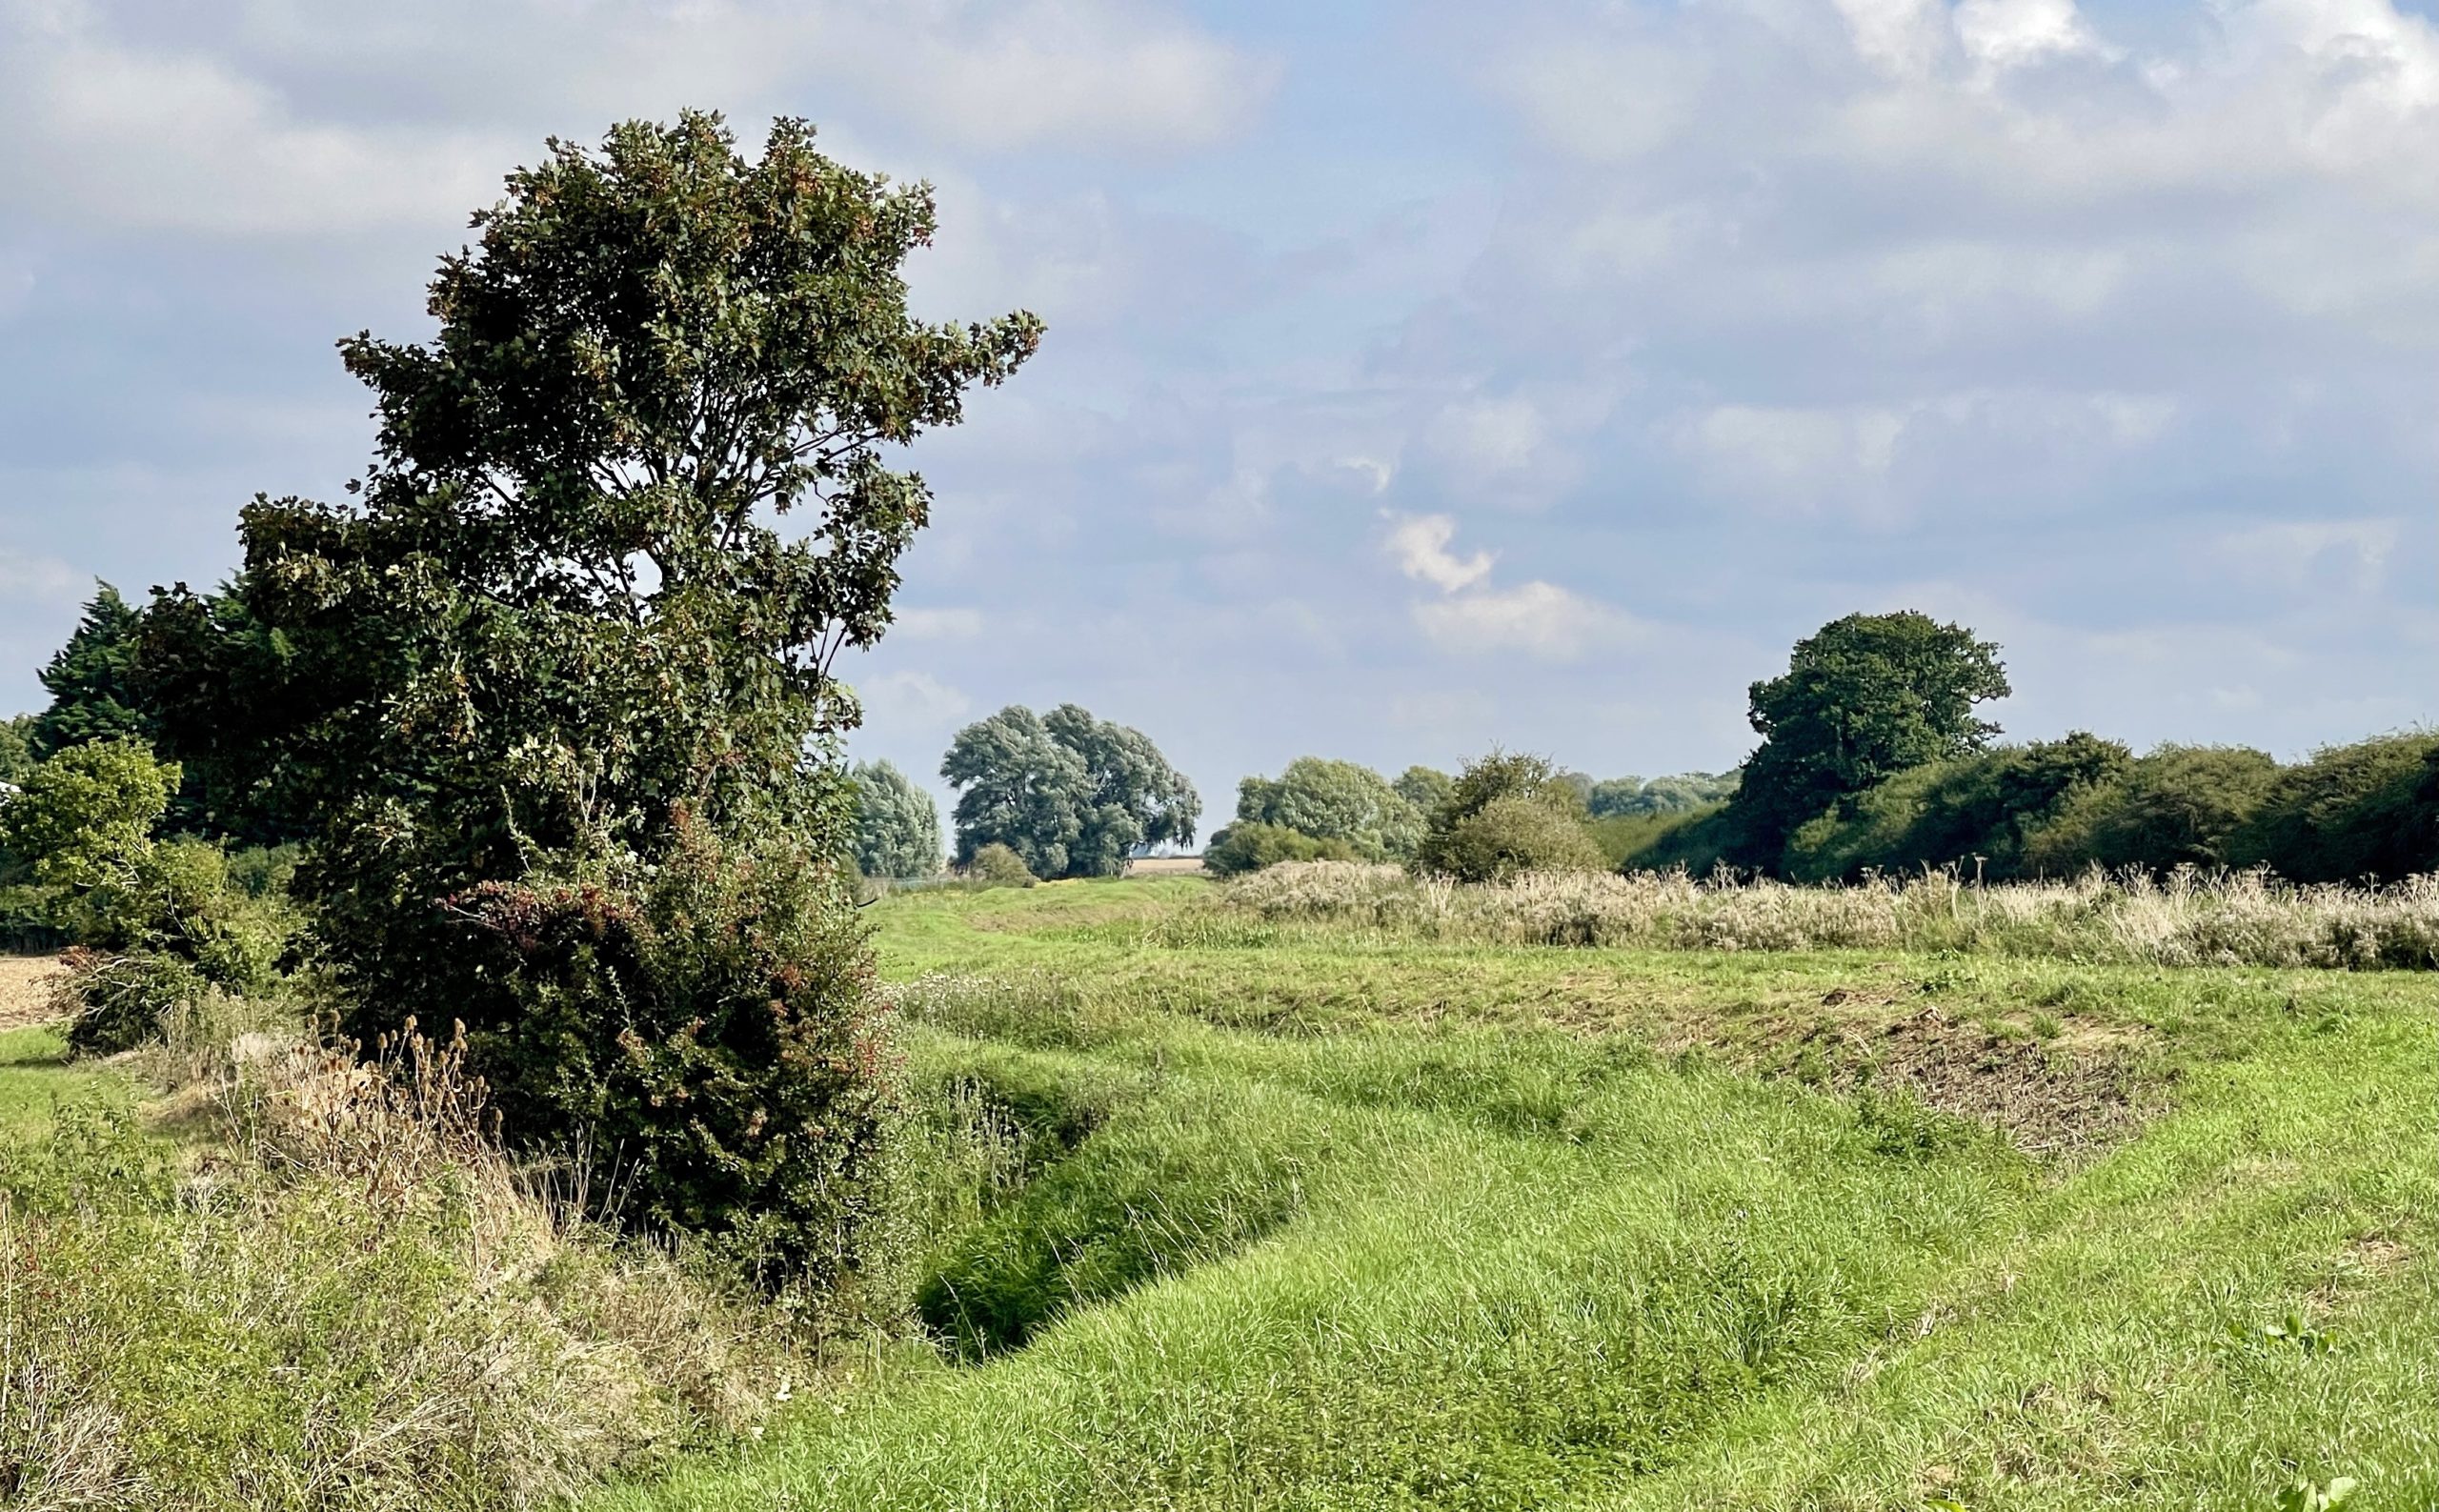
Just like last week I walked along the River Slea, with a haversack load and made coffee but this time I went in the other direction from the car park.
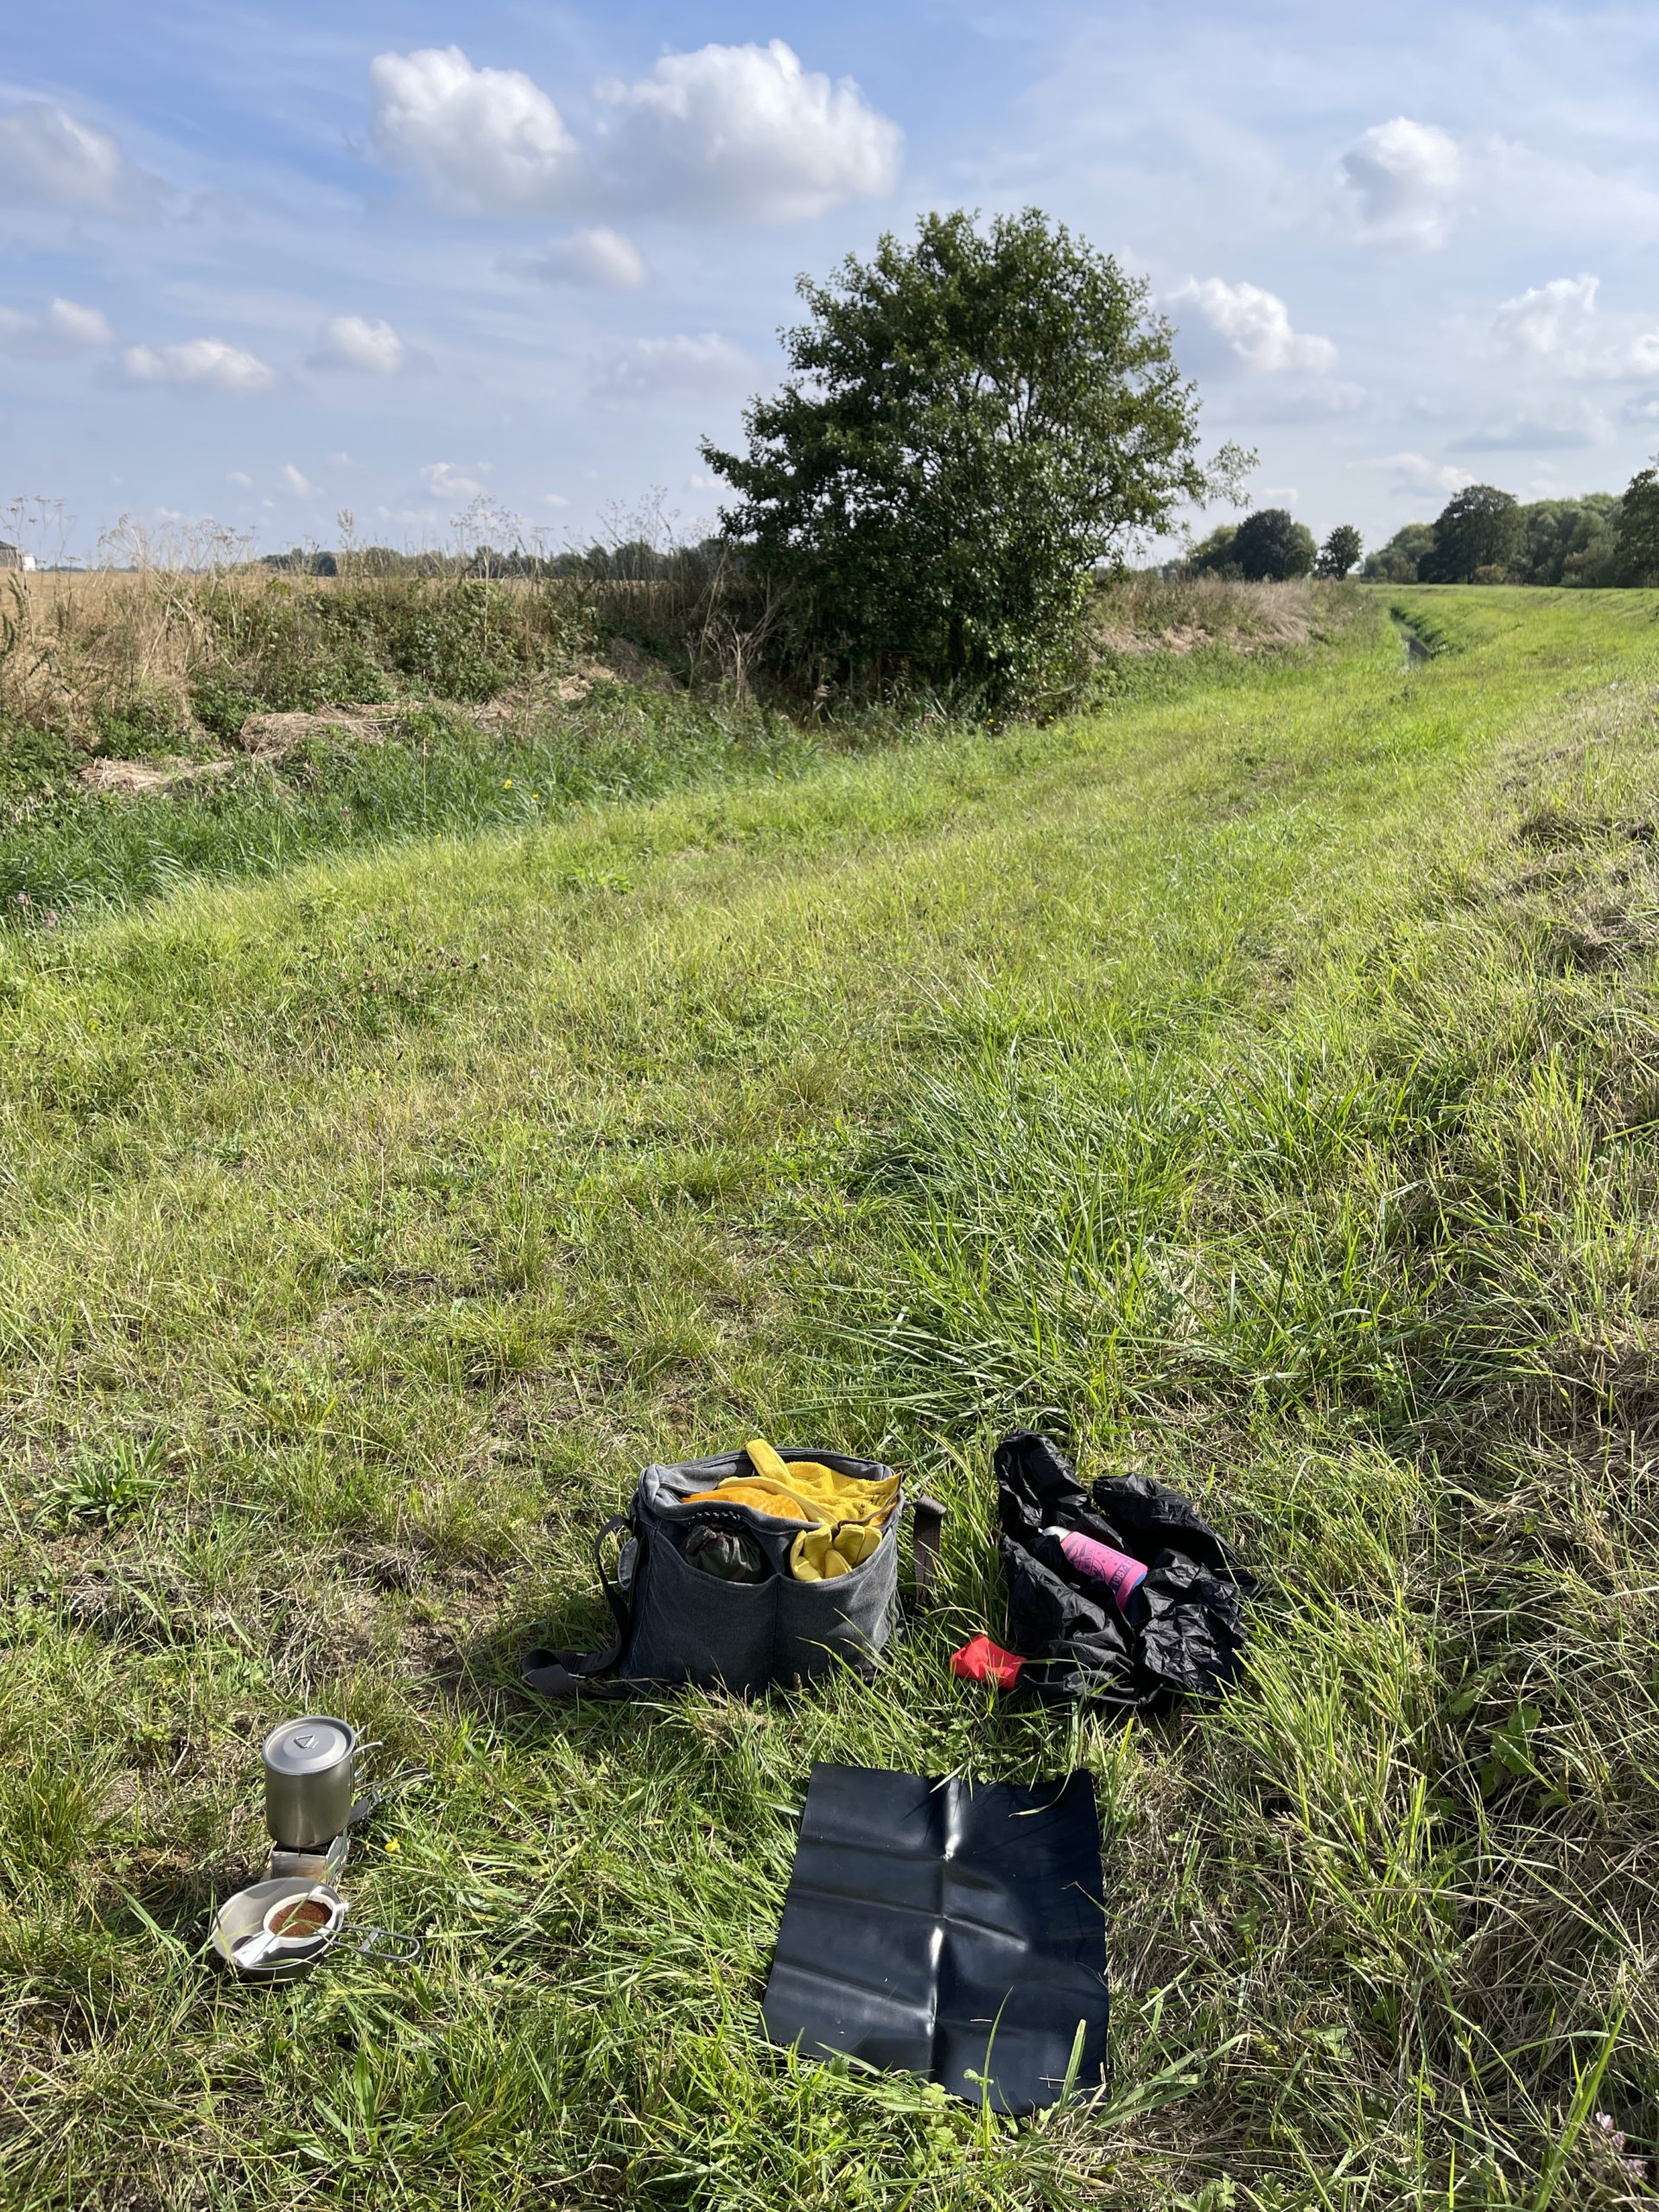
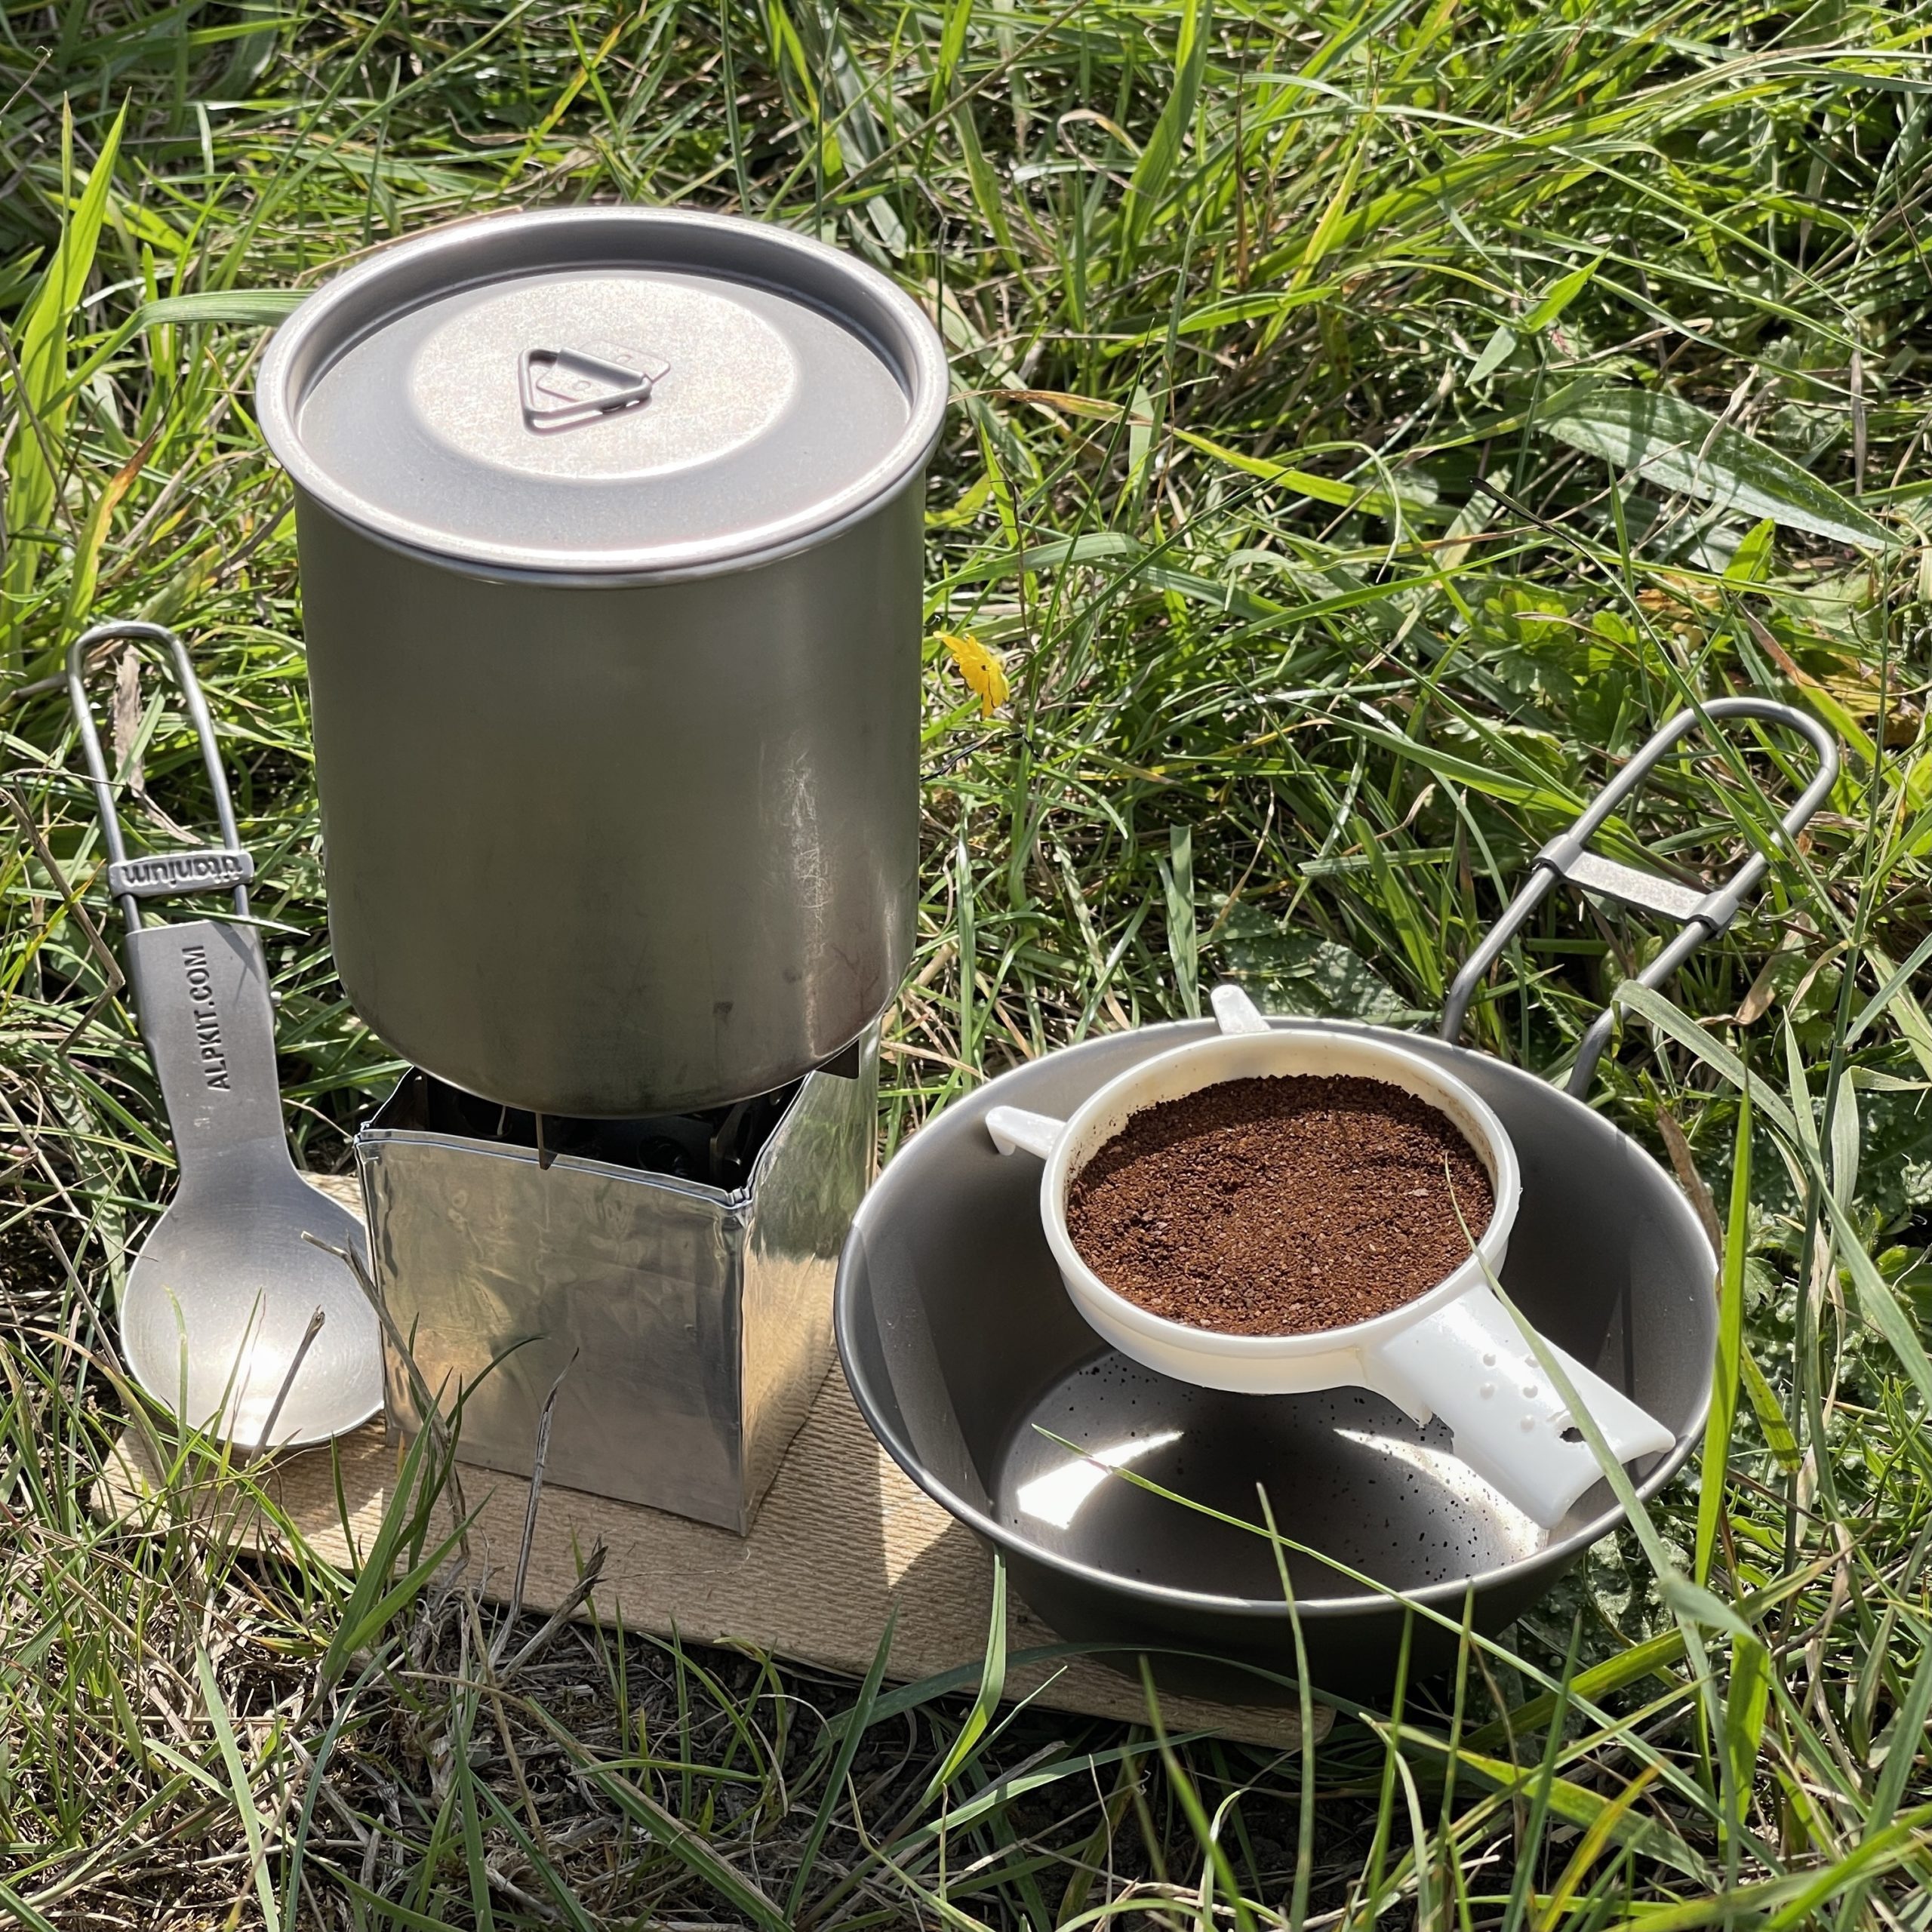
The wind shield I made earlier this week was a success.
No coffee bags this week – I packed a titanium Sierra cup and I used the drip method.
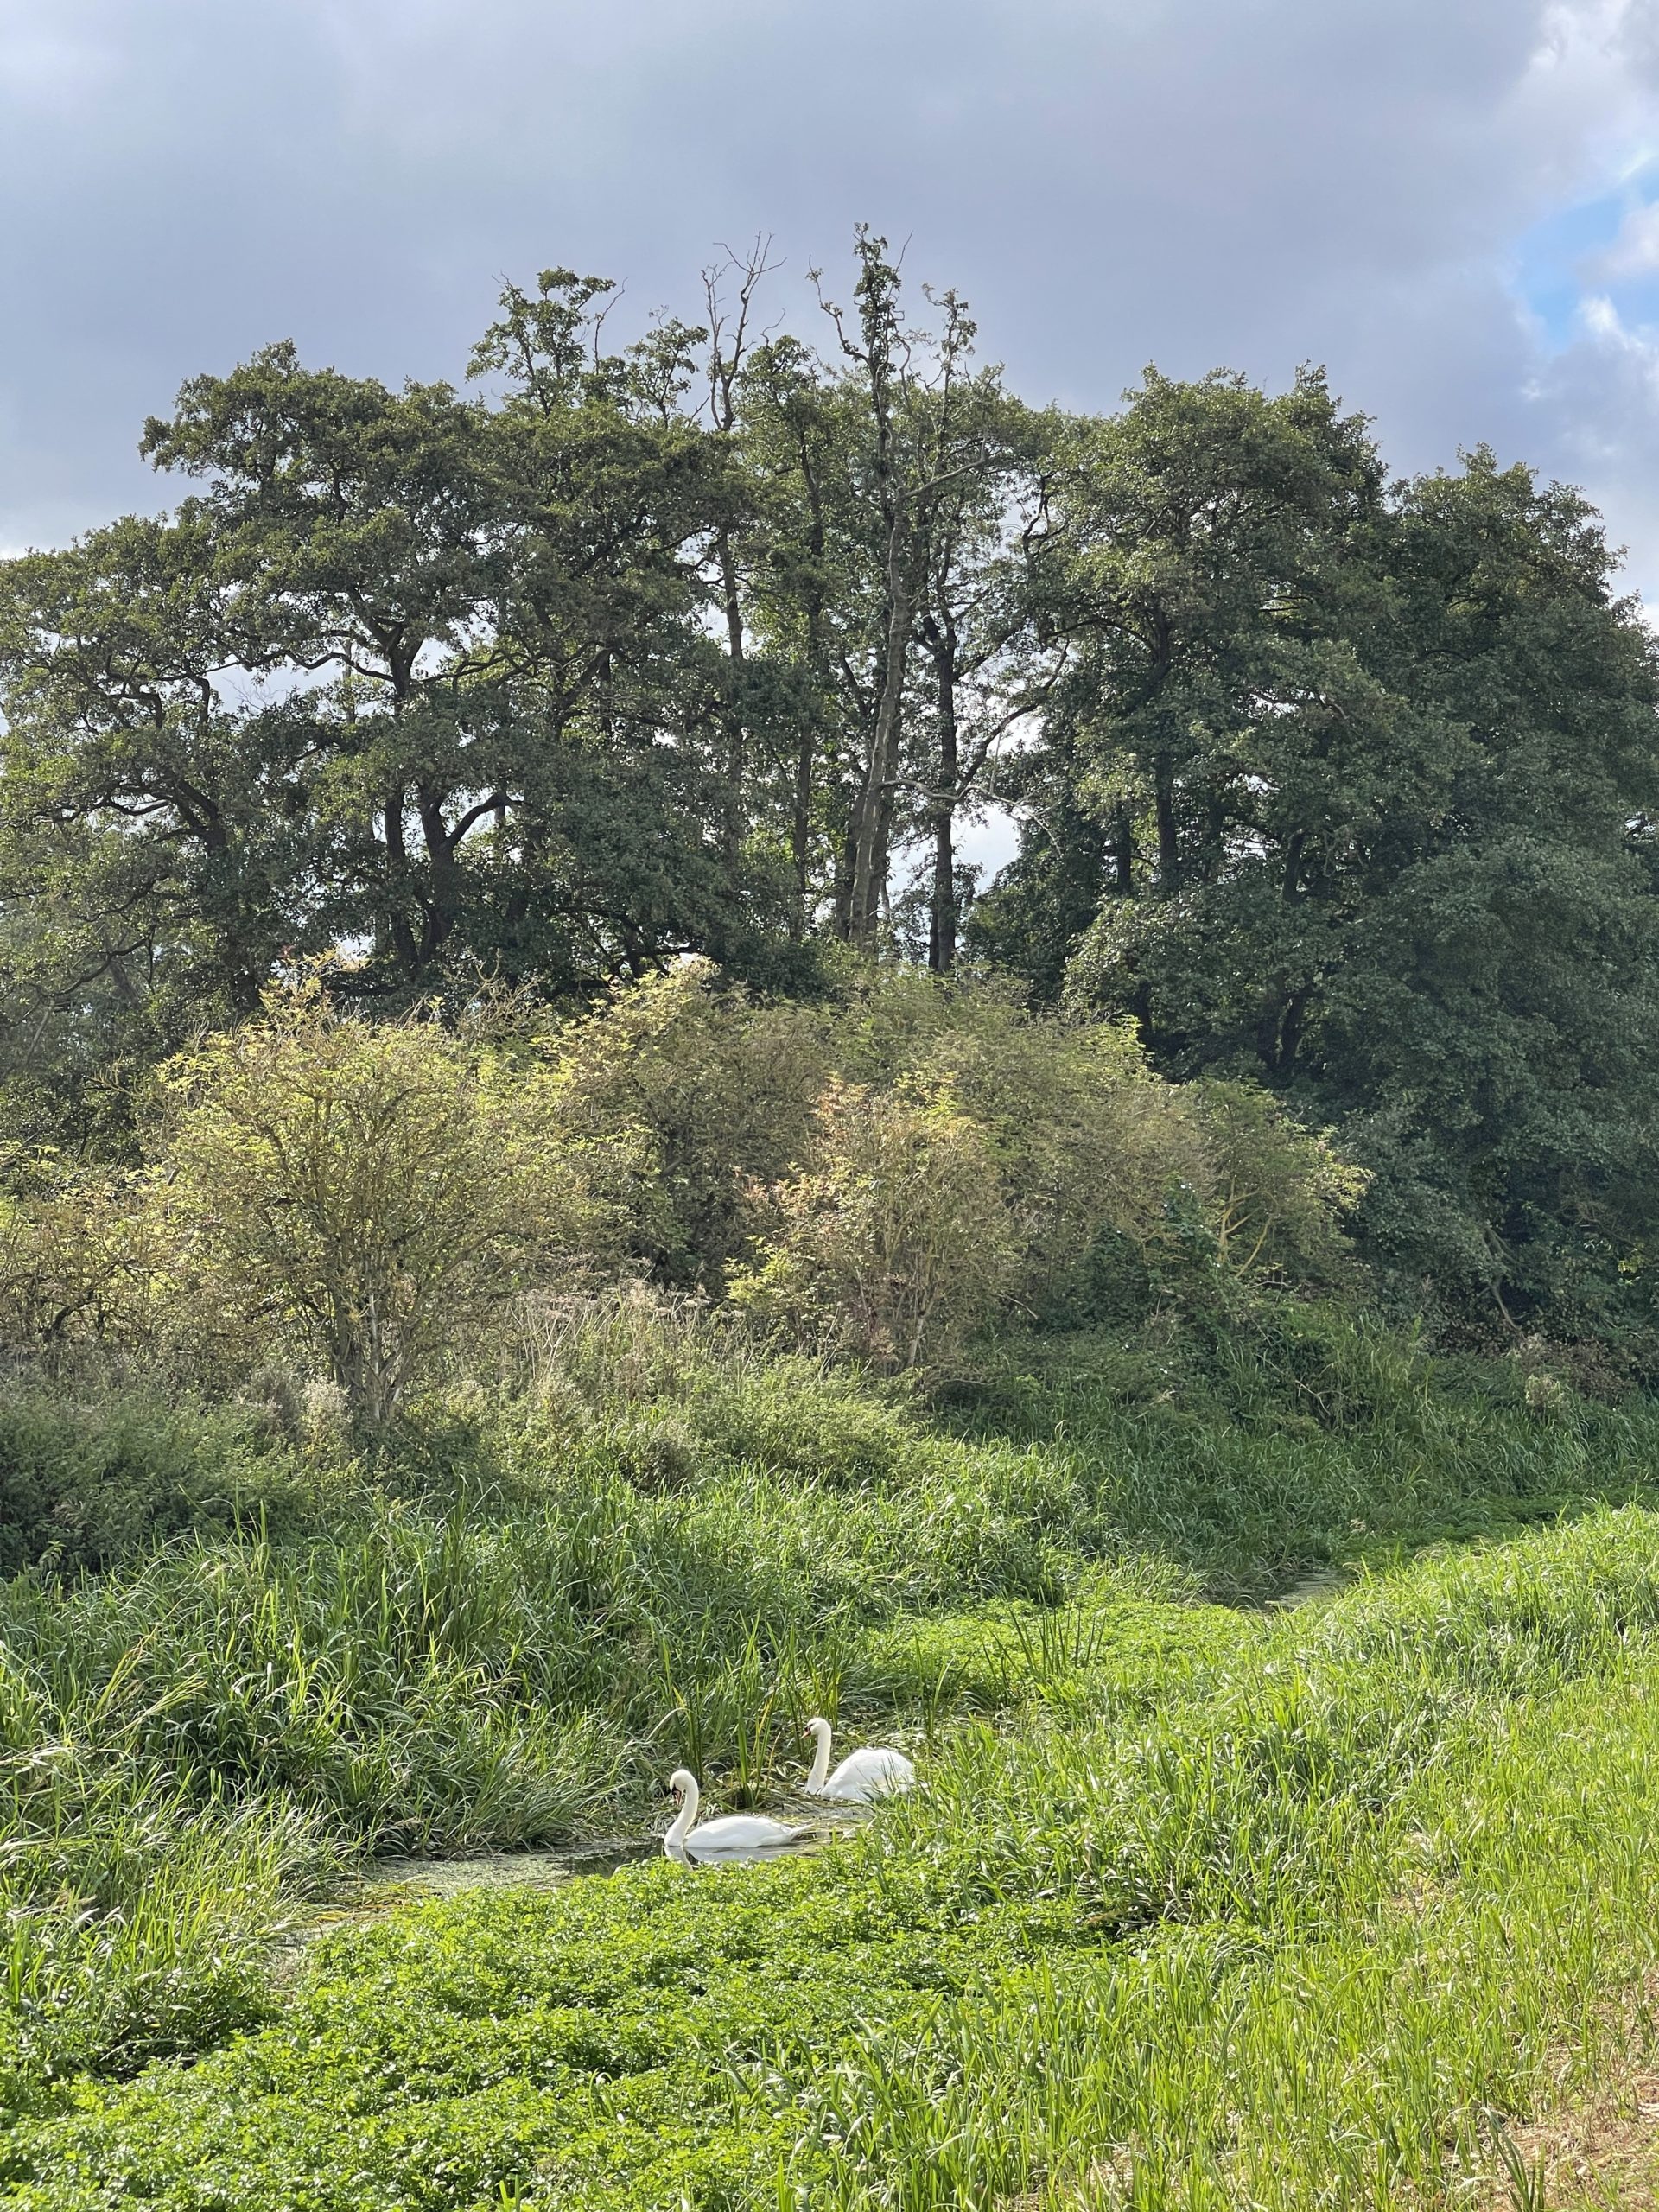
So I tried the other section of the path but to be honest it is not as interesting as walking through the woods last week.
Walking along the River Slea Read More »
How to make camping coffee?
I was planning to go out for a lunch time walk and brew some camping coffee but the weather had other ideas – too much rain.
On a recent walk the wind shield I used was not effective so I was going to test out a new one I made from a used food tray. I moved the test to the doorway of the summer house office.
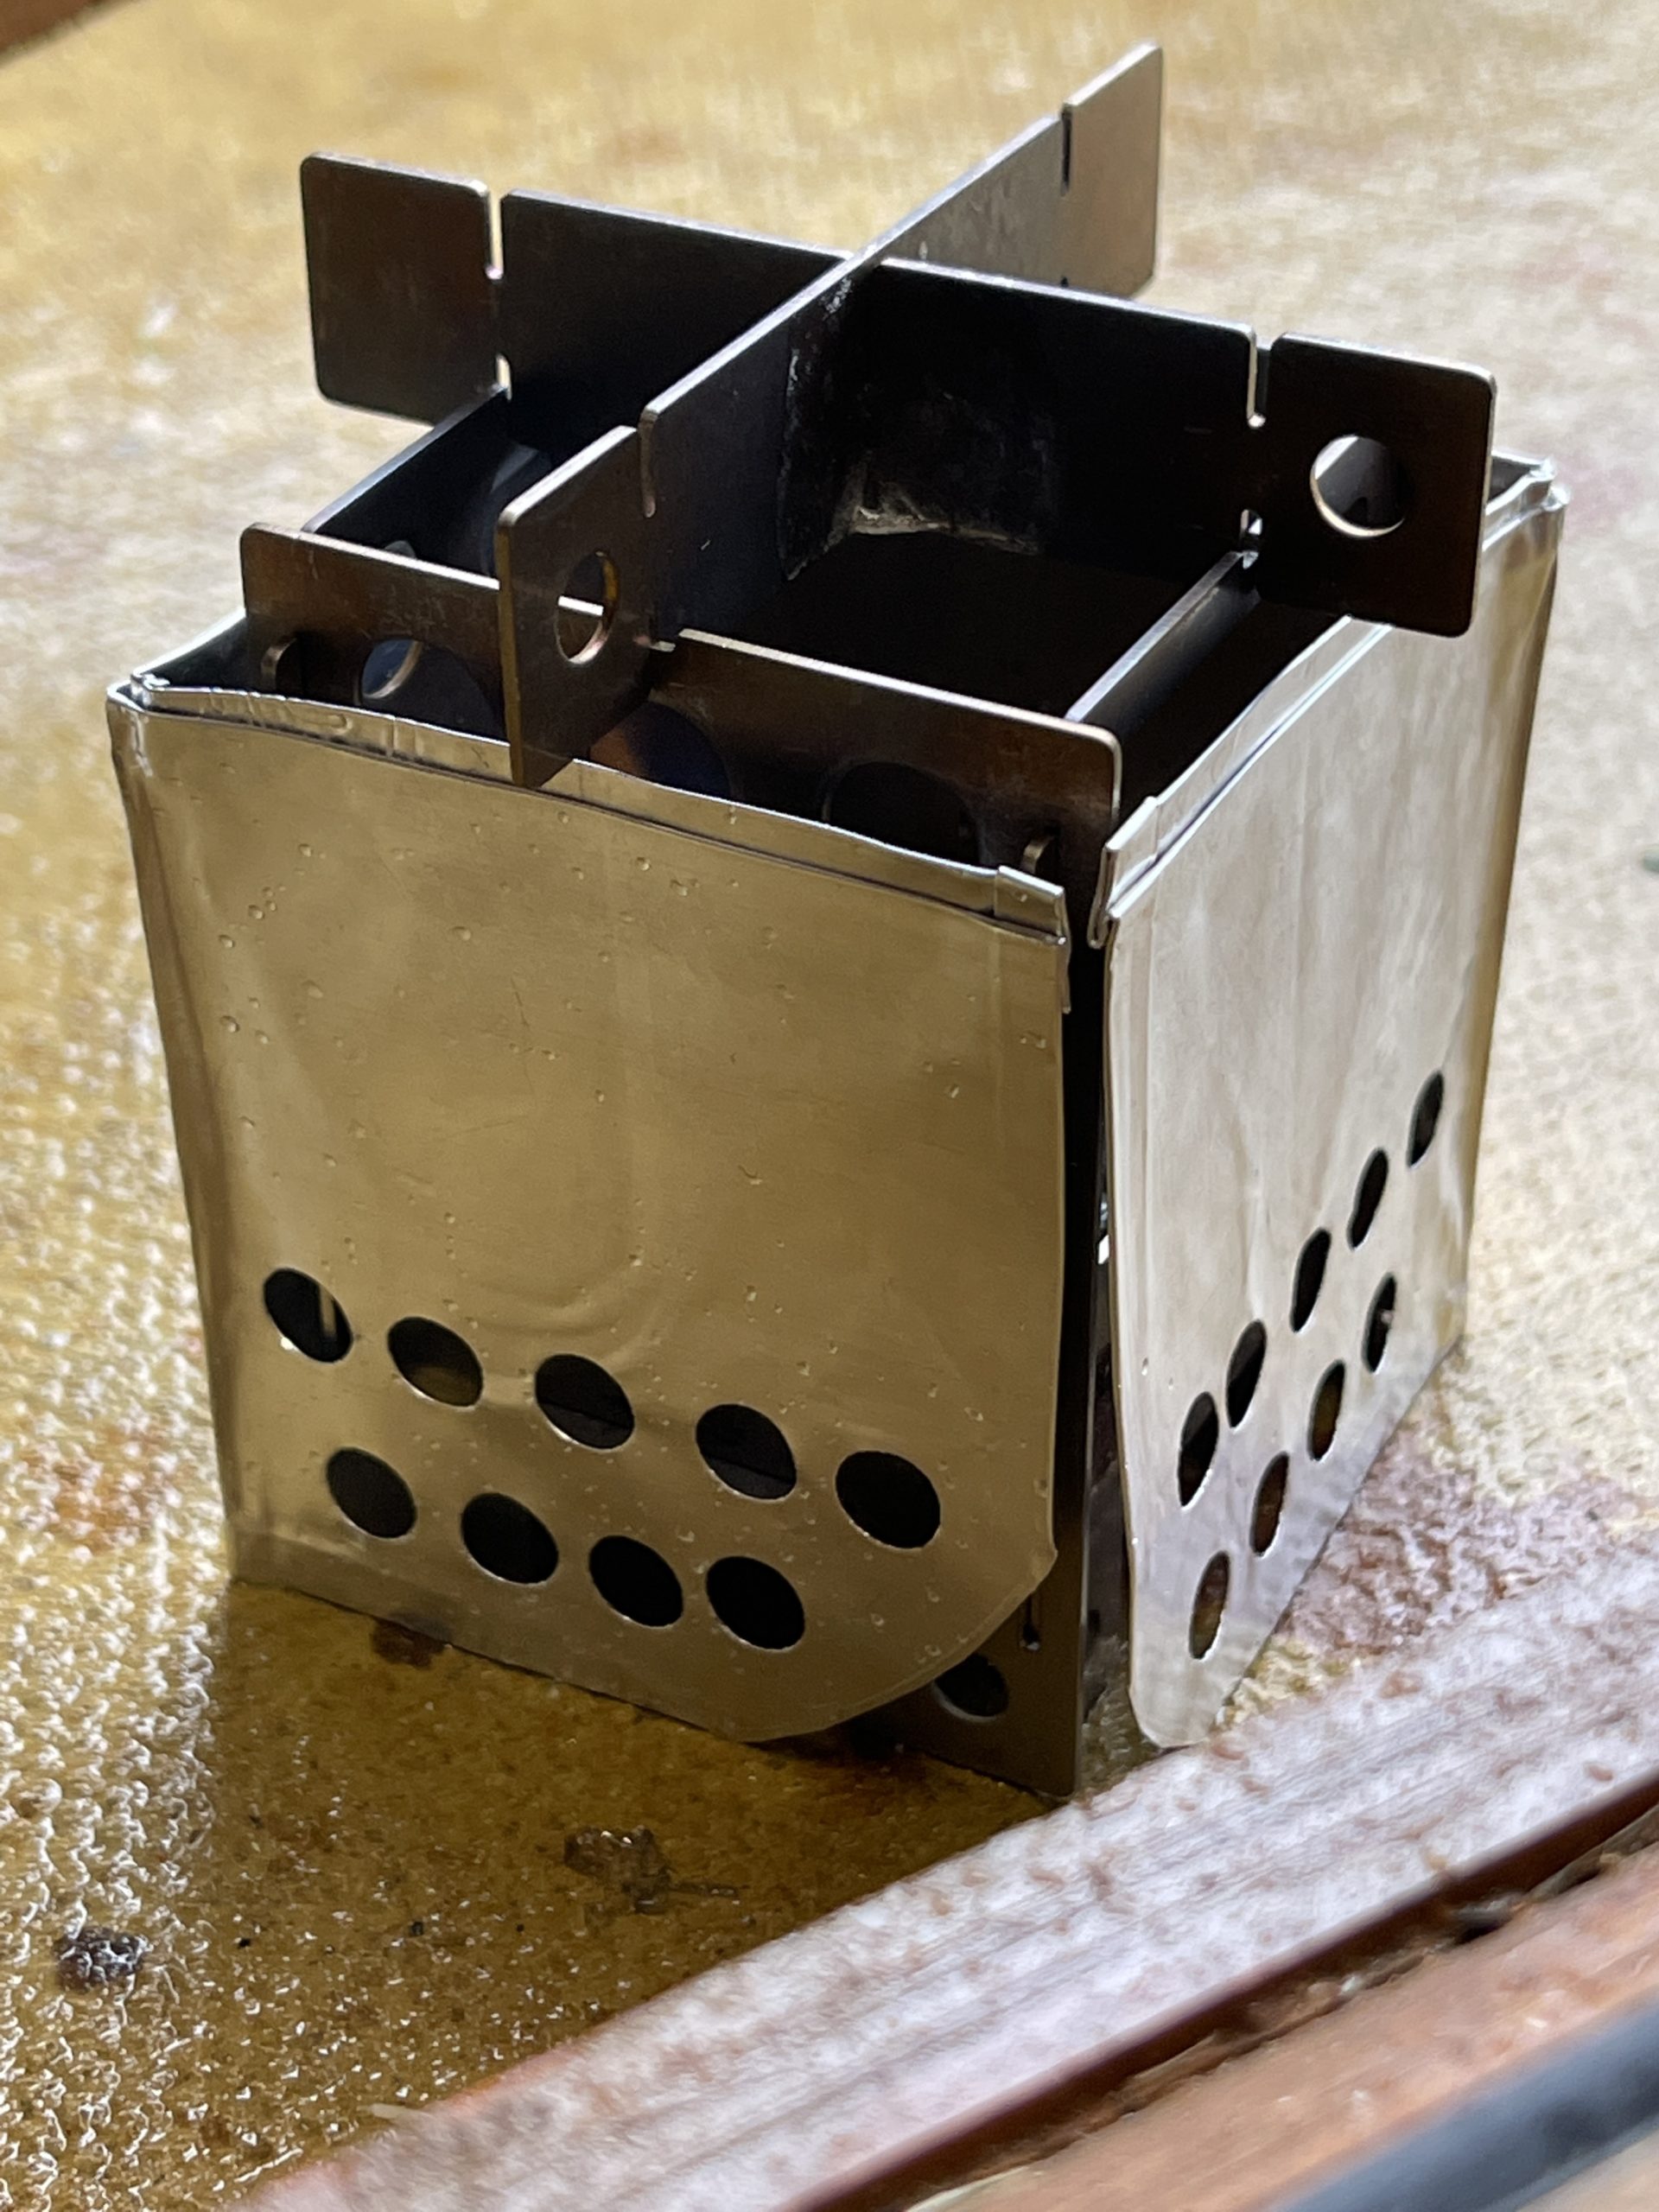
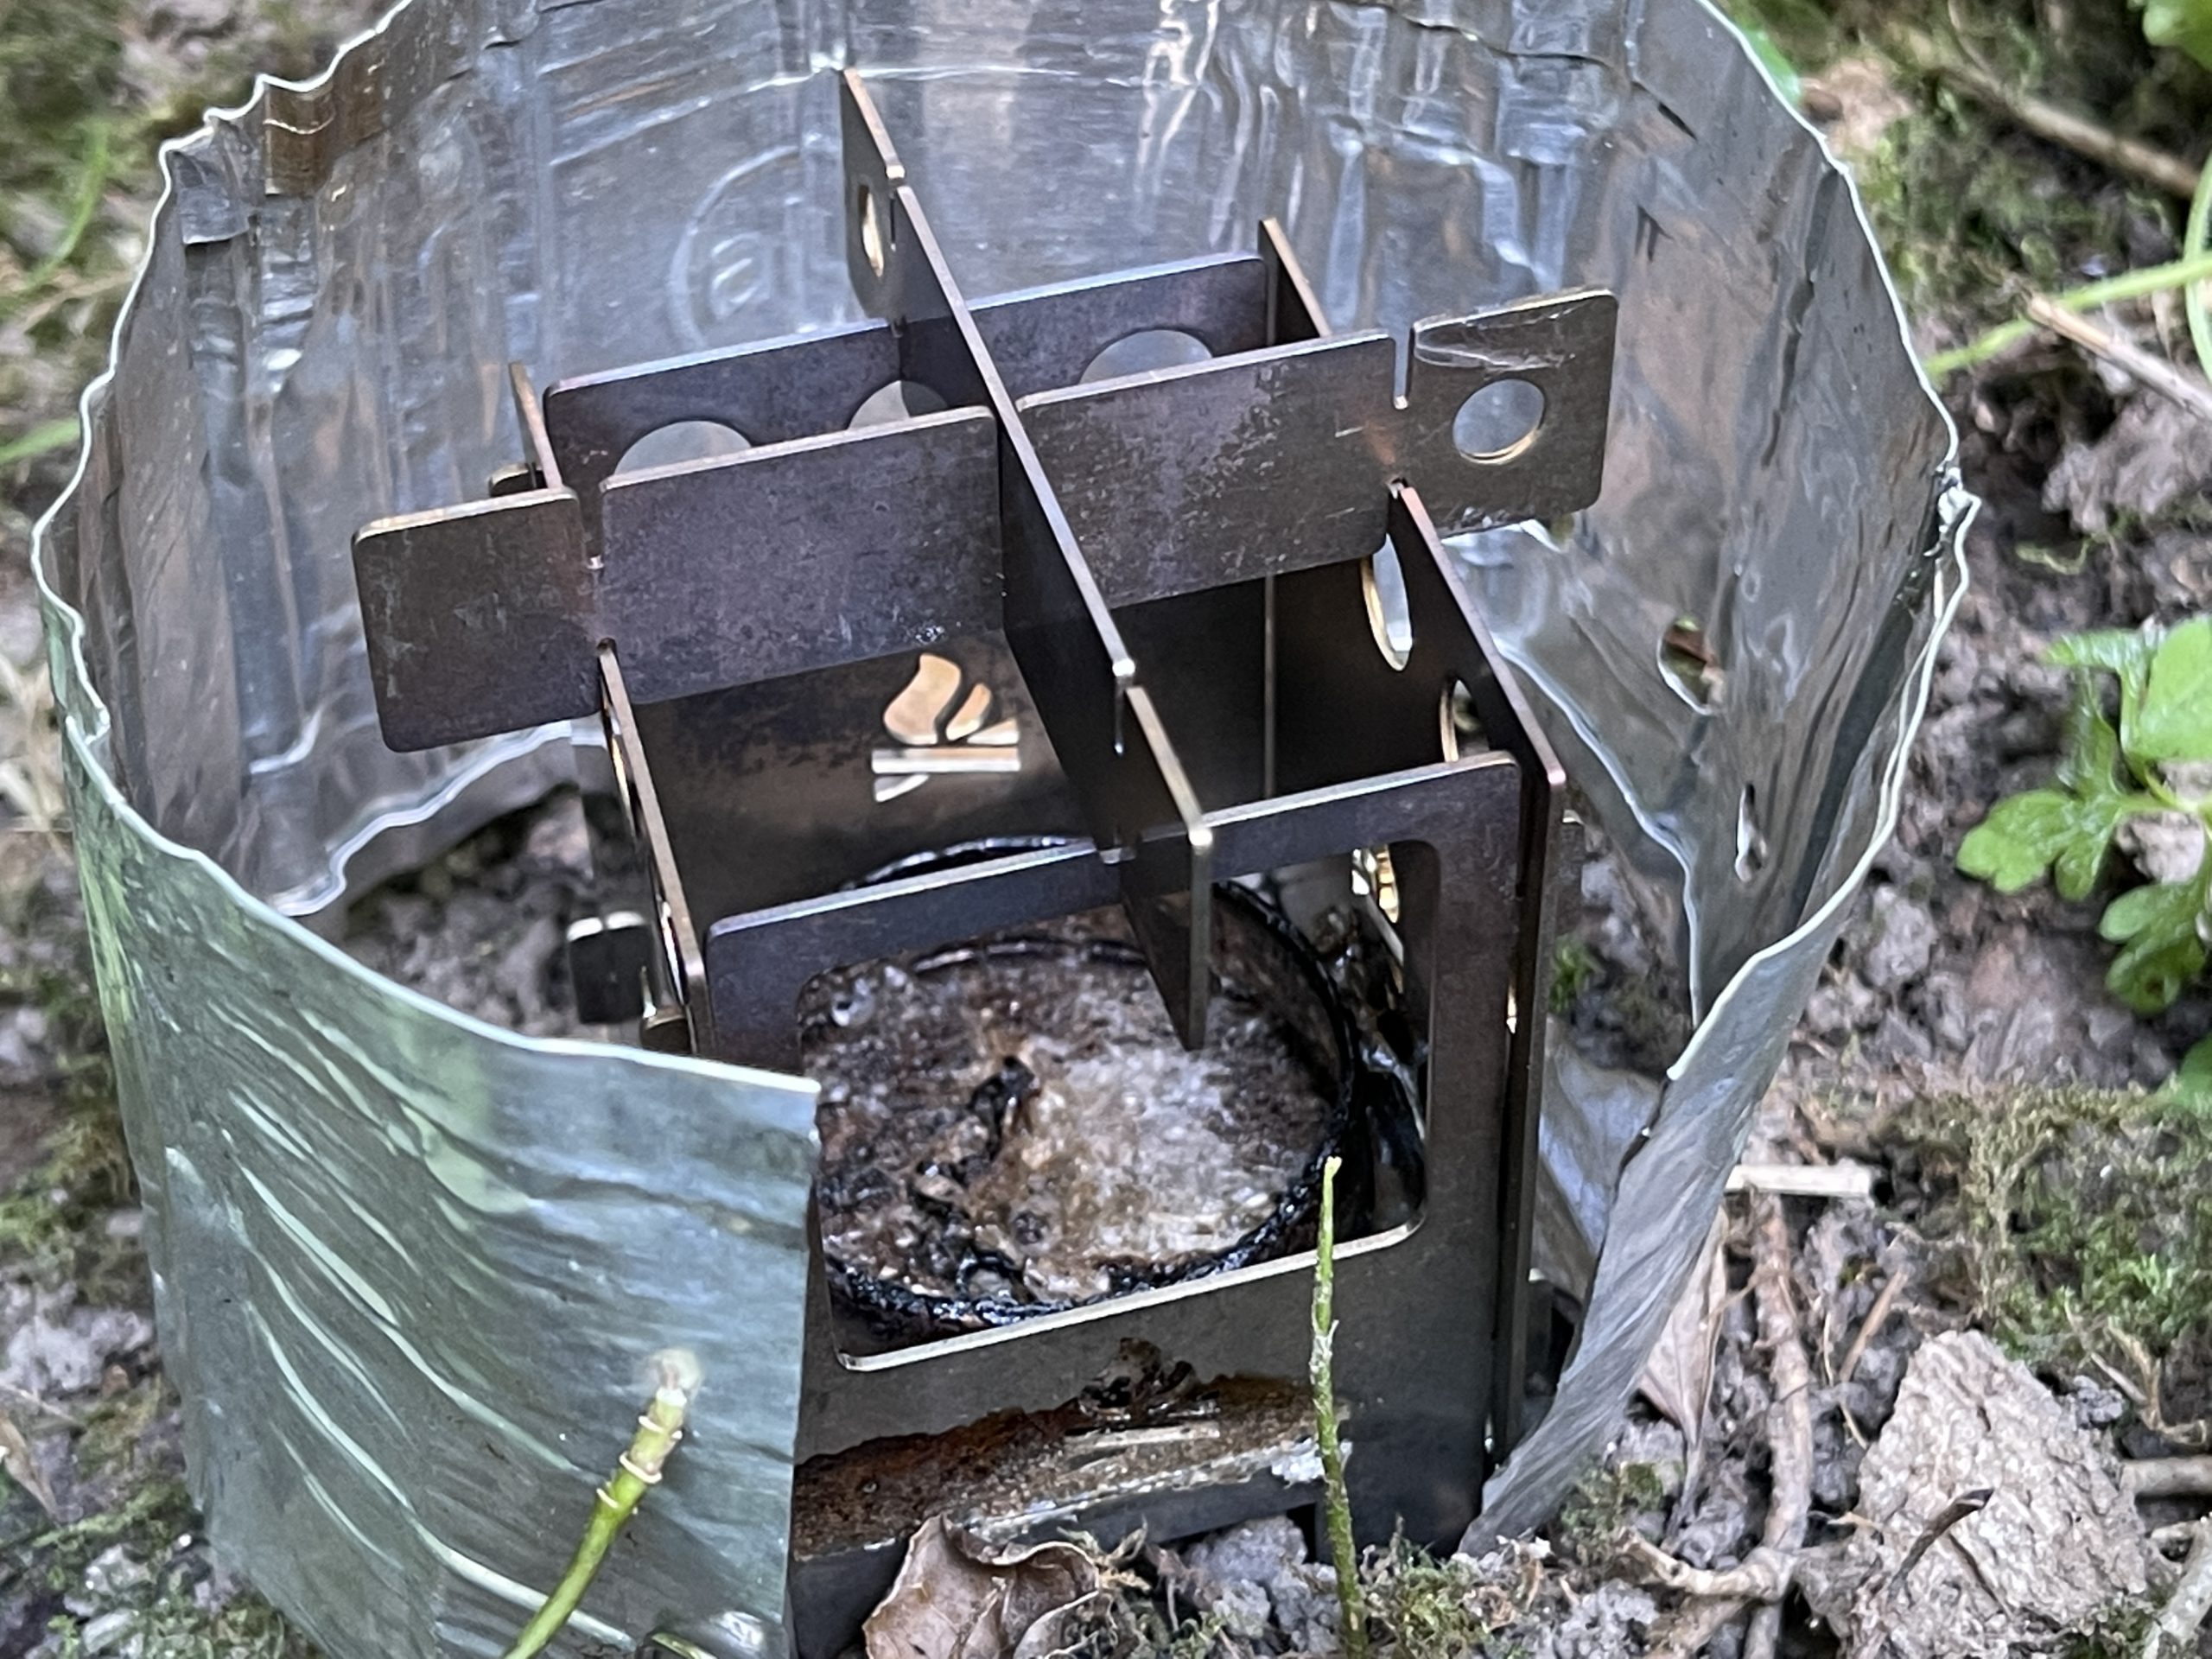
The wind break was cut to fit tightly around a Bushcraft Essentials mini twig stove when using an up-cycled Burt’s Bees tin as a gel fuel burner. As the fit was close I punched some air holes low down and on two sides for air flow.
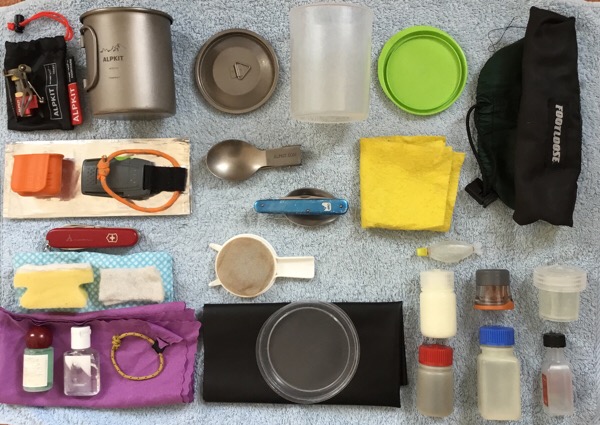
The idea of this stove is for me to have the makings for camping coffee or soup in my lightweight cookset bag. There is a very small gas burner in the cookset but no gas – the gel fuel for the Bushcraft Essentials stove is carried an up-cycled hand sanitiser bottle in the cookset stuff sack.
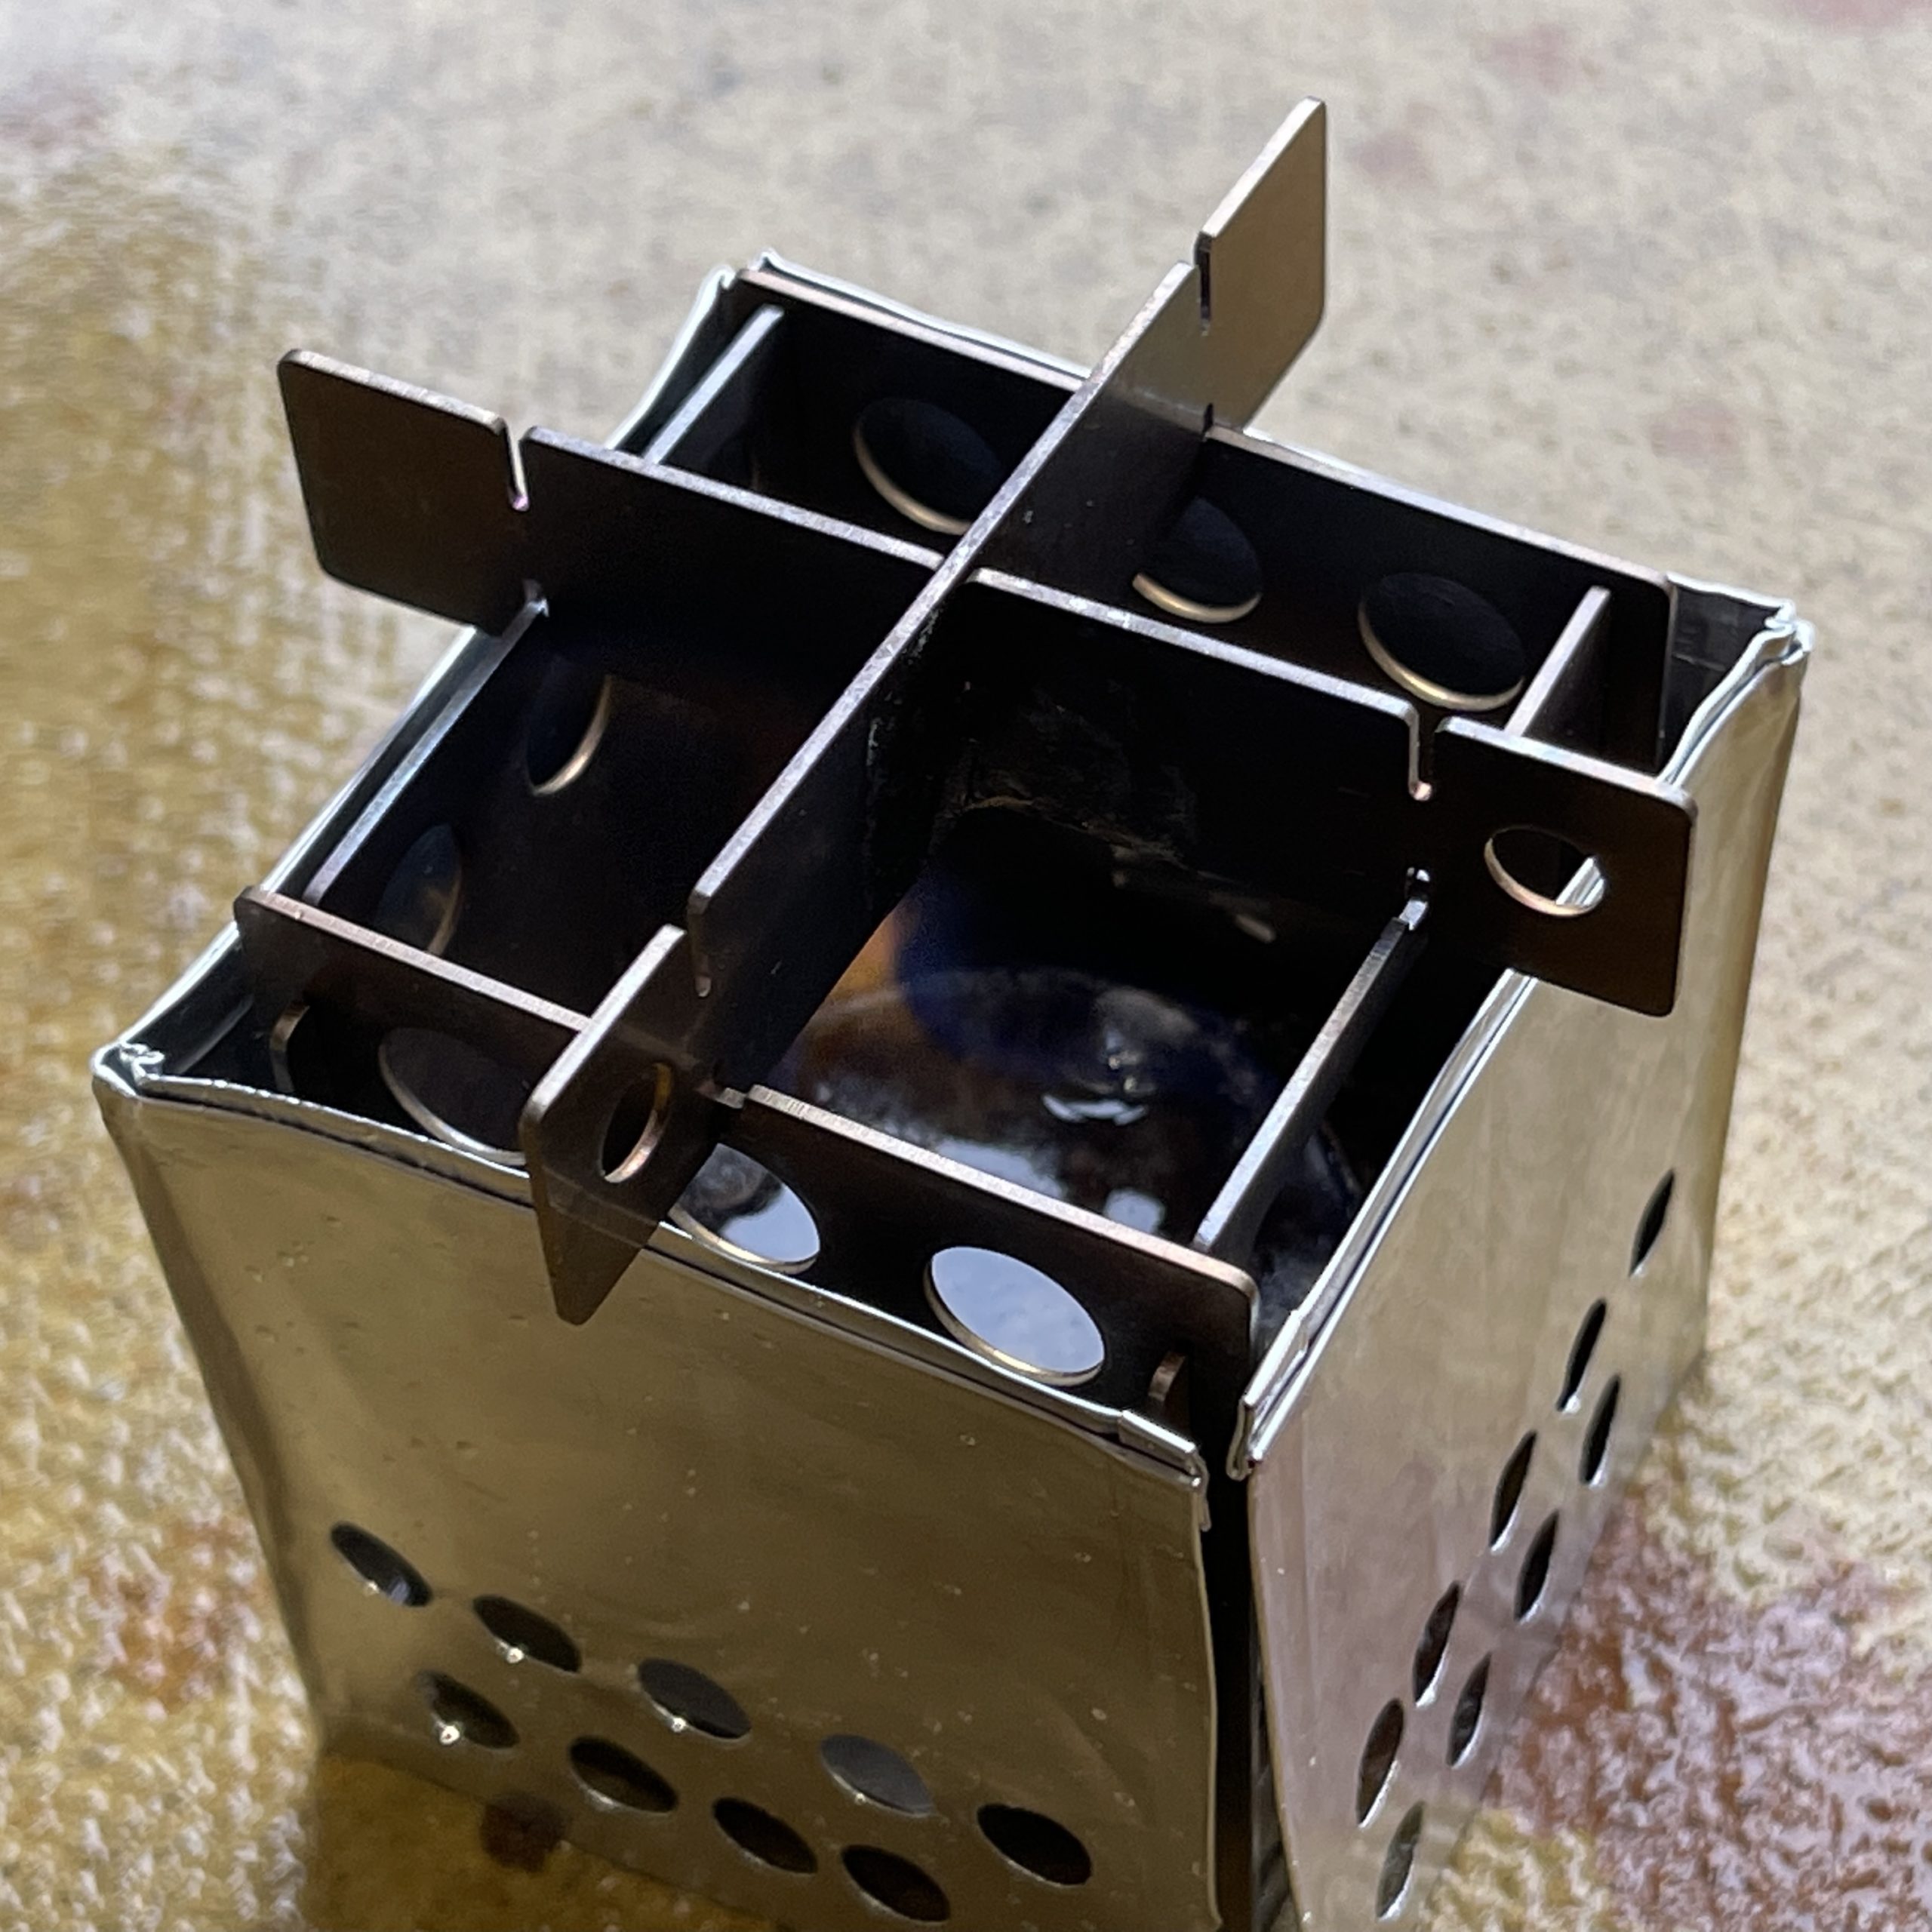
To test the stove wind break I made coffee.
Making Camping Coffee
There are many gadgets on the market for making coffee when camping – I have a 750ml titanium bush pot/cafetiere for when I am car camping – but when backpacking and walking I like this lightweight solution.
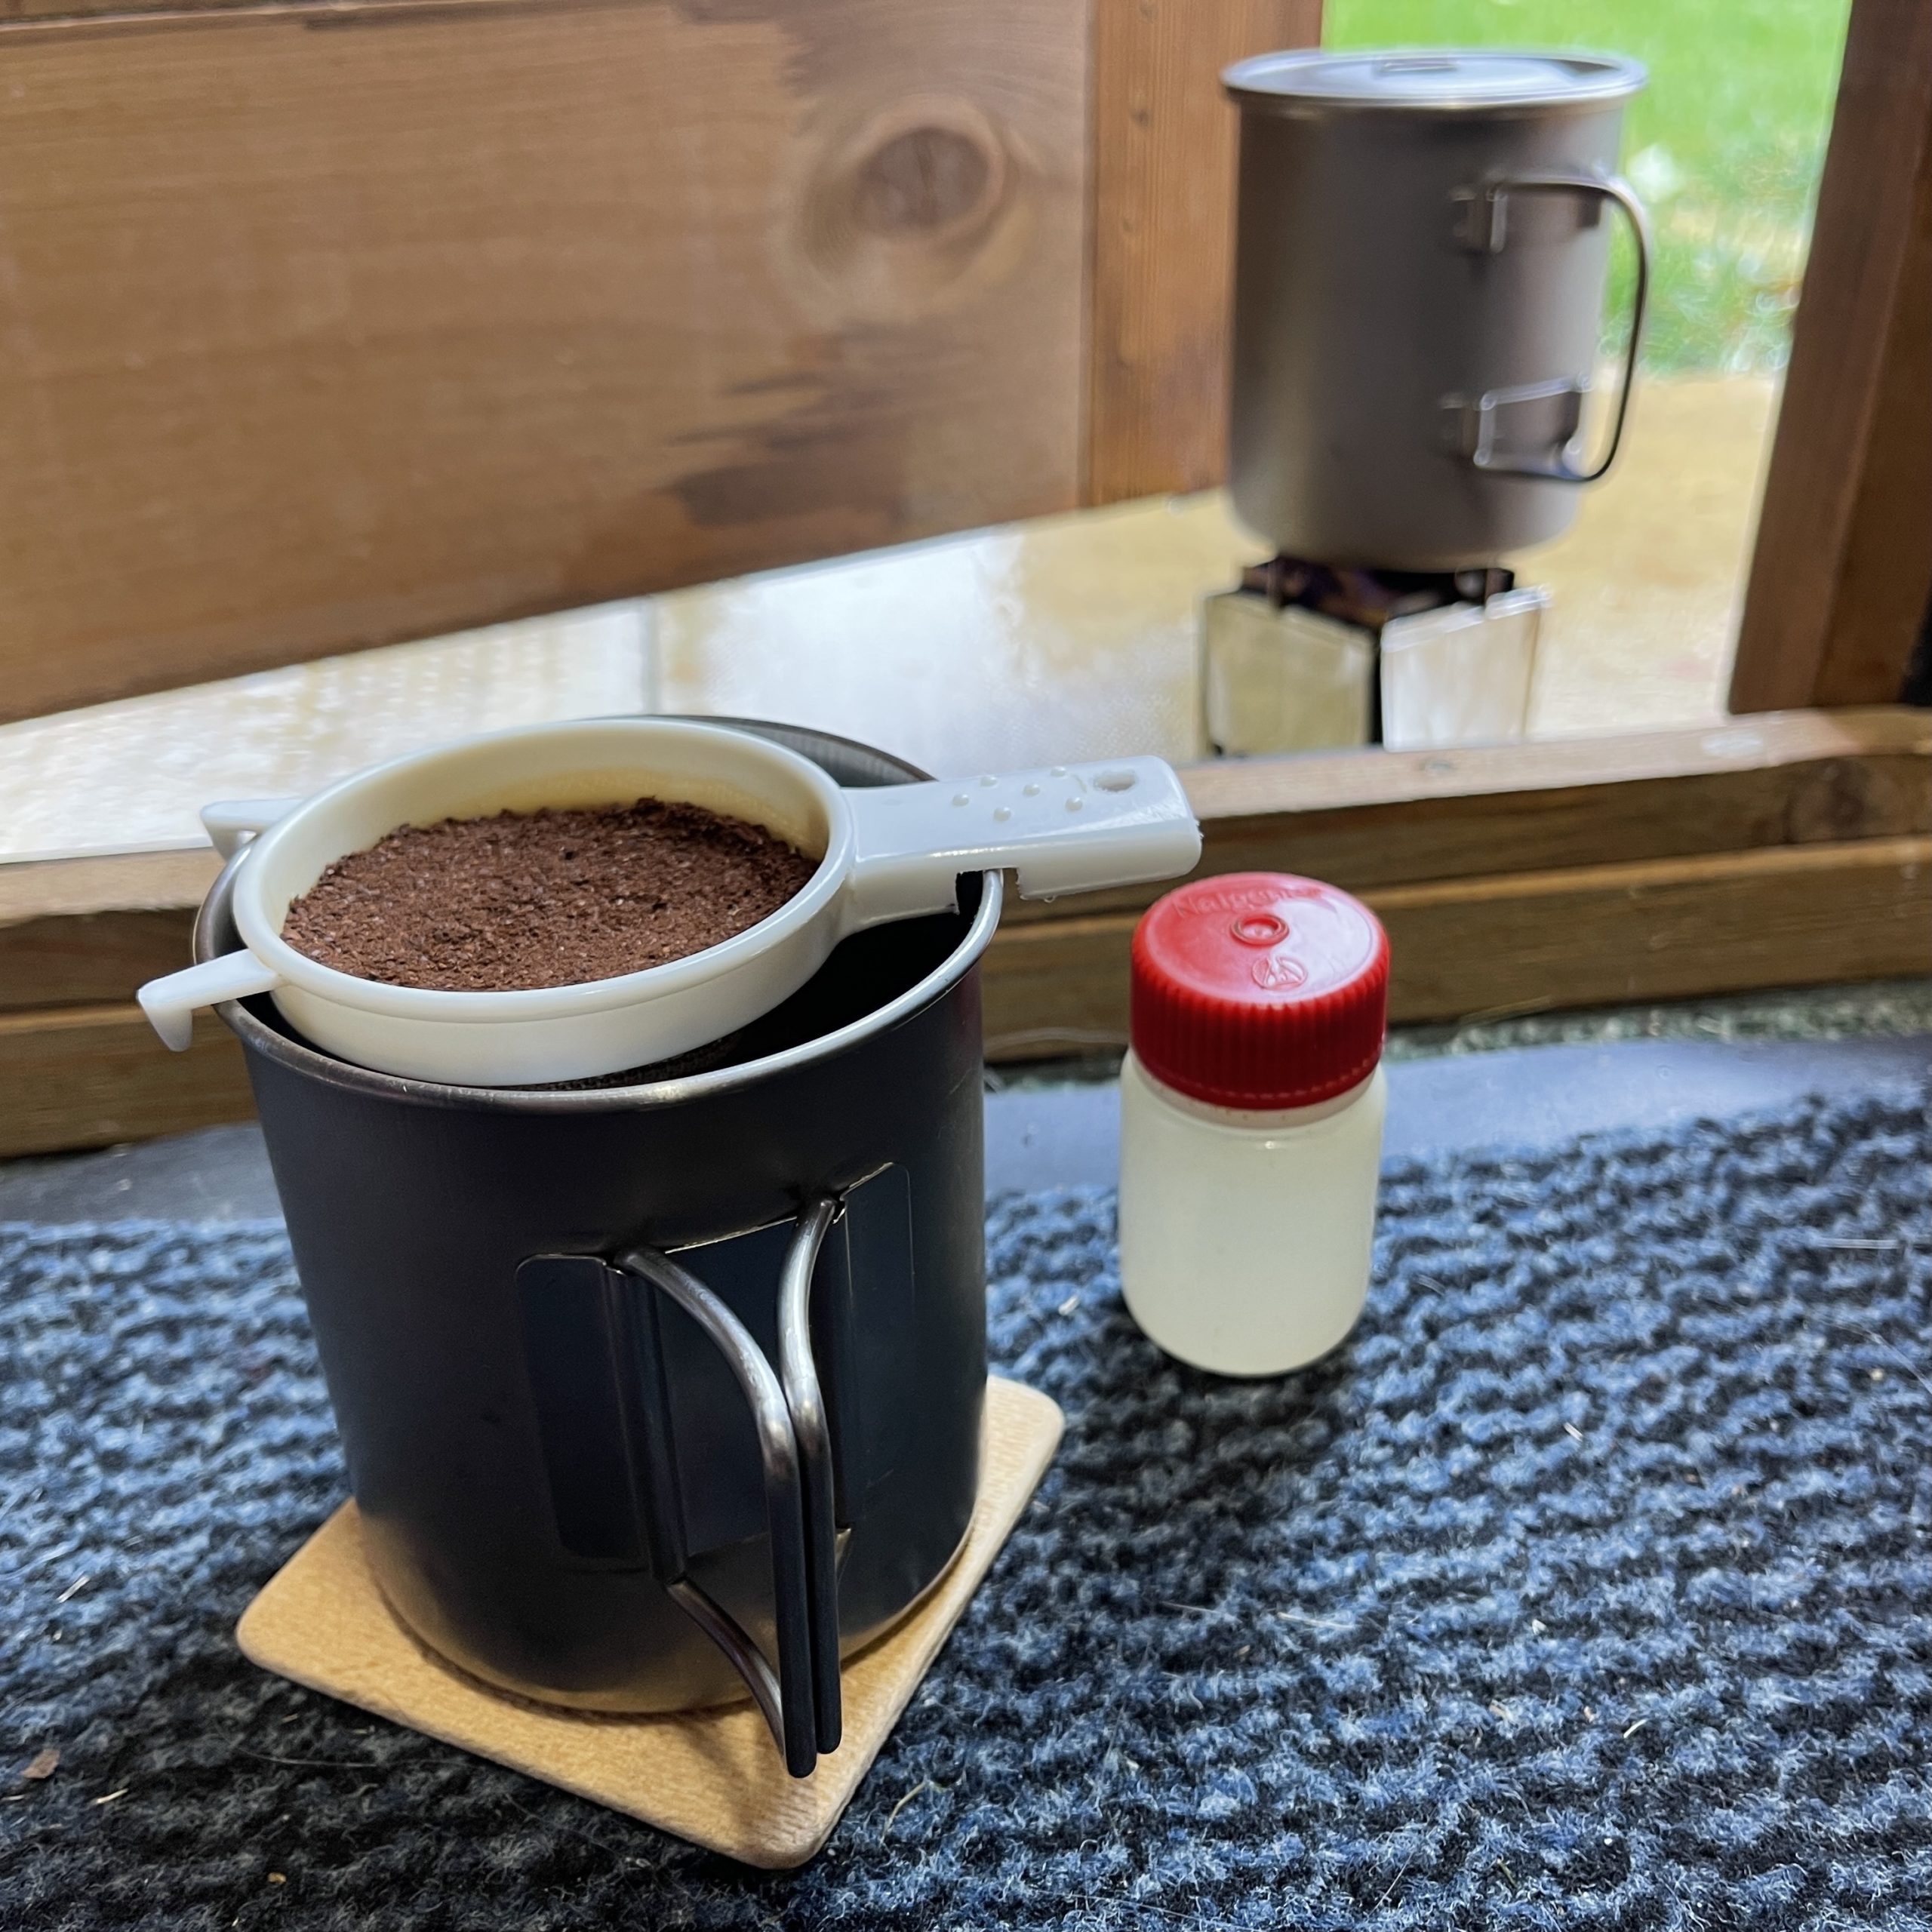
For a while now I have been using a plastic tea strainer as a reusable coffee filter (see my camping coffee page). Since I wrote that page I have cut down the handle and made some cut-outs so the filter sits level.
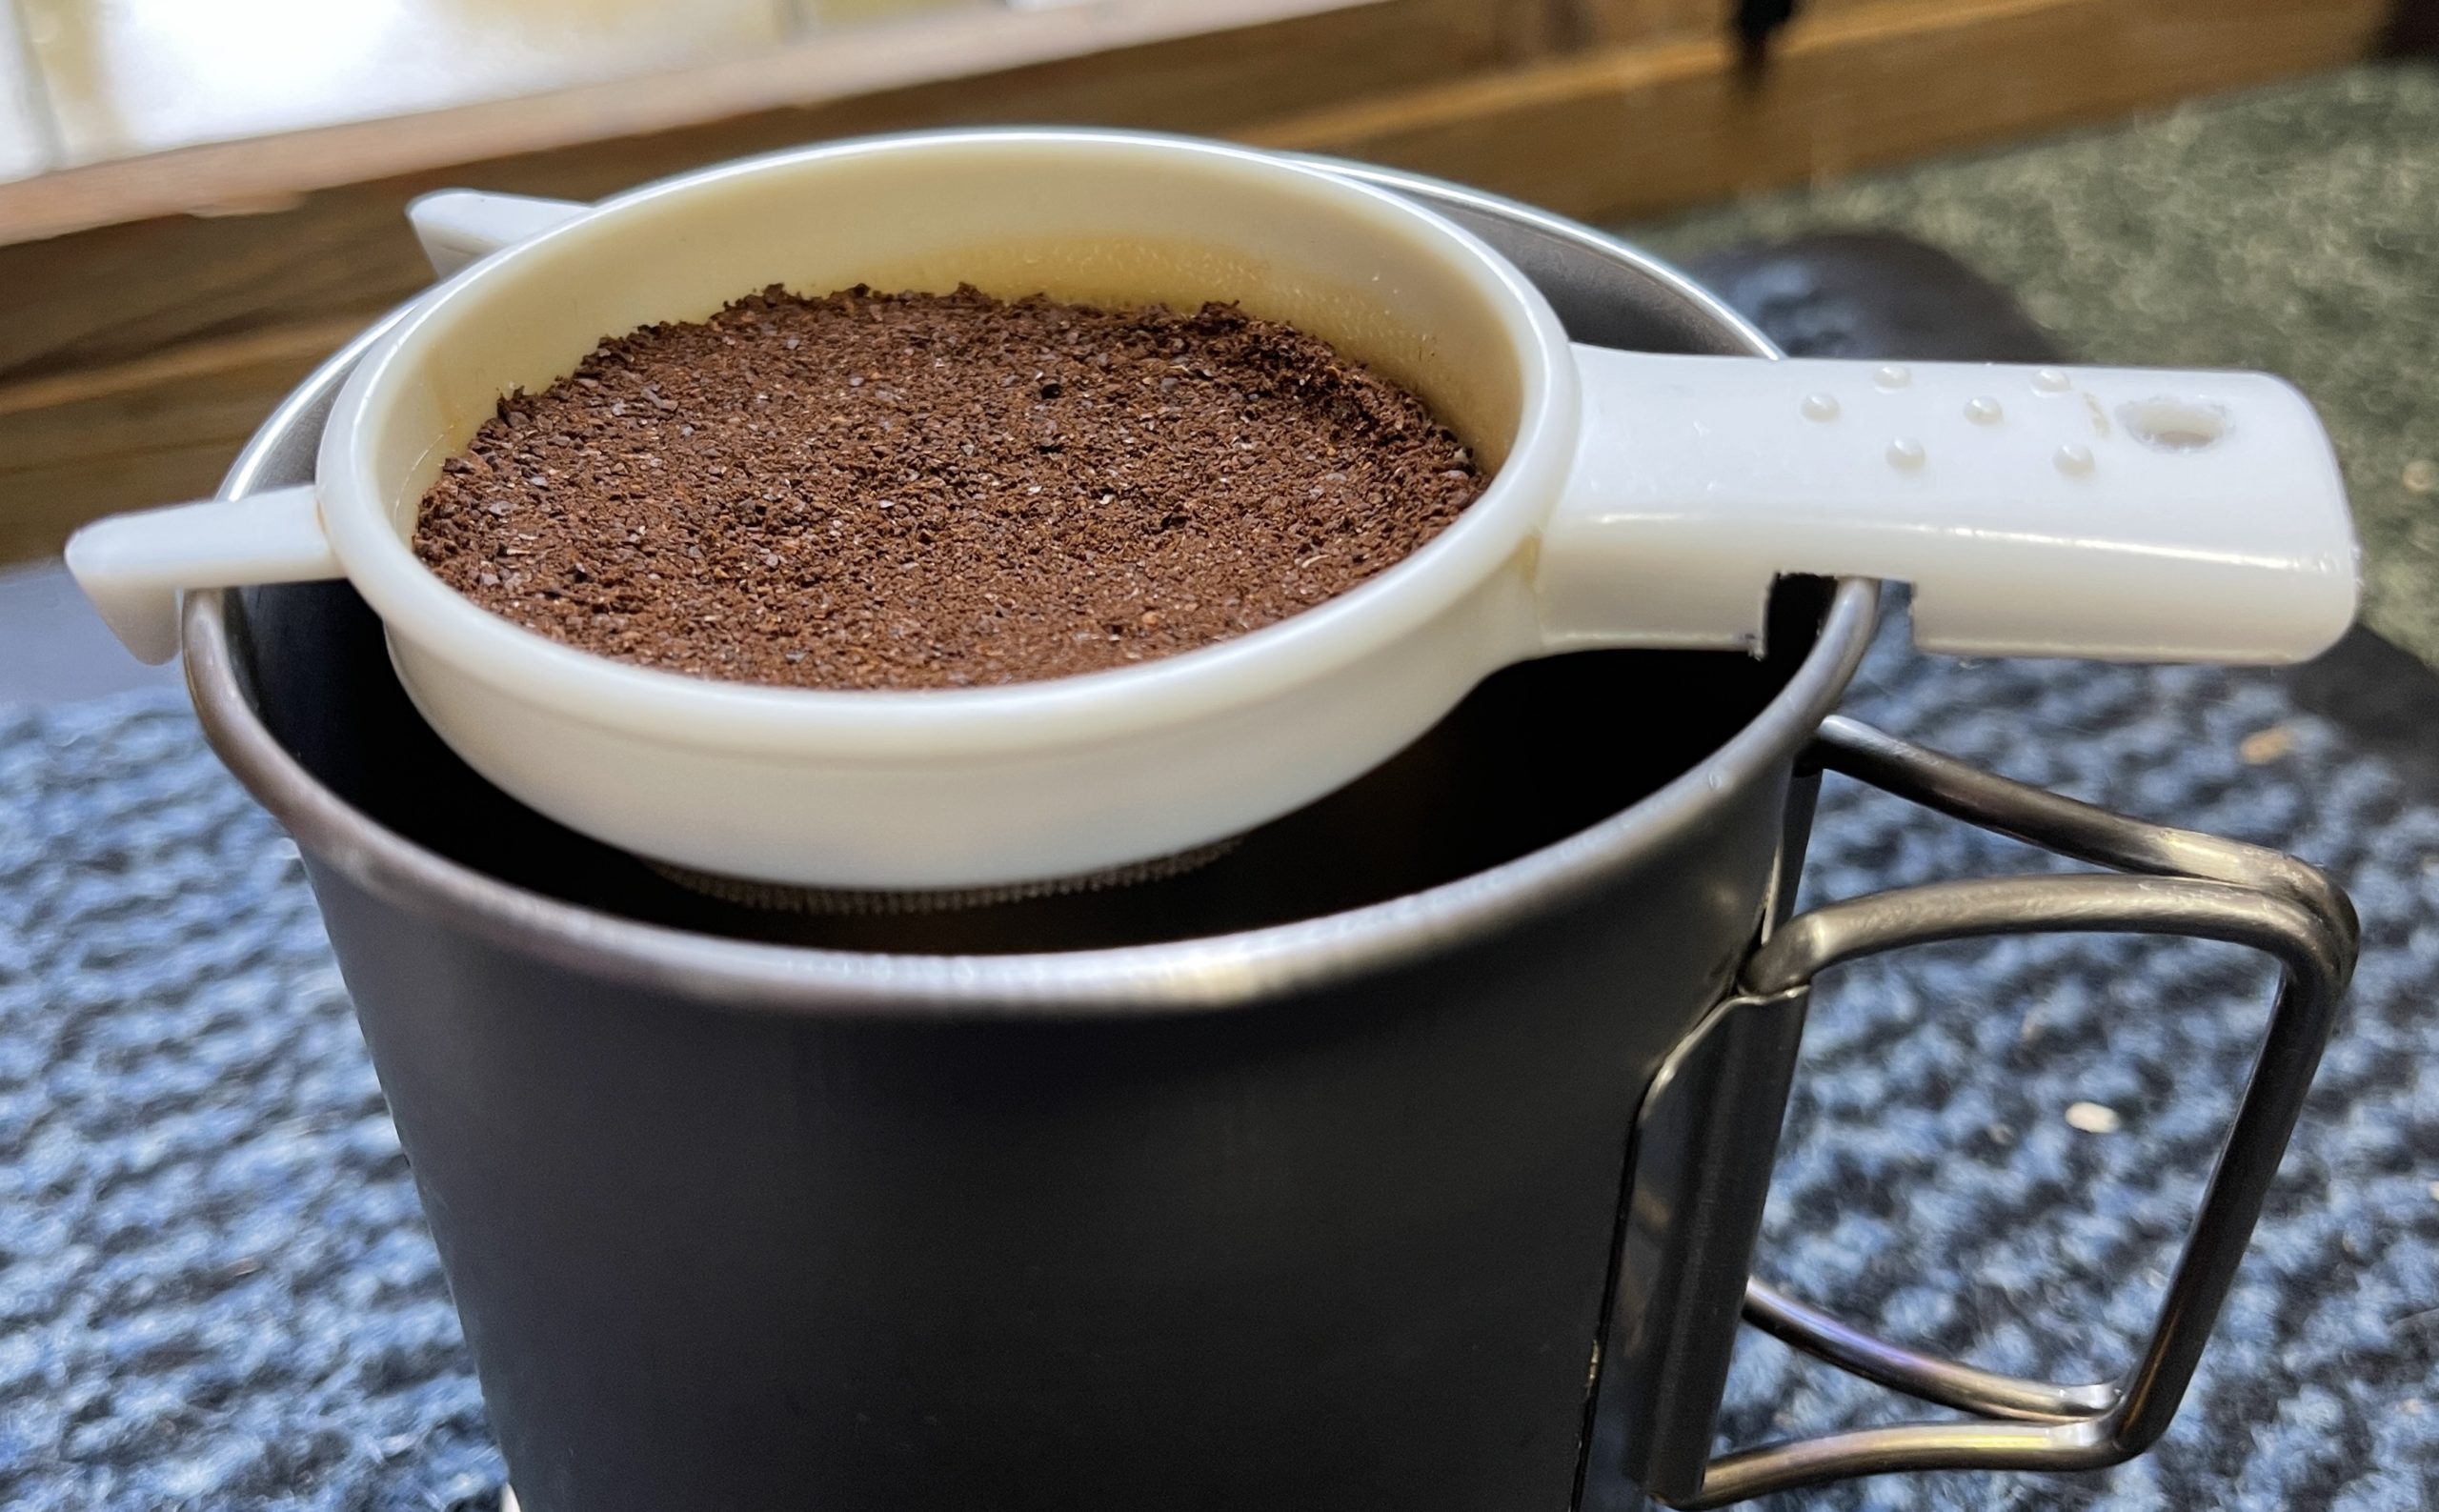
The process I use is:
1 I fill the strainer mesh with ground coffee until it just covers the the plastic rim.
2 Wet the coffee grounds and then wait a minute or so.
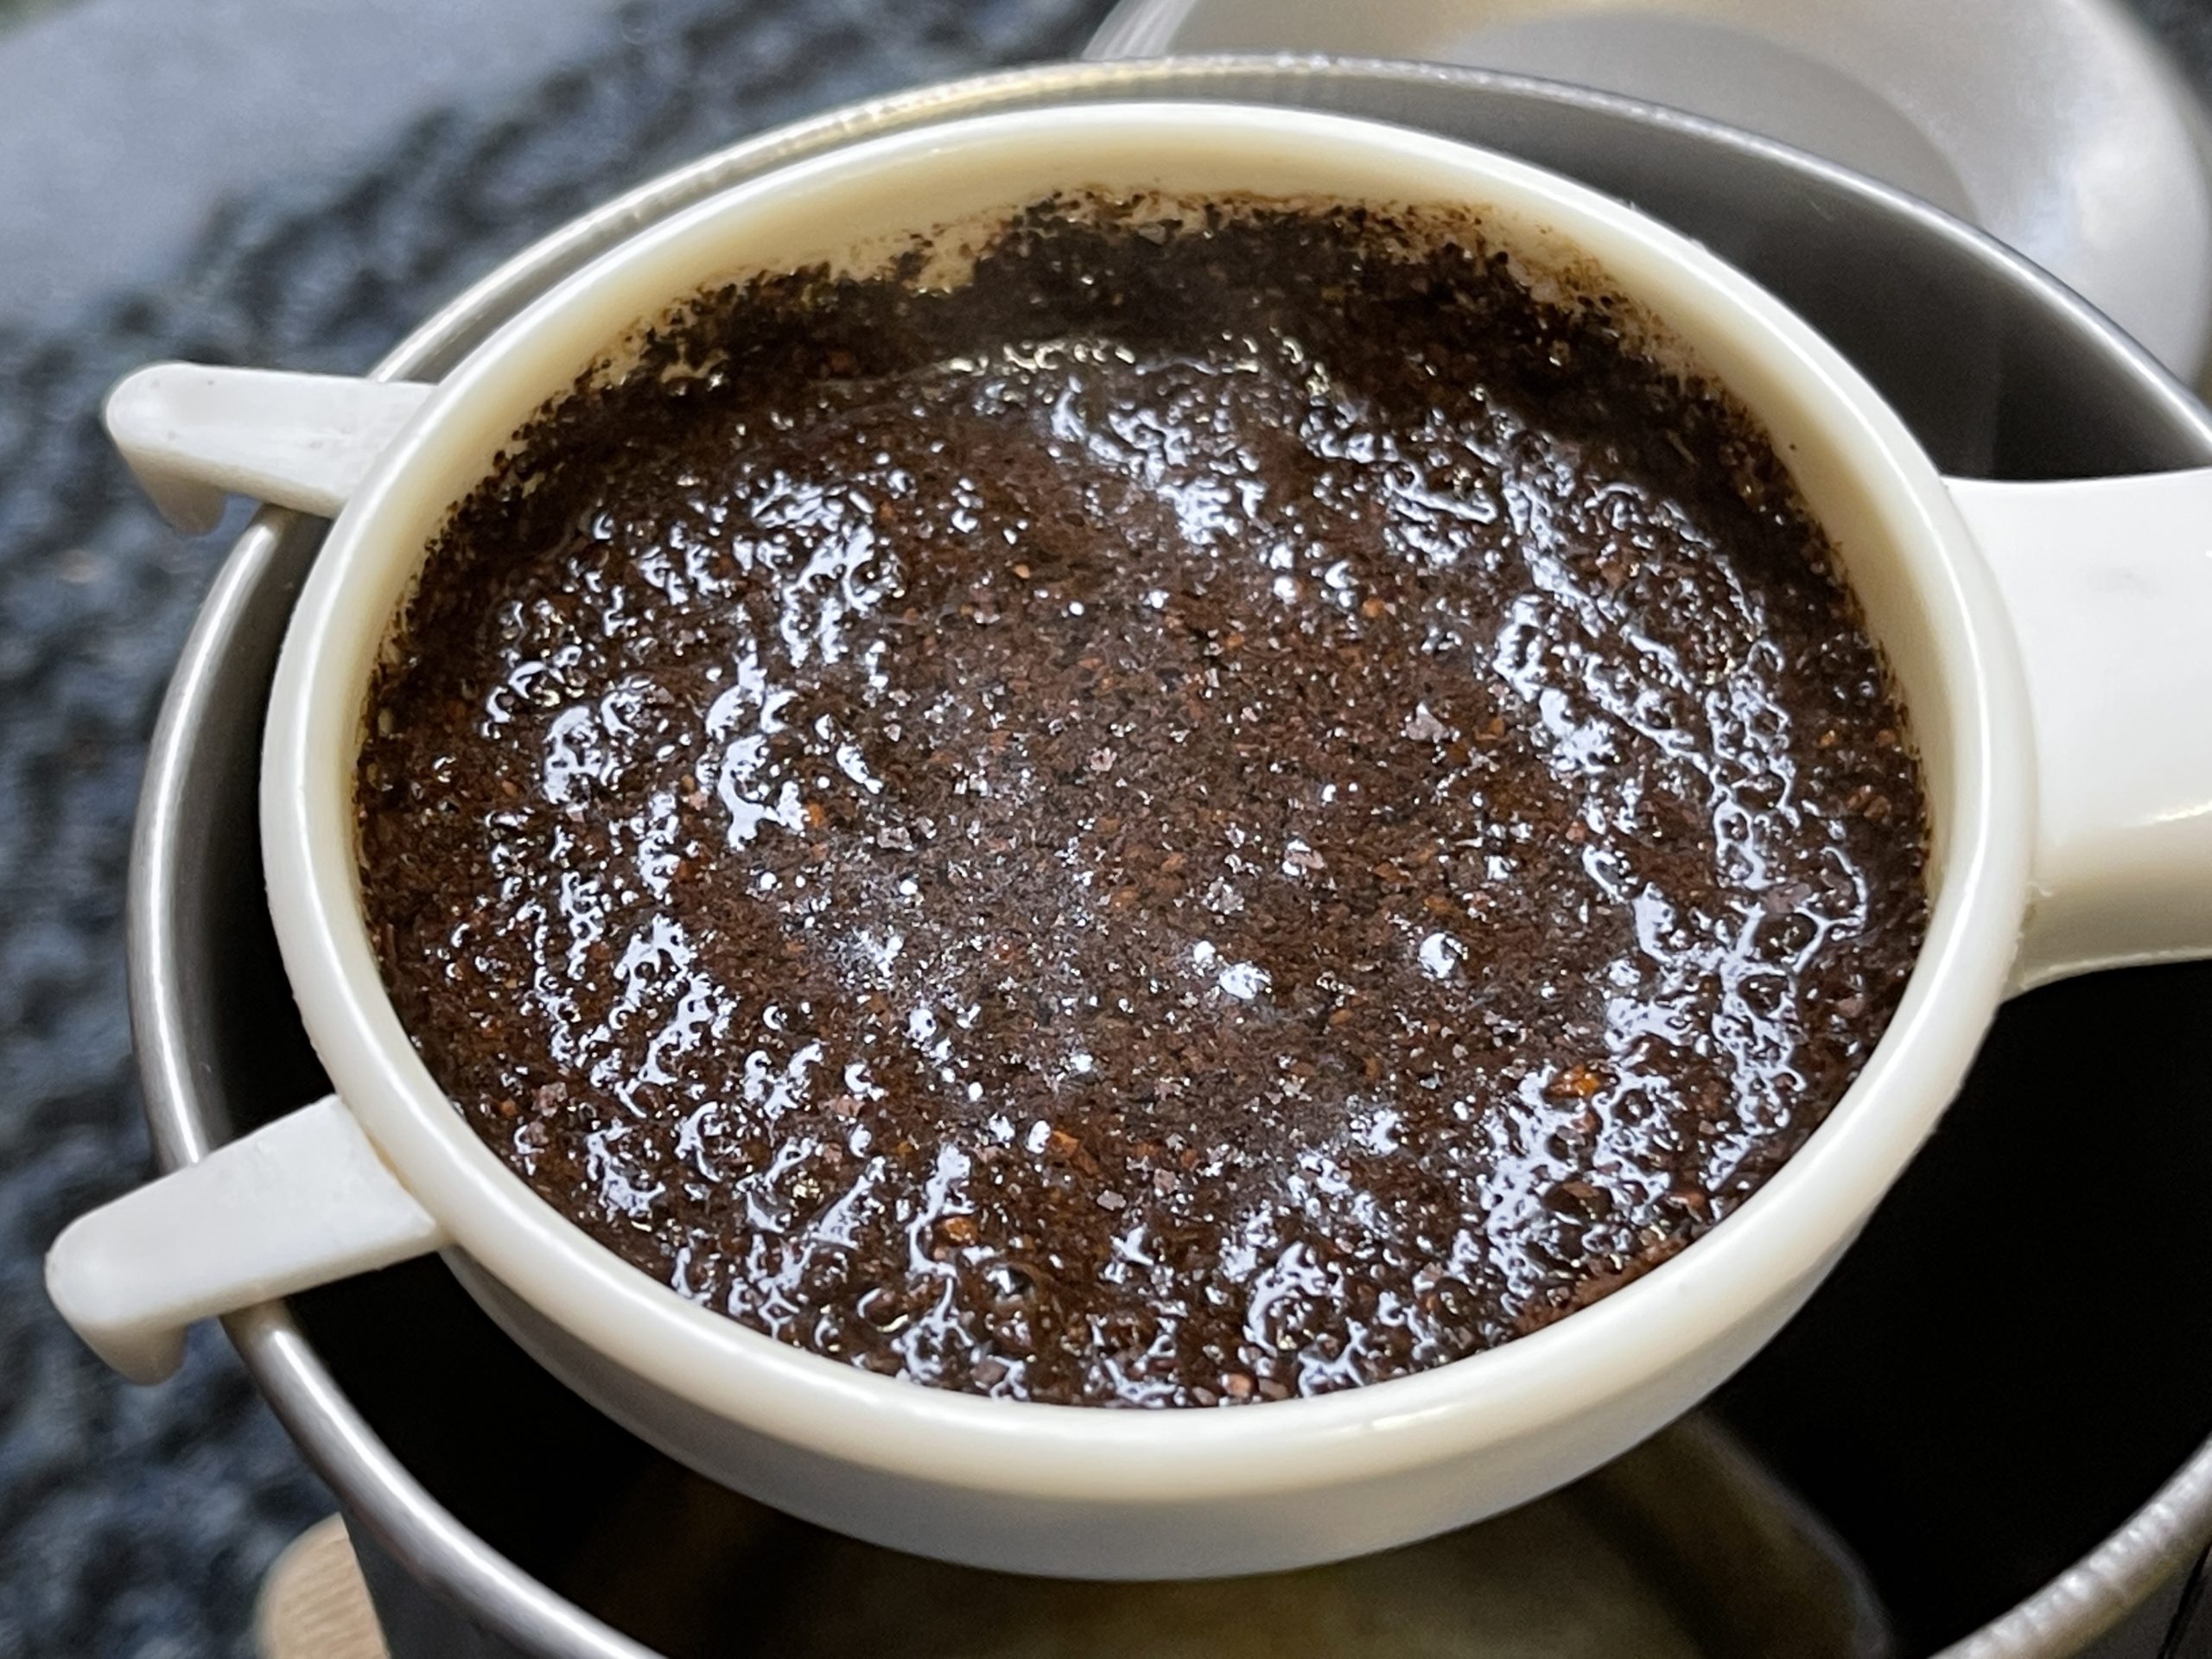
3 I then carefully add water to the brim of the strainer and let it drain through.
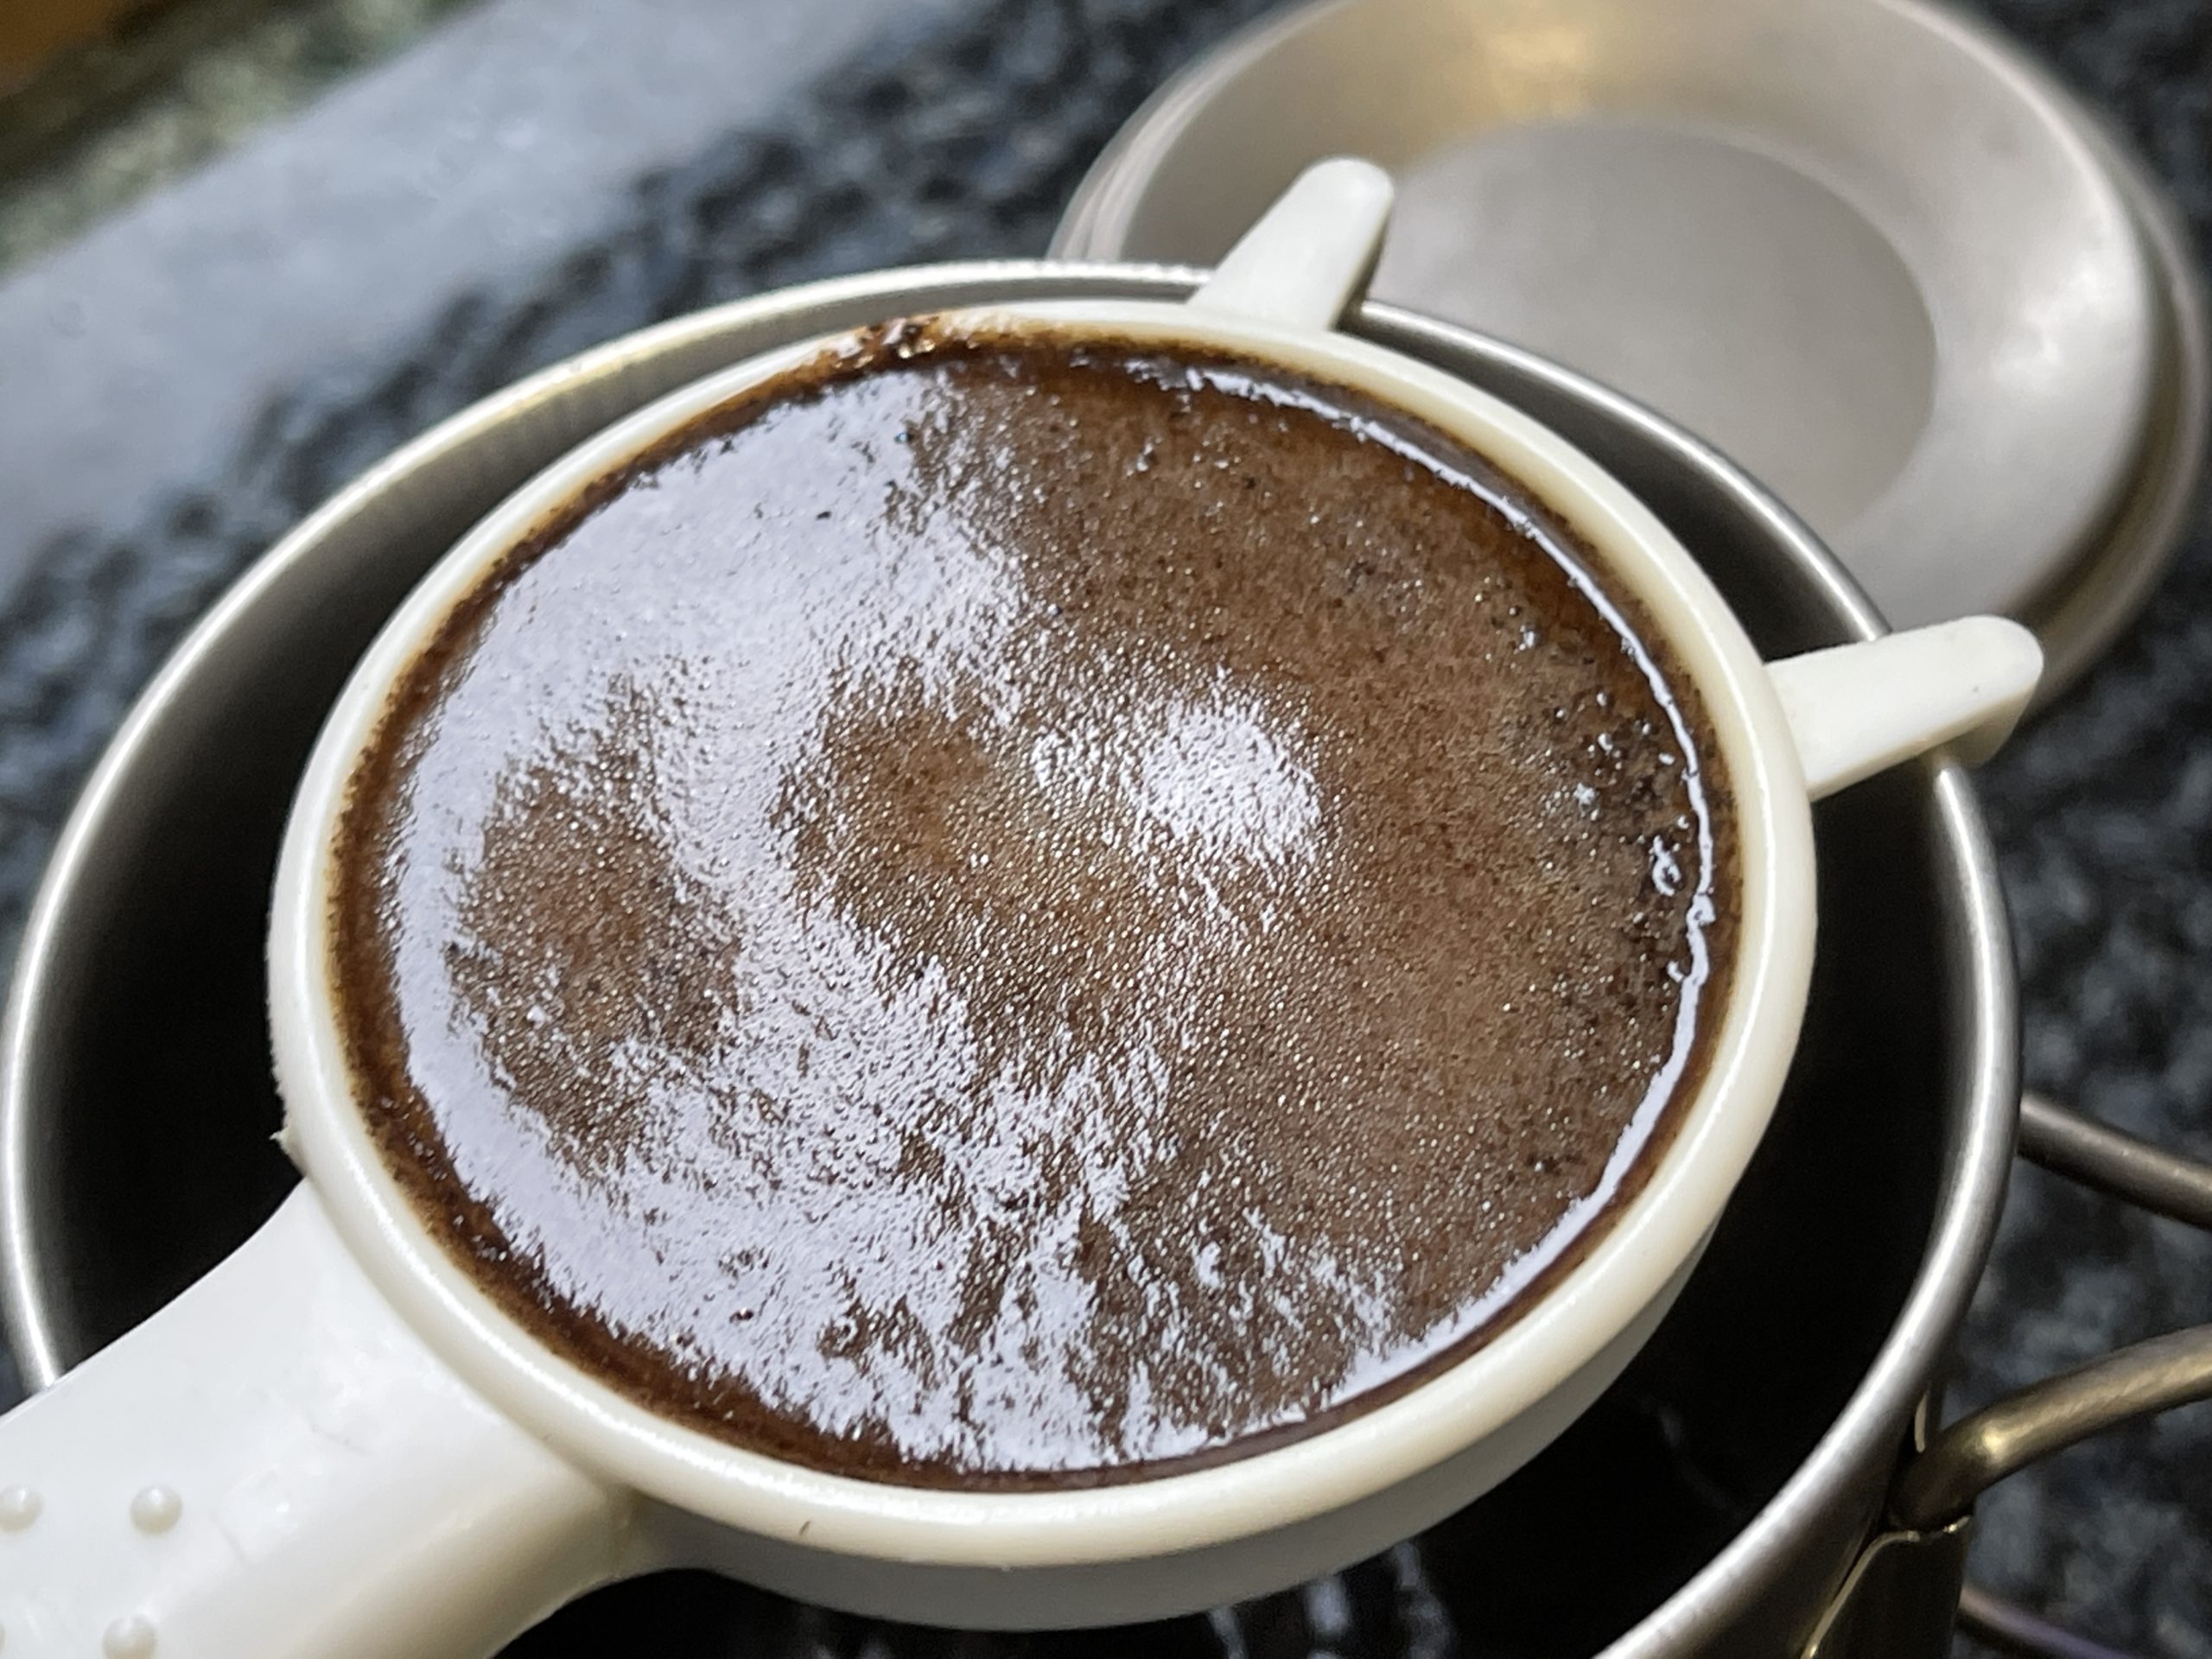
4 It takes about 100ml to 150ml of water to make a strong brew. I top up with hot water.
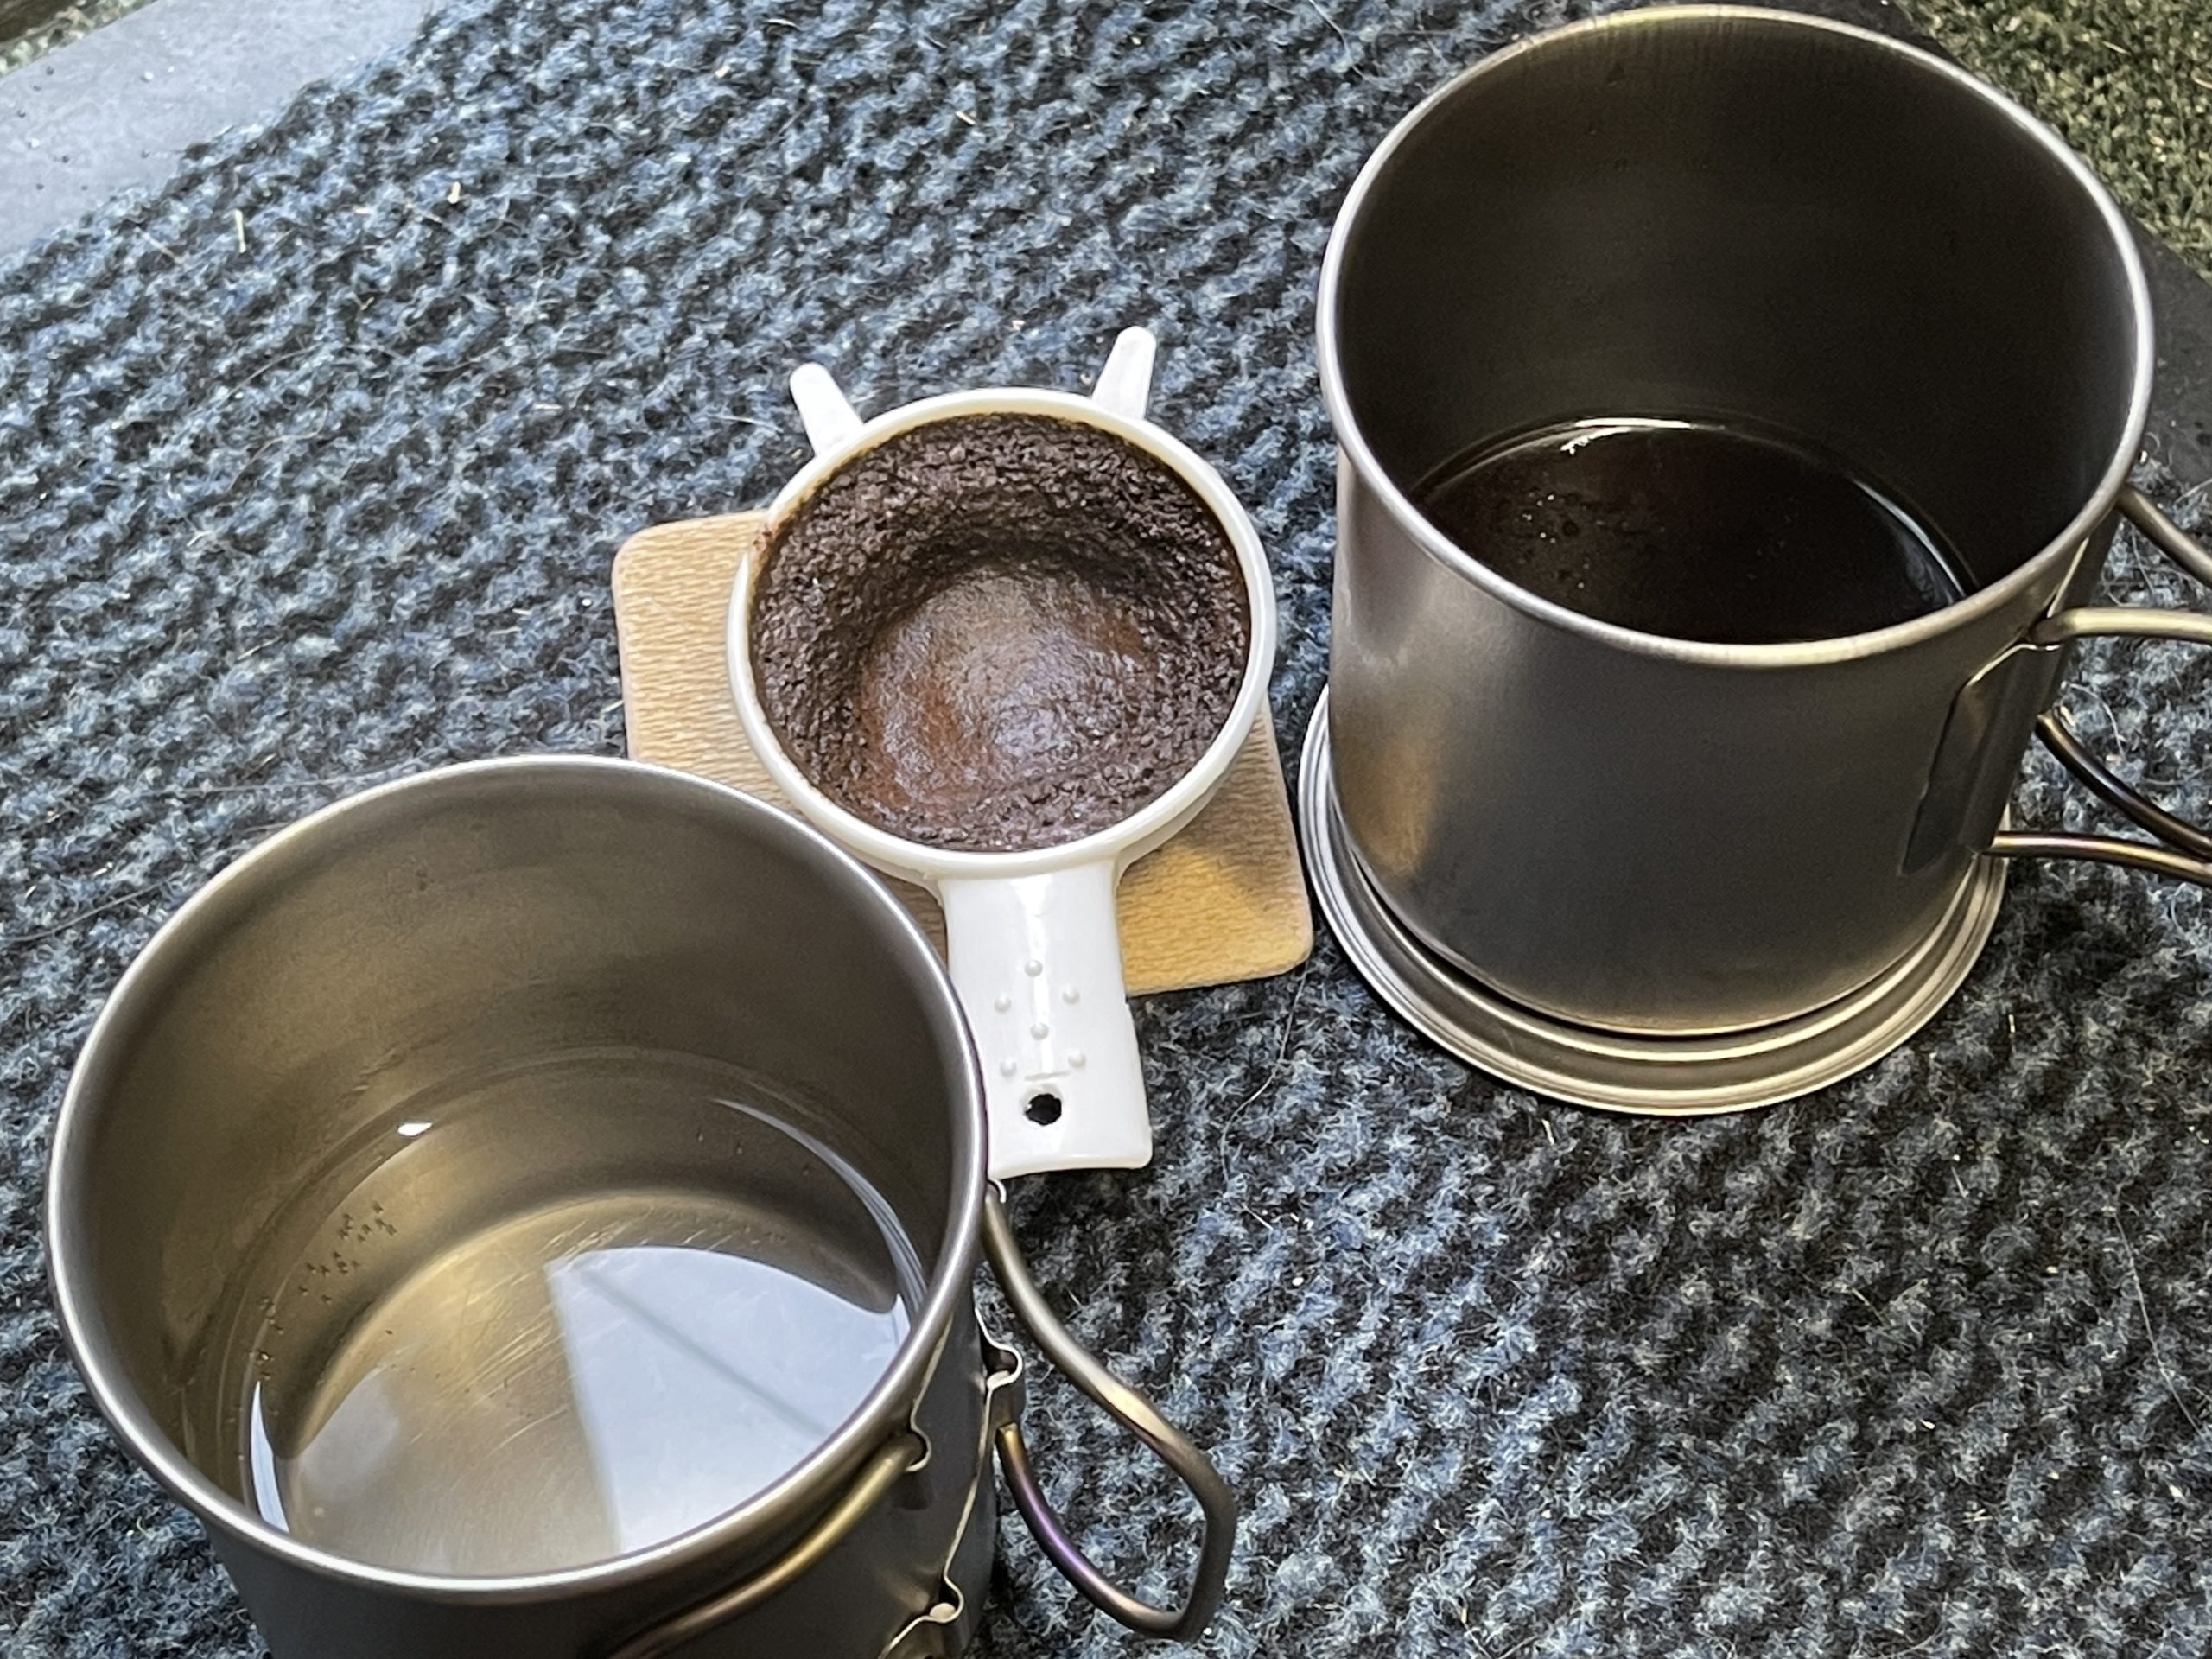
5 I take mine black and no sugar when camping – but I do carry coffee creamer and brown sugar for caffeine and energy boost.
This gadget and method only generates used coffee grounds to dispose of, no paper filters and there is no comparison when it comes to the weight or price of this coffee maker when compared to other backpacking/camping coffee gadgets. And it can be used as a strainer as well!
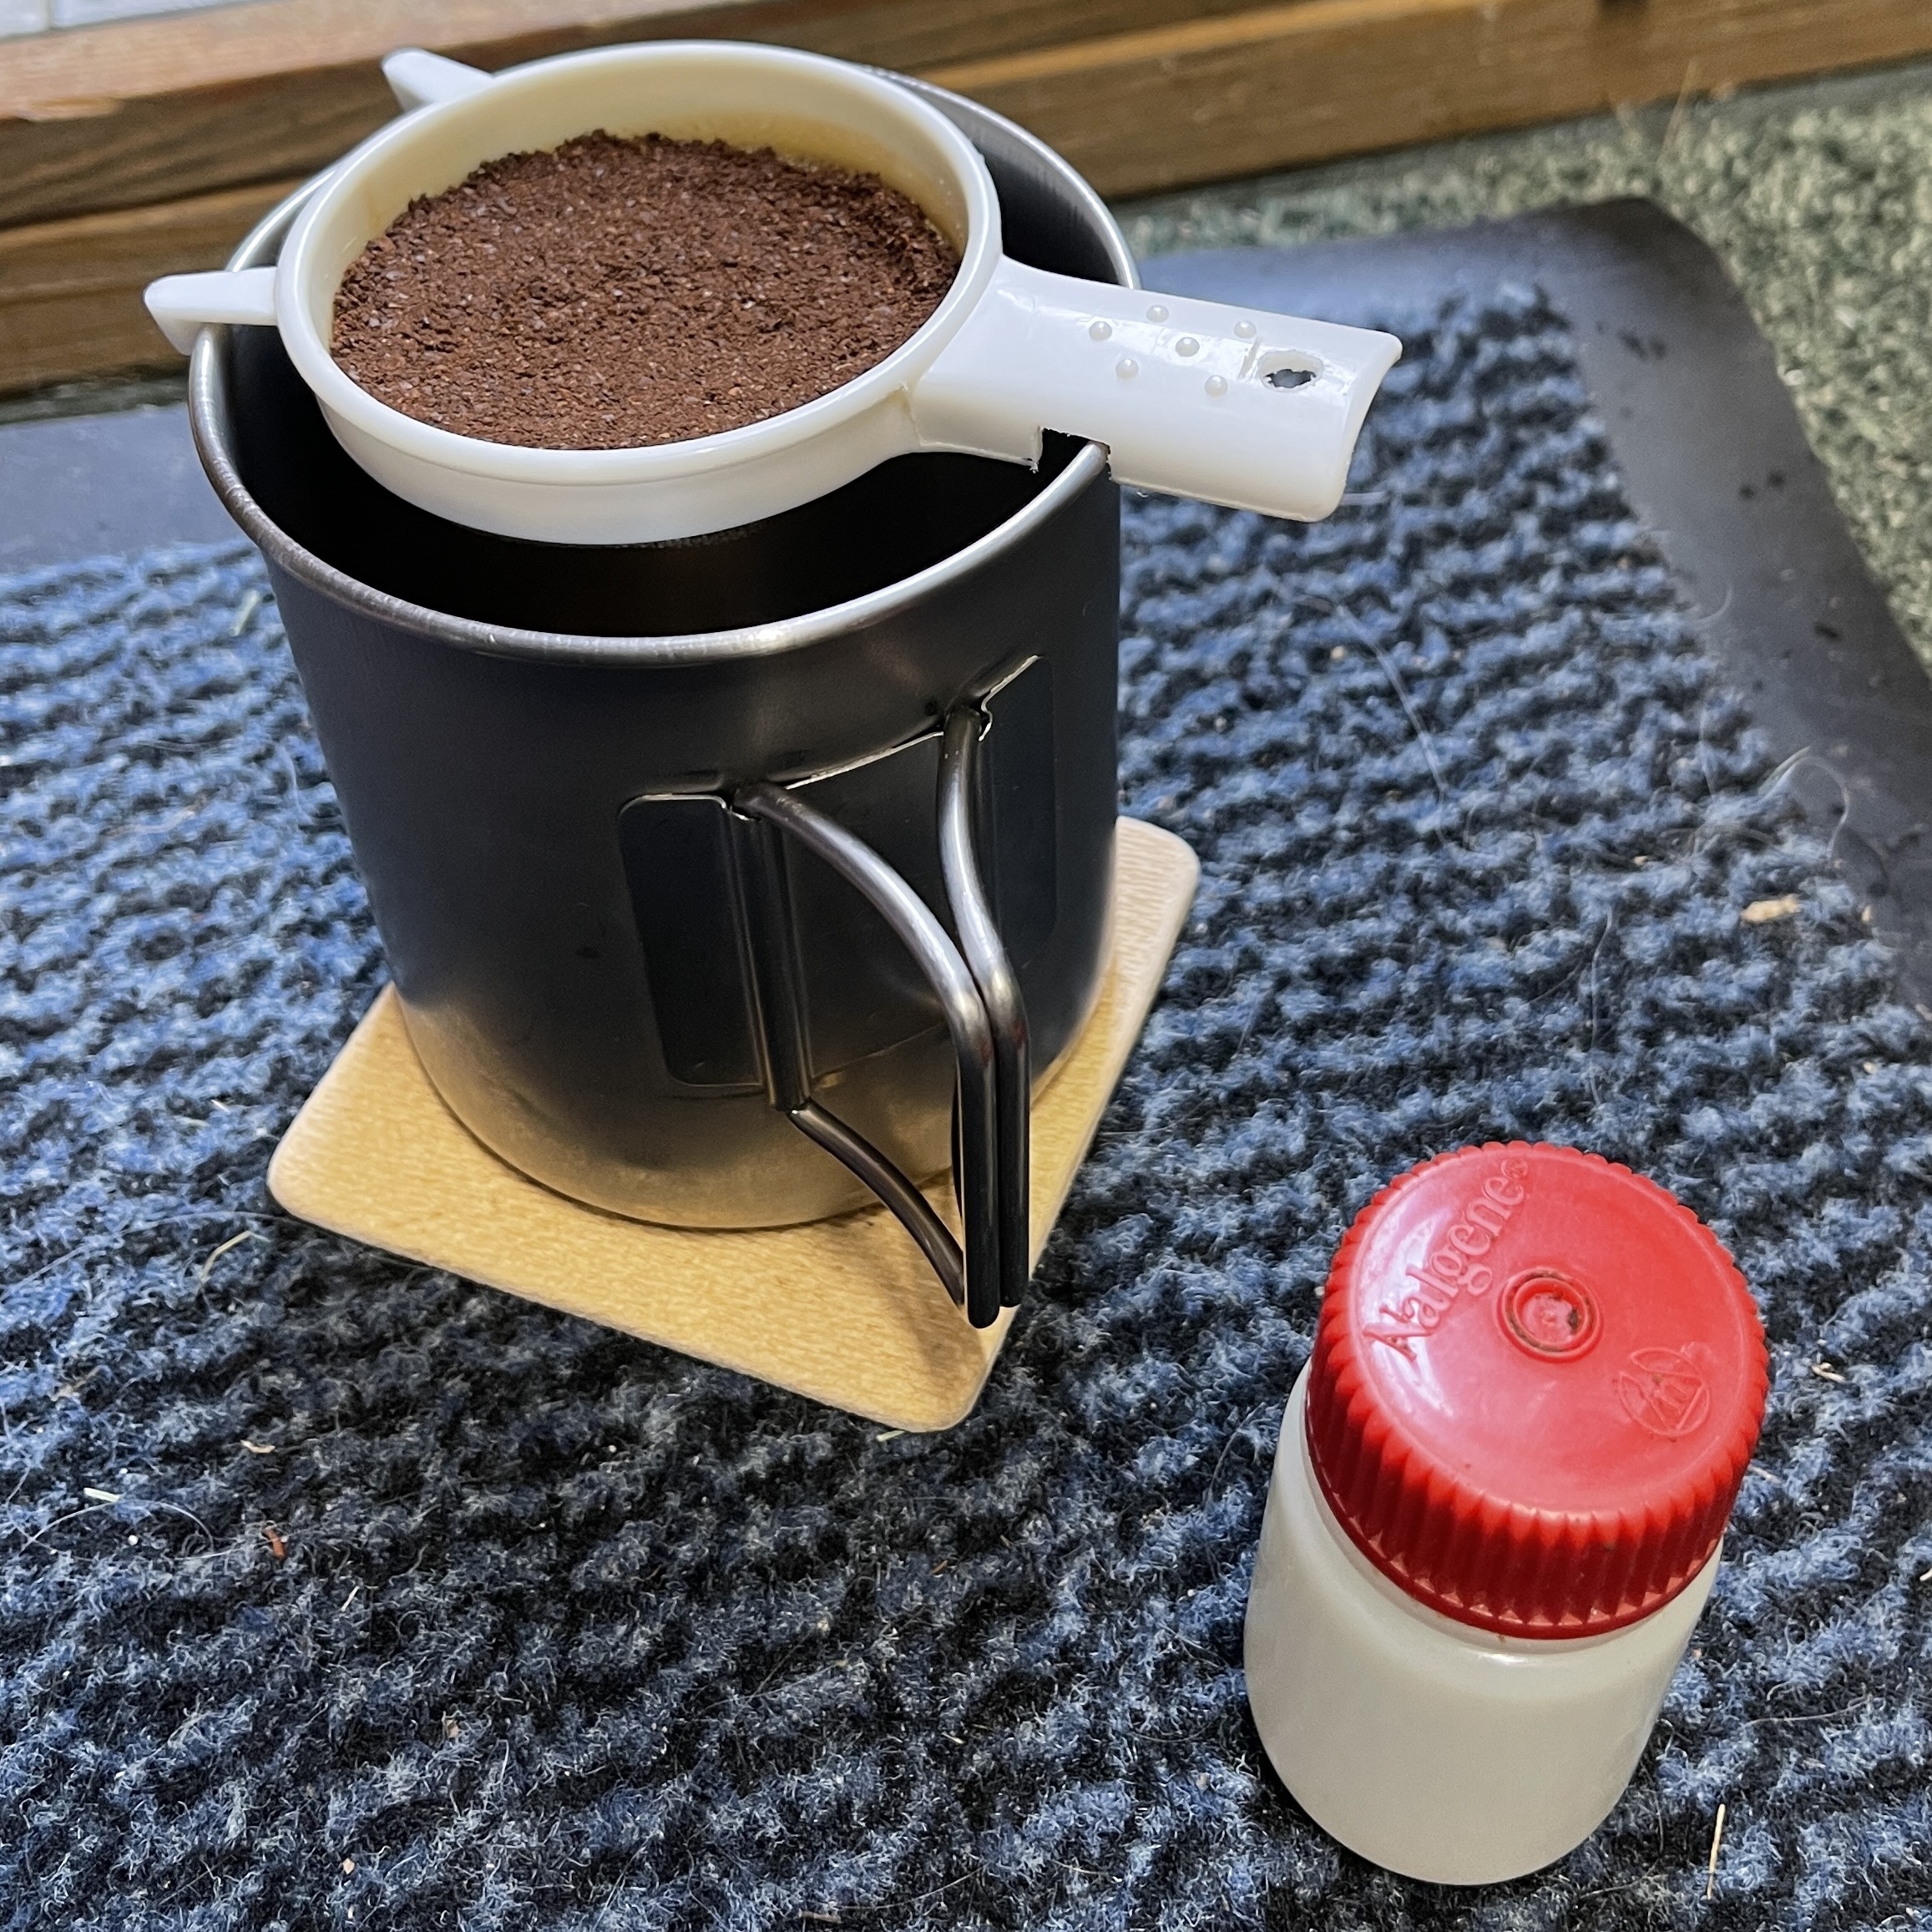
The 30ml Nalgene bottle shown in the photo when “tap” filled (start to fill the bottle and tap it to settle the coffee grounds and repeat until no more settling happens) can hold two measures of ground coffee.
The Wind Shield
It worked better than its predecessor, keeping the heat on the mug. It will also fold up small enough to store in the stove slip case with the stove and the Burt’s Bees tin.
The next test will be later in the week when I can get out for a walk.
How to make camping coffee? Read More »
Walking along the River Slea with lightweight gear
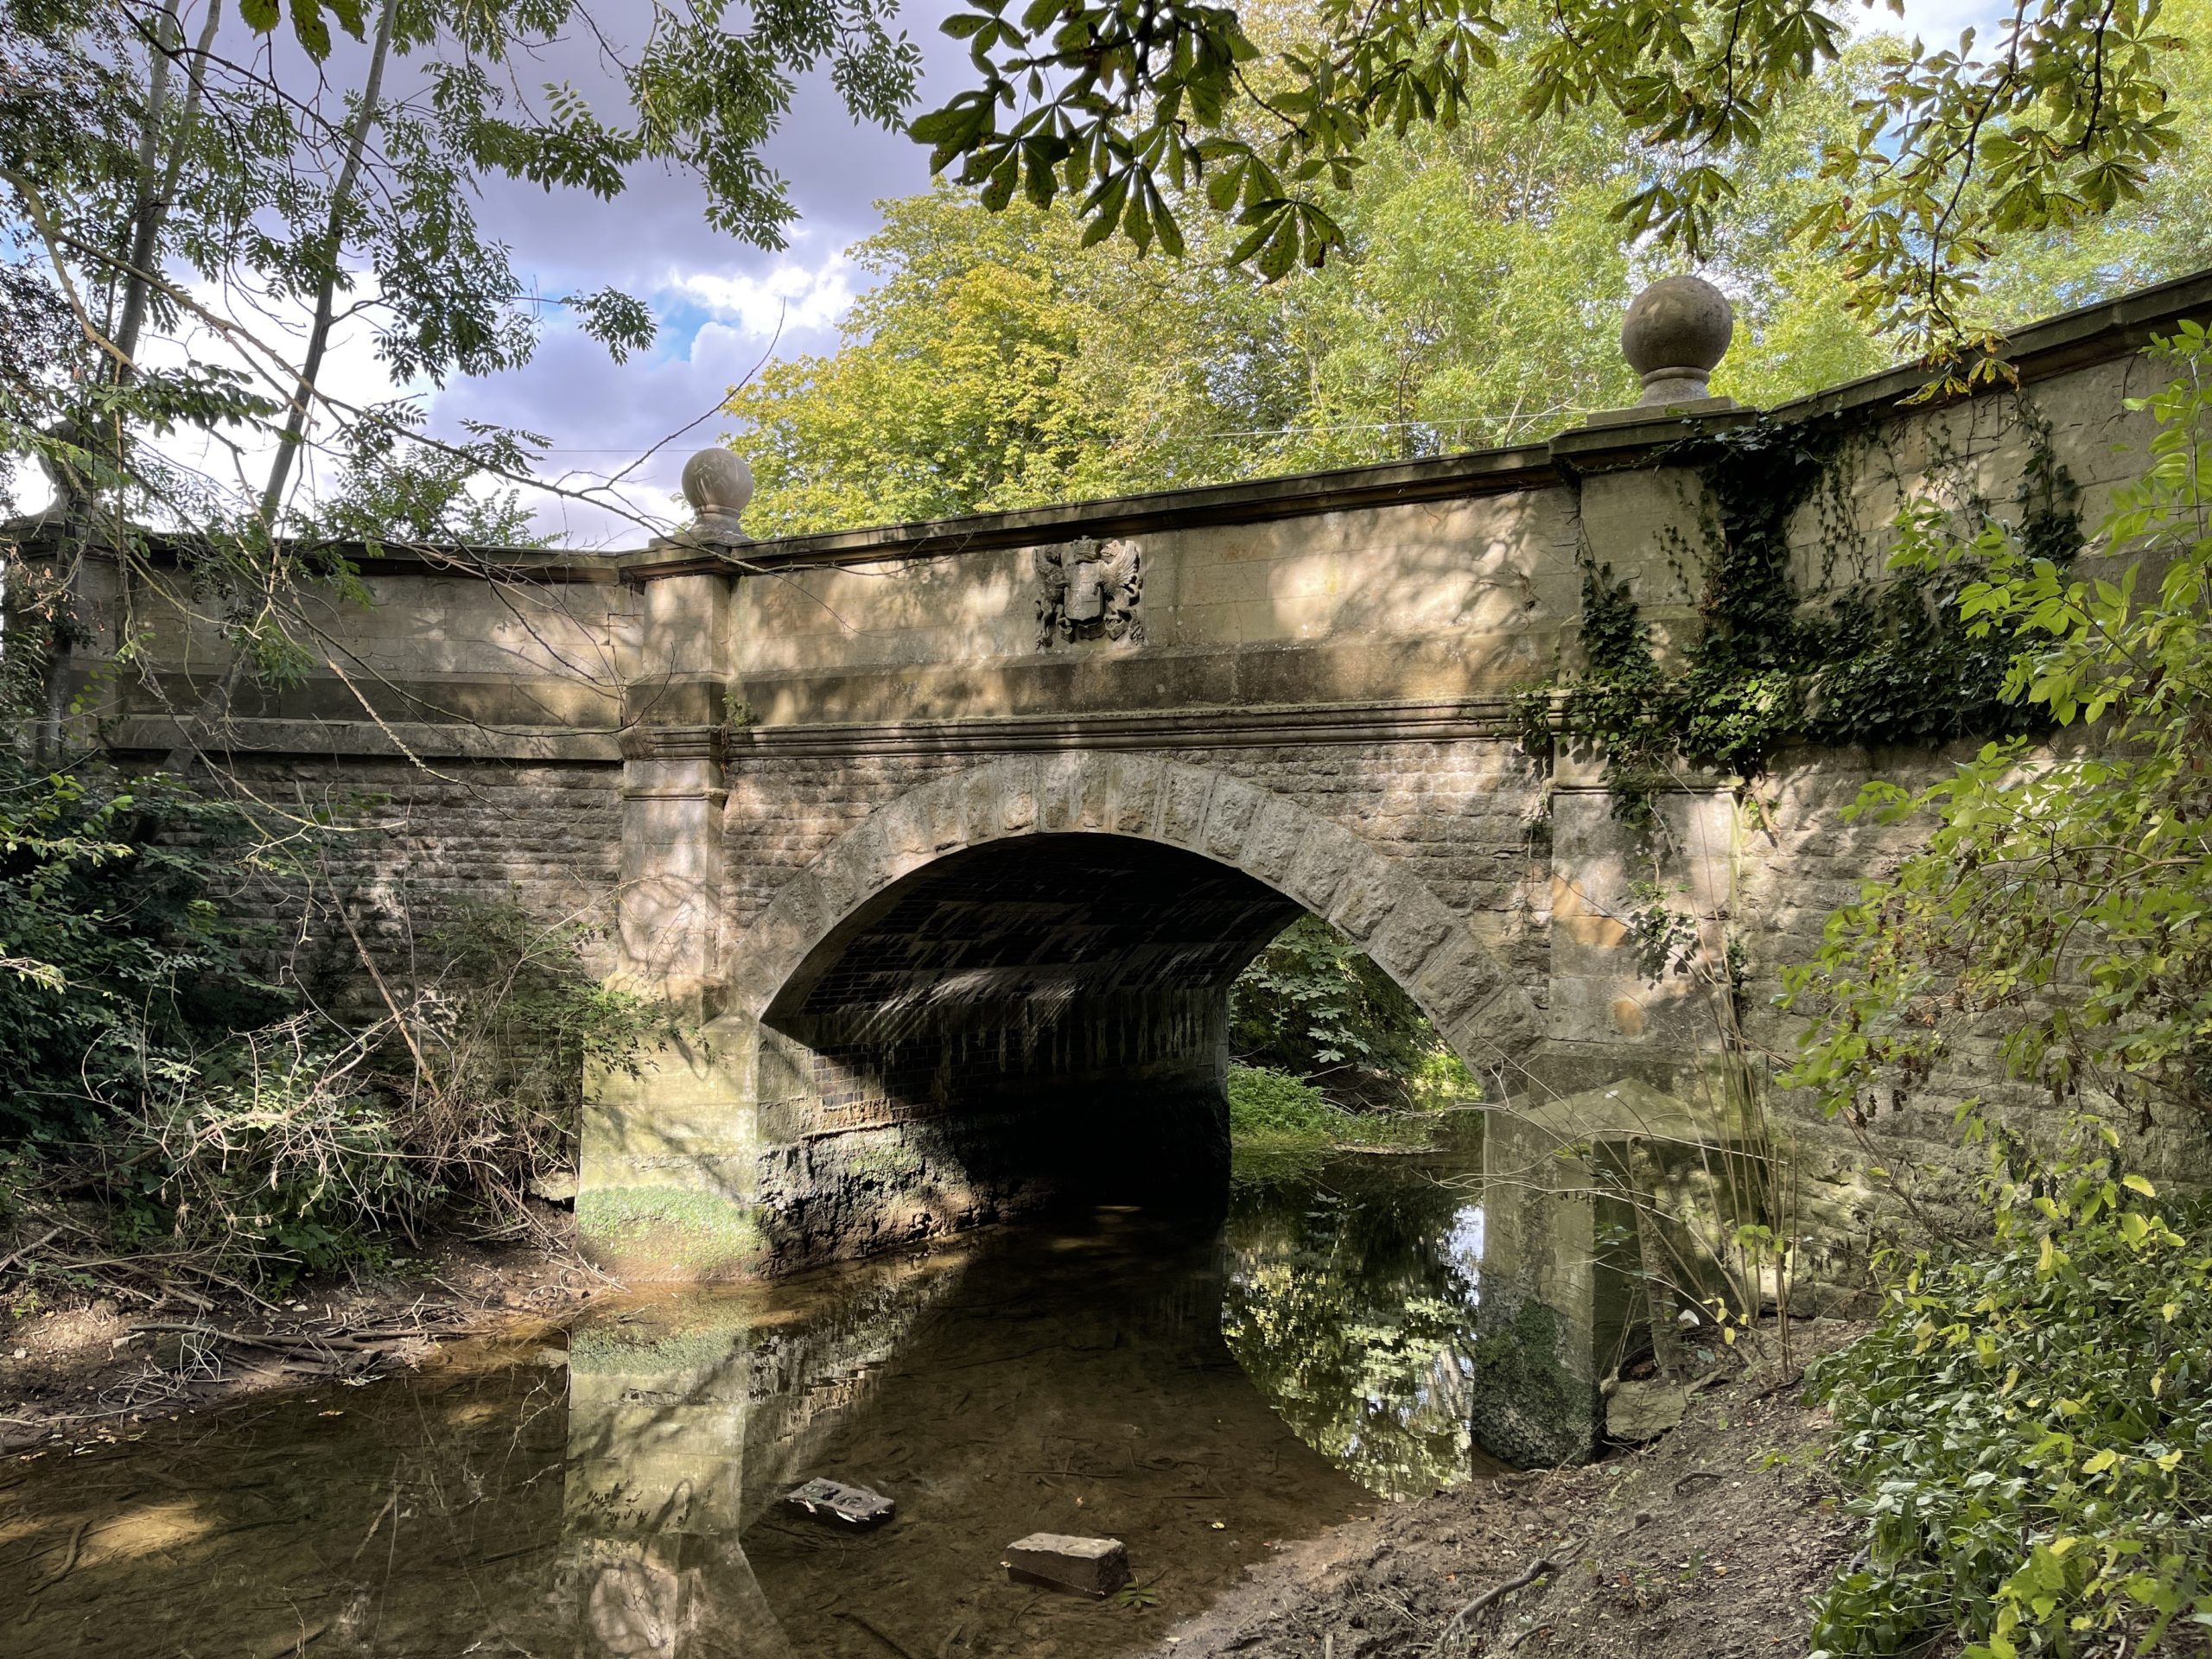
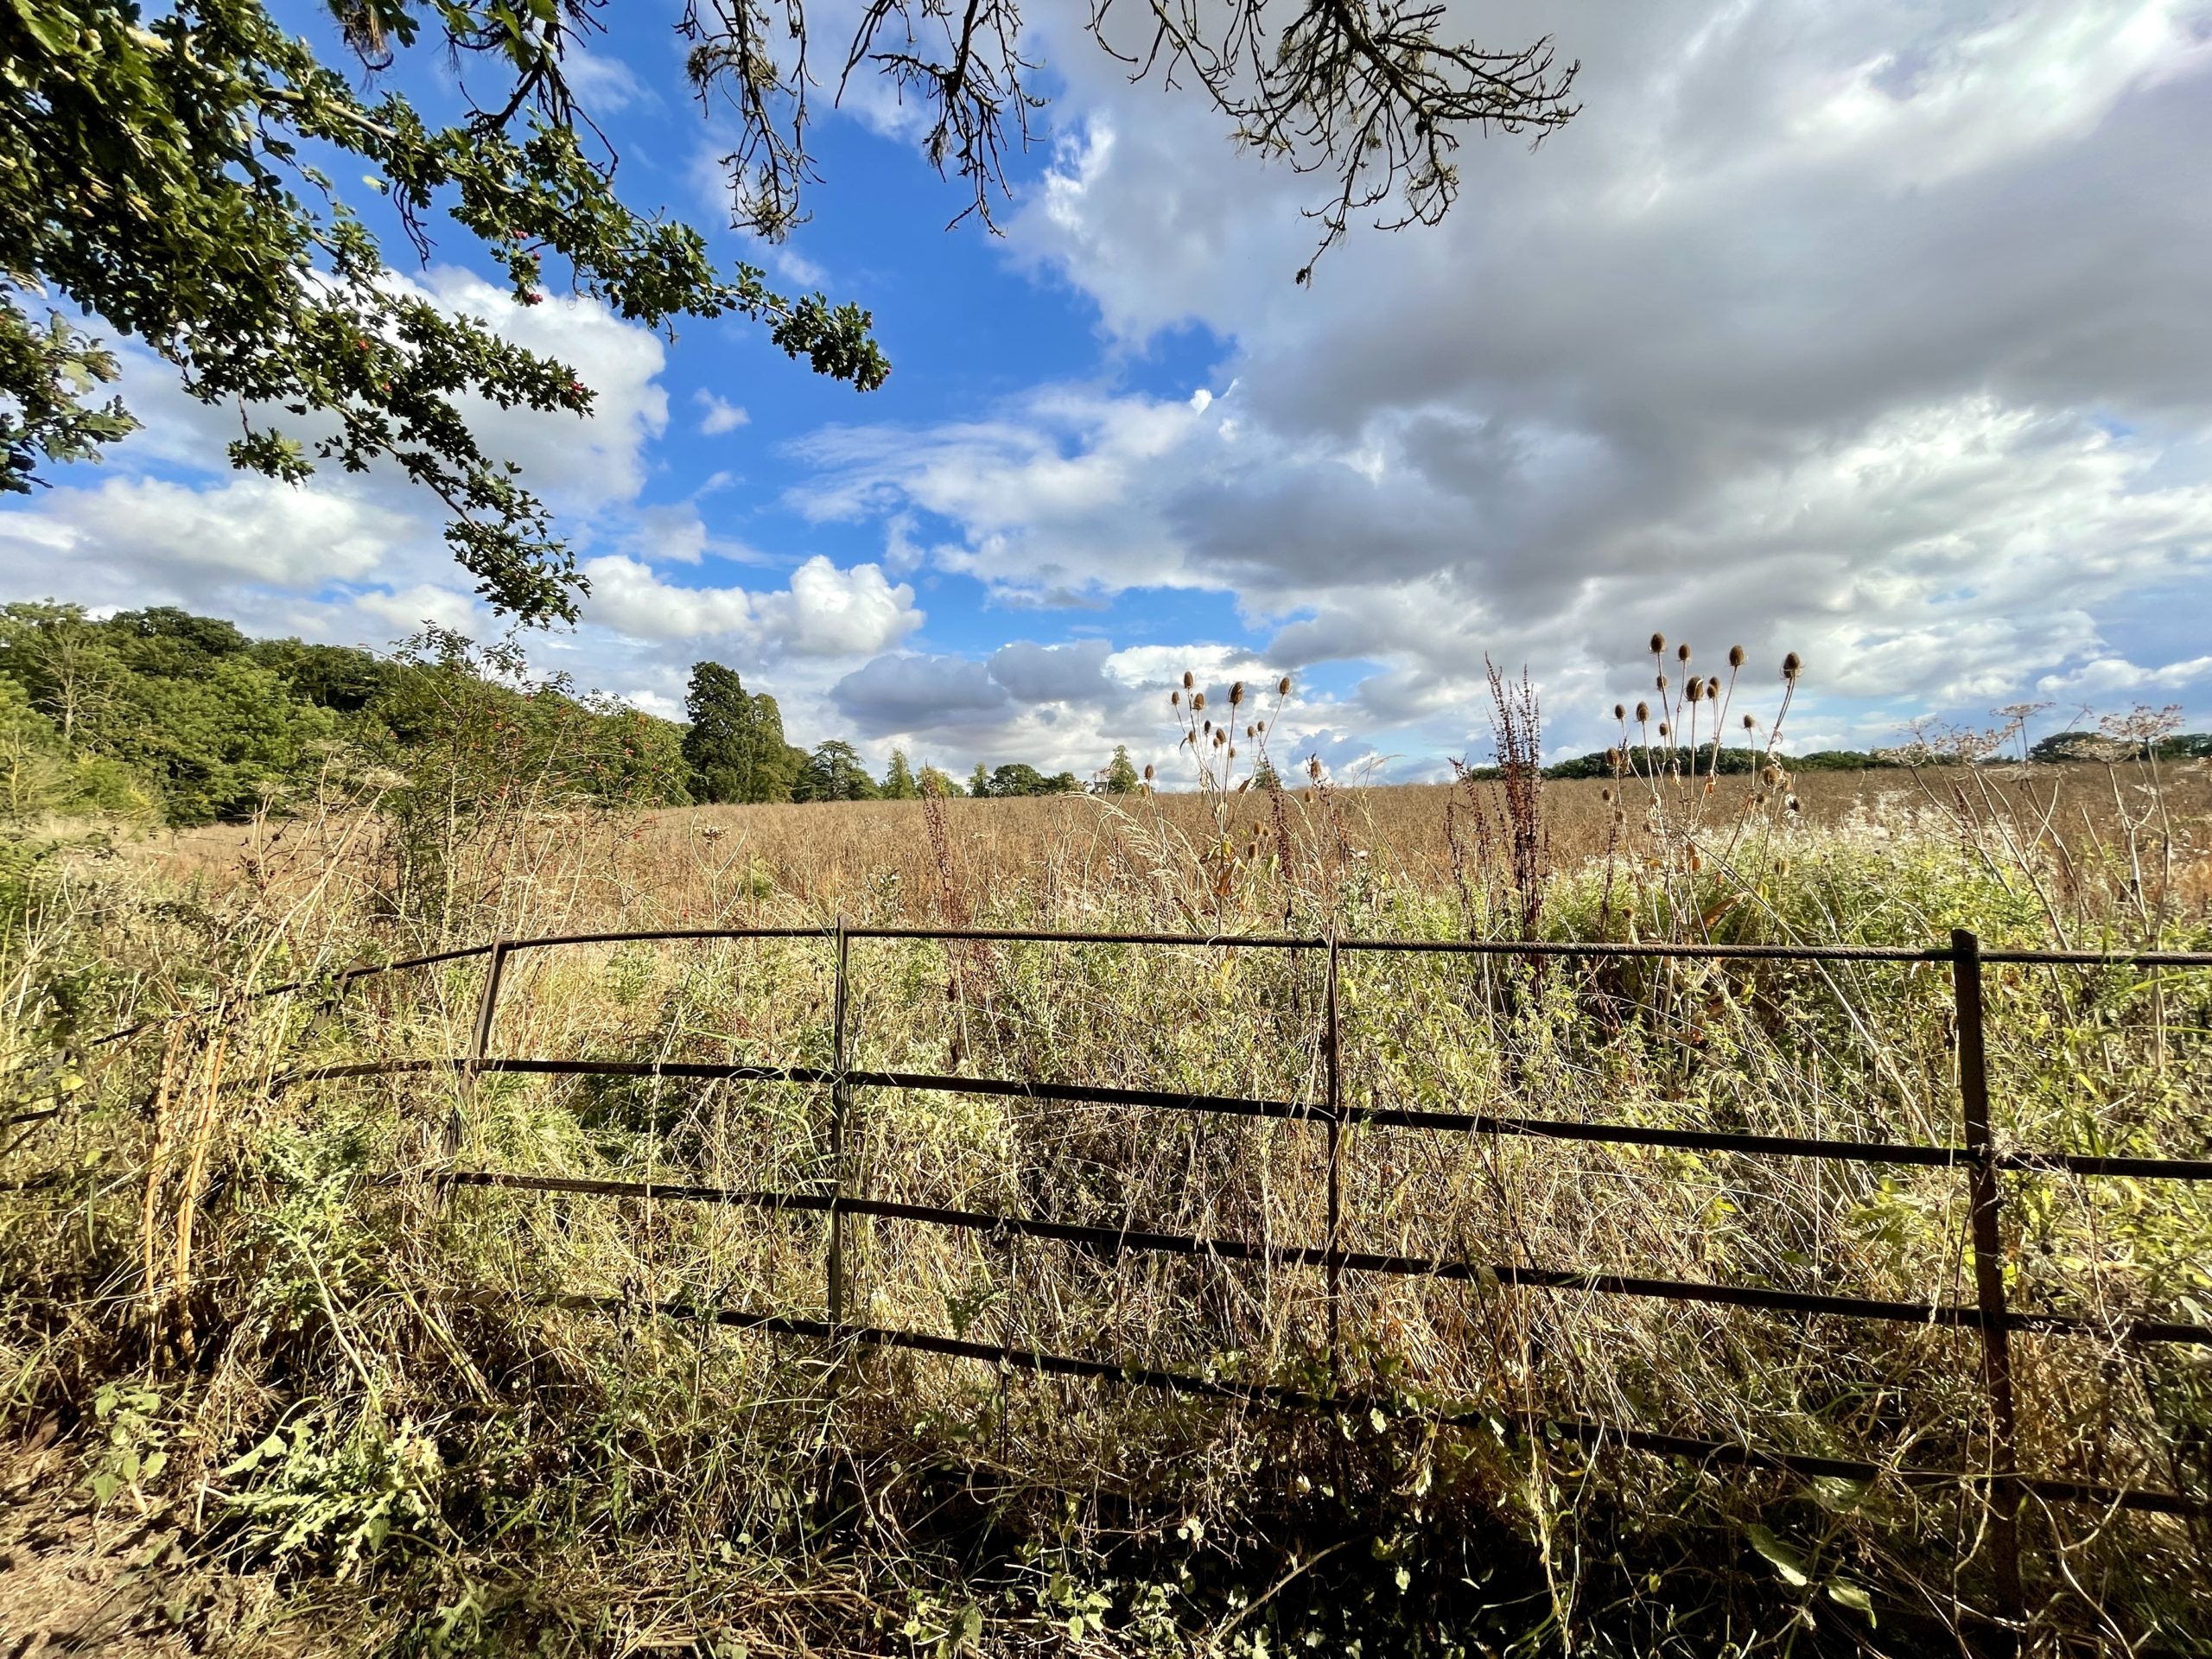
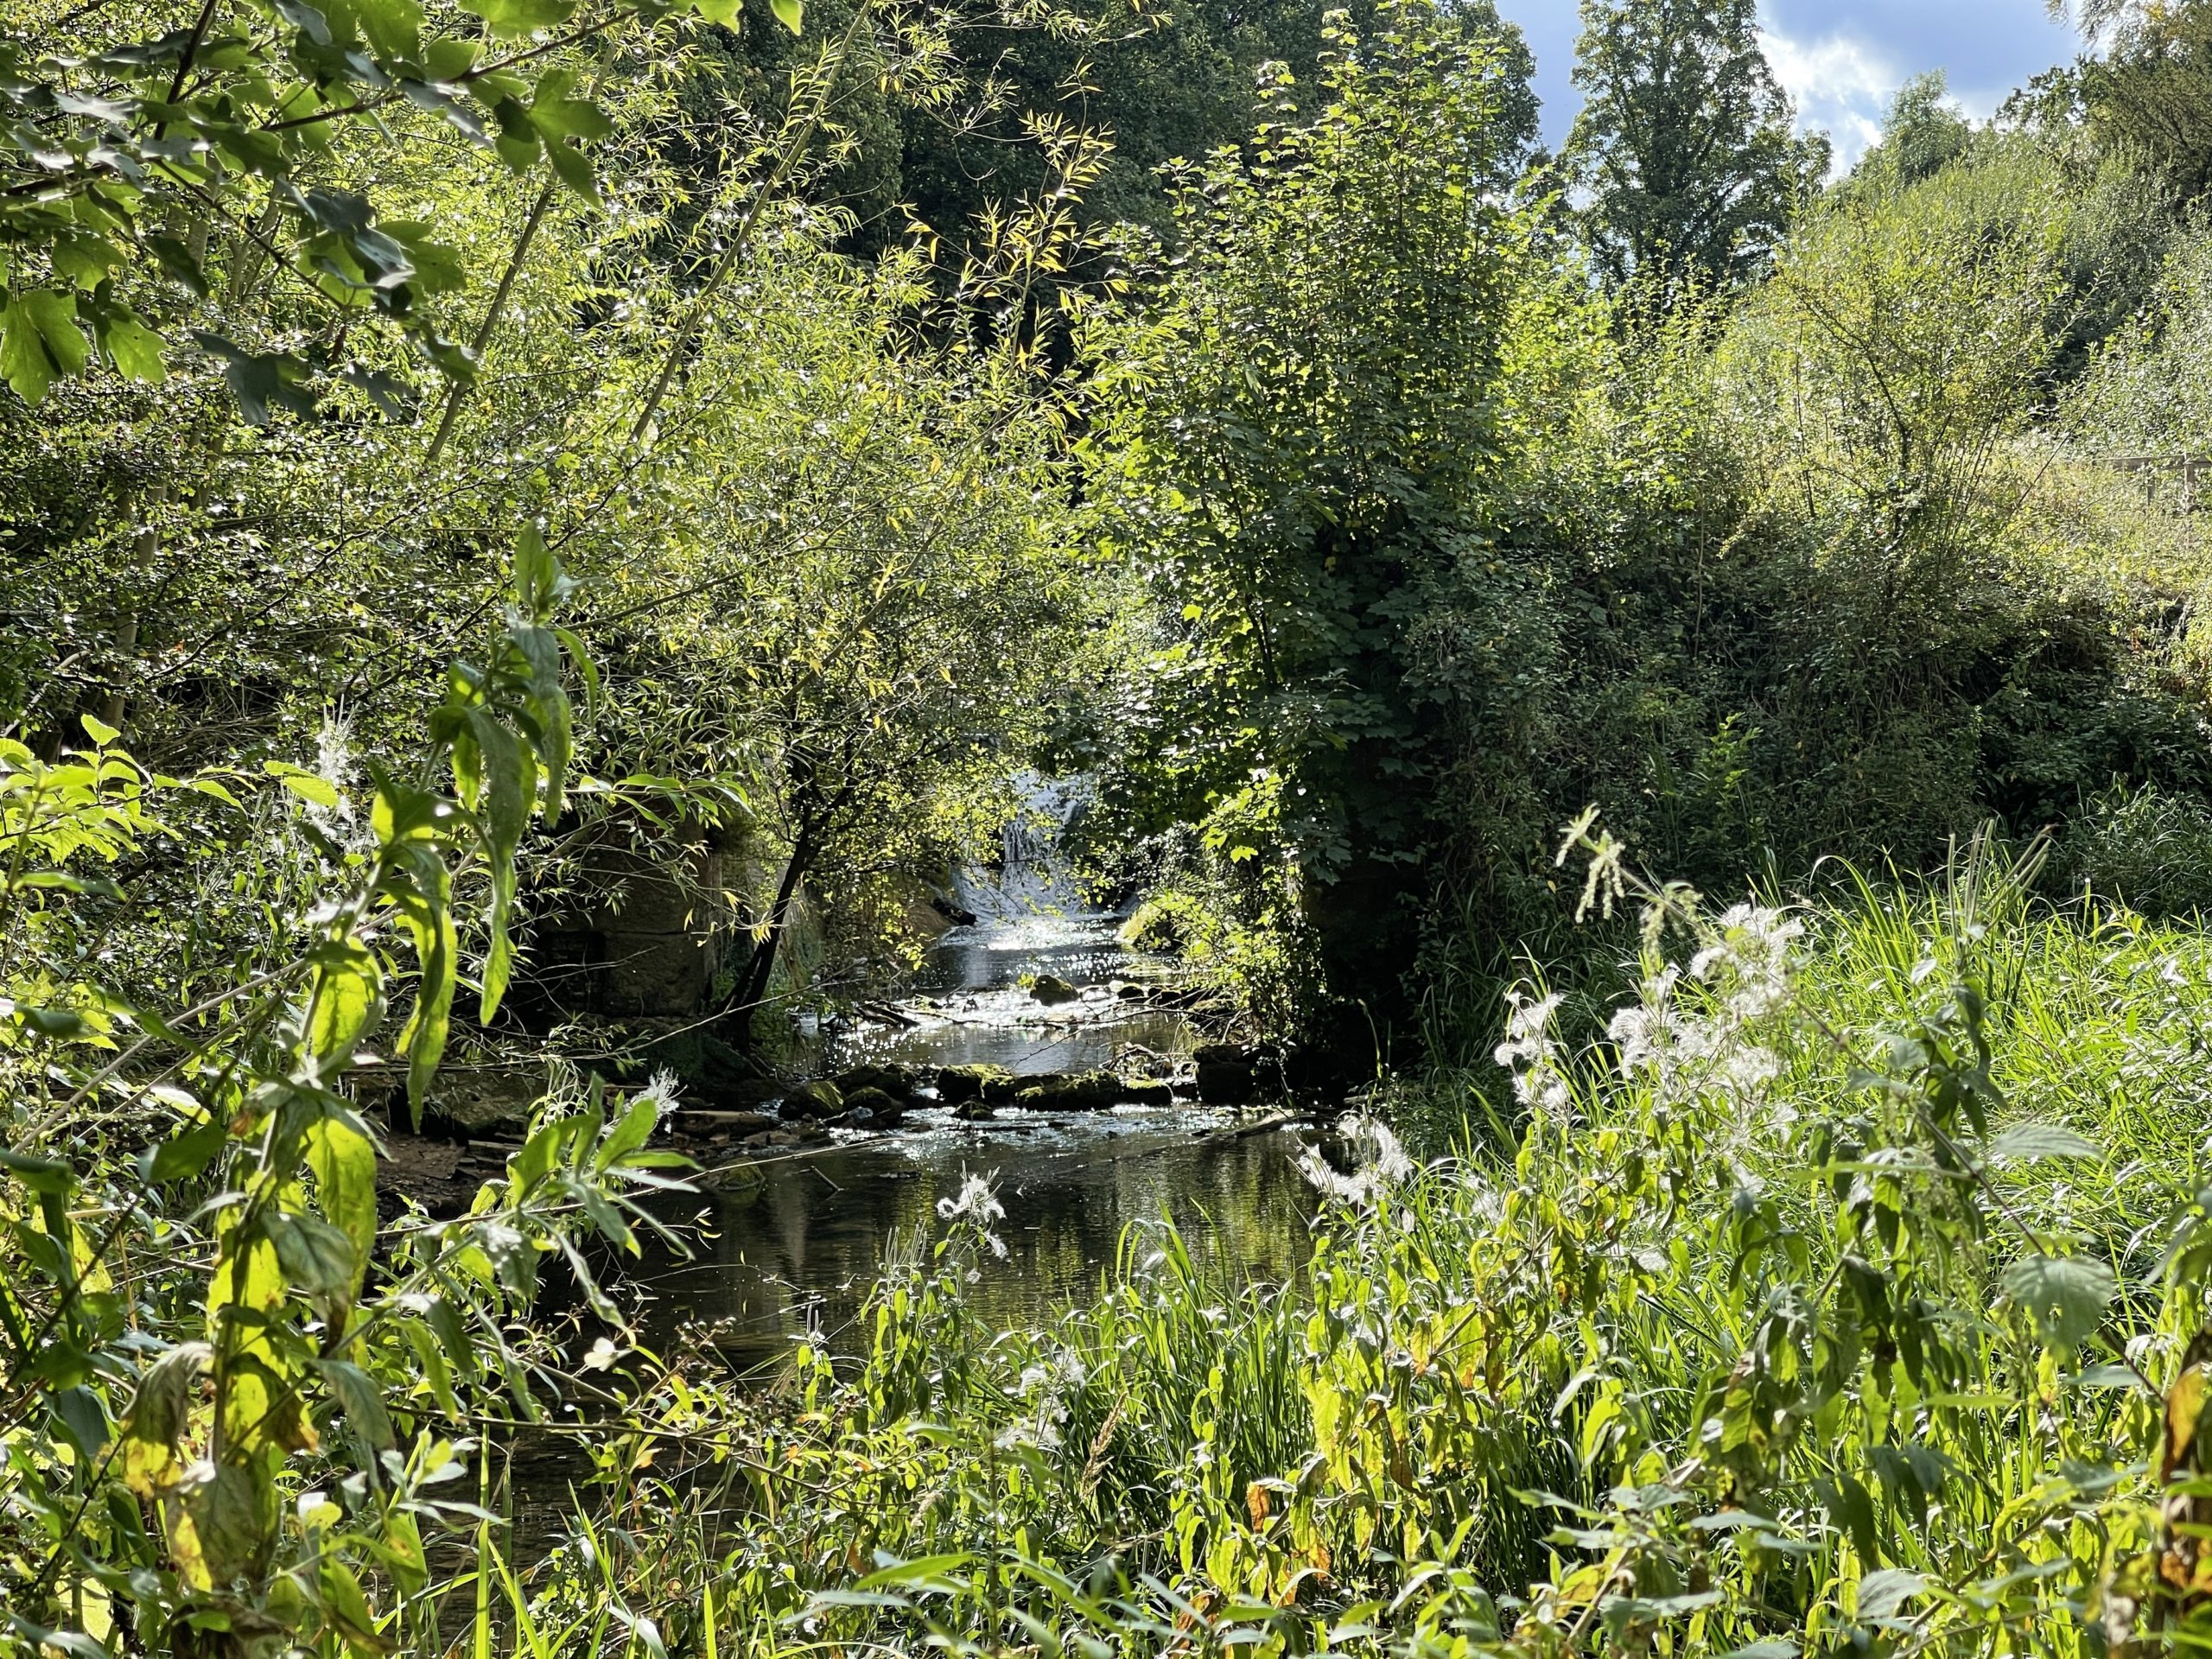
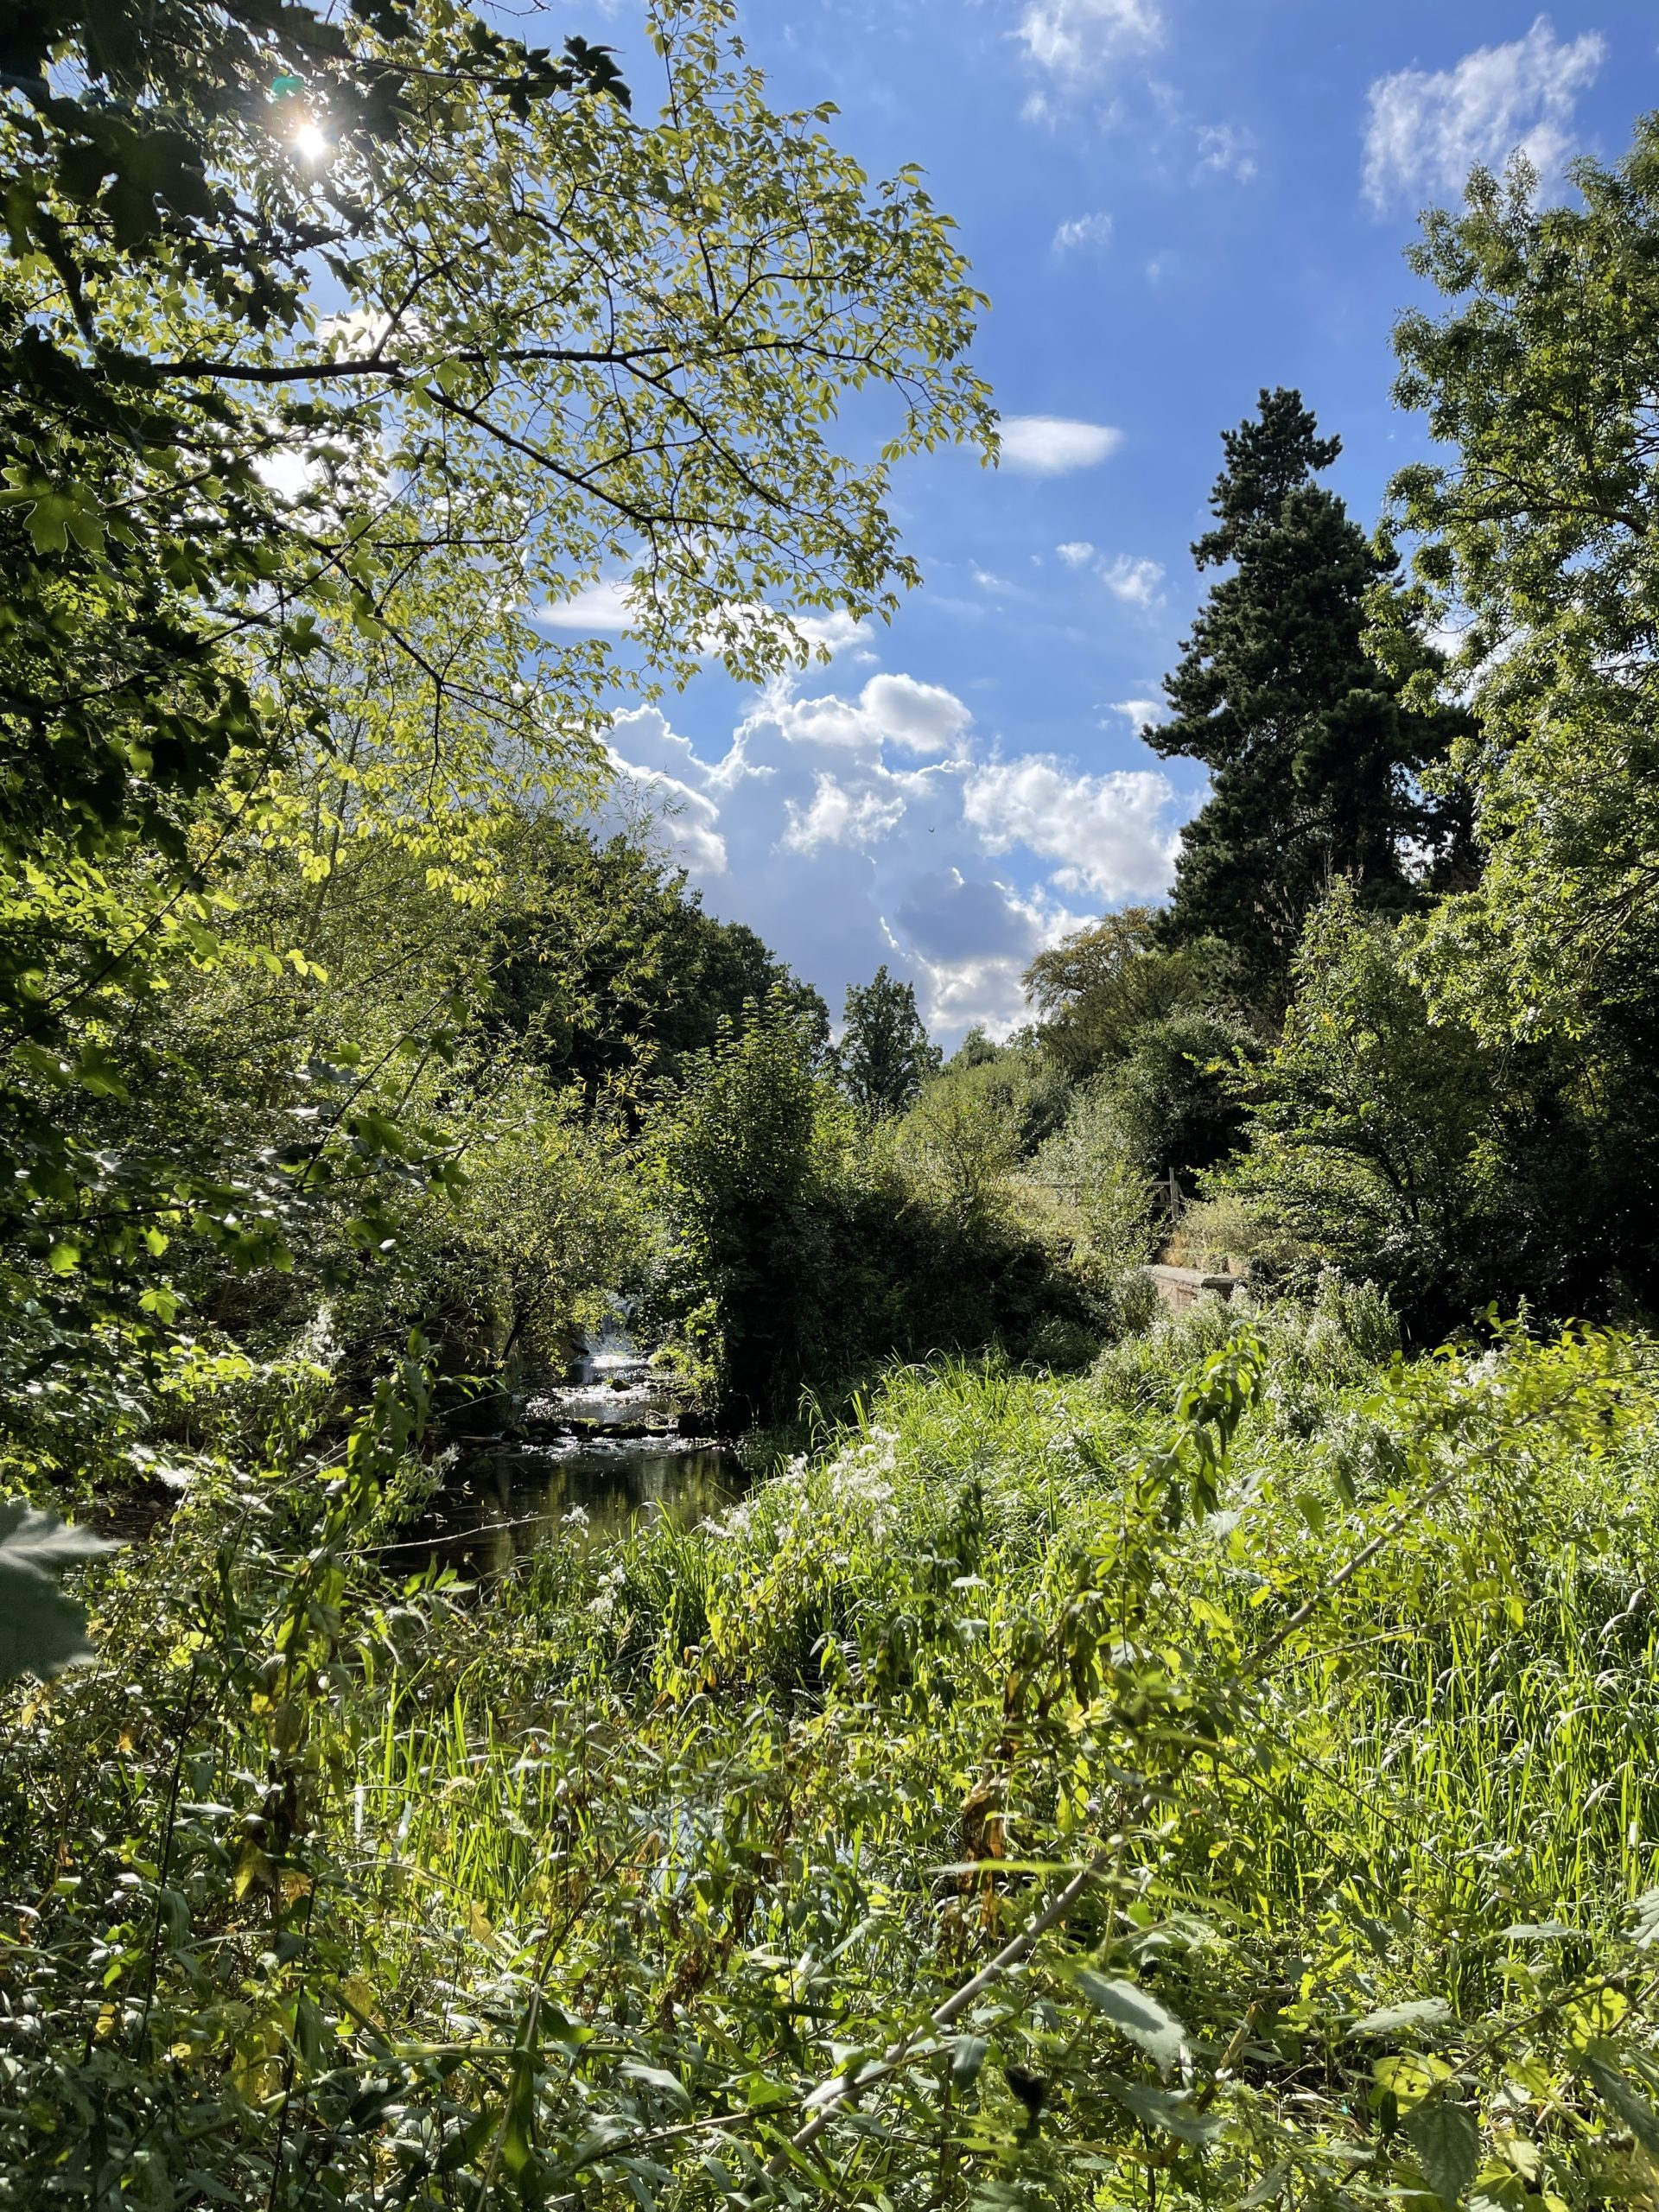
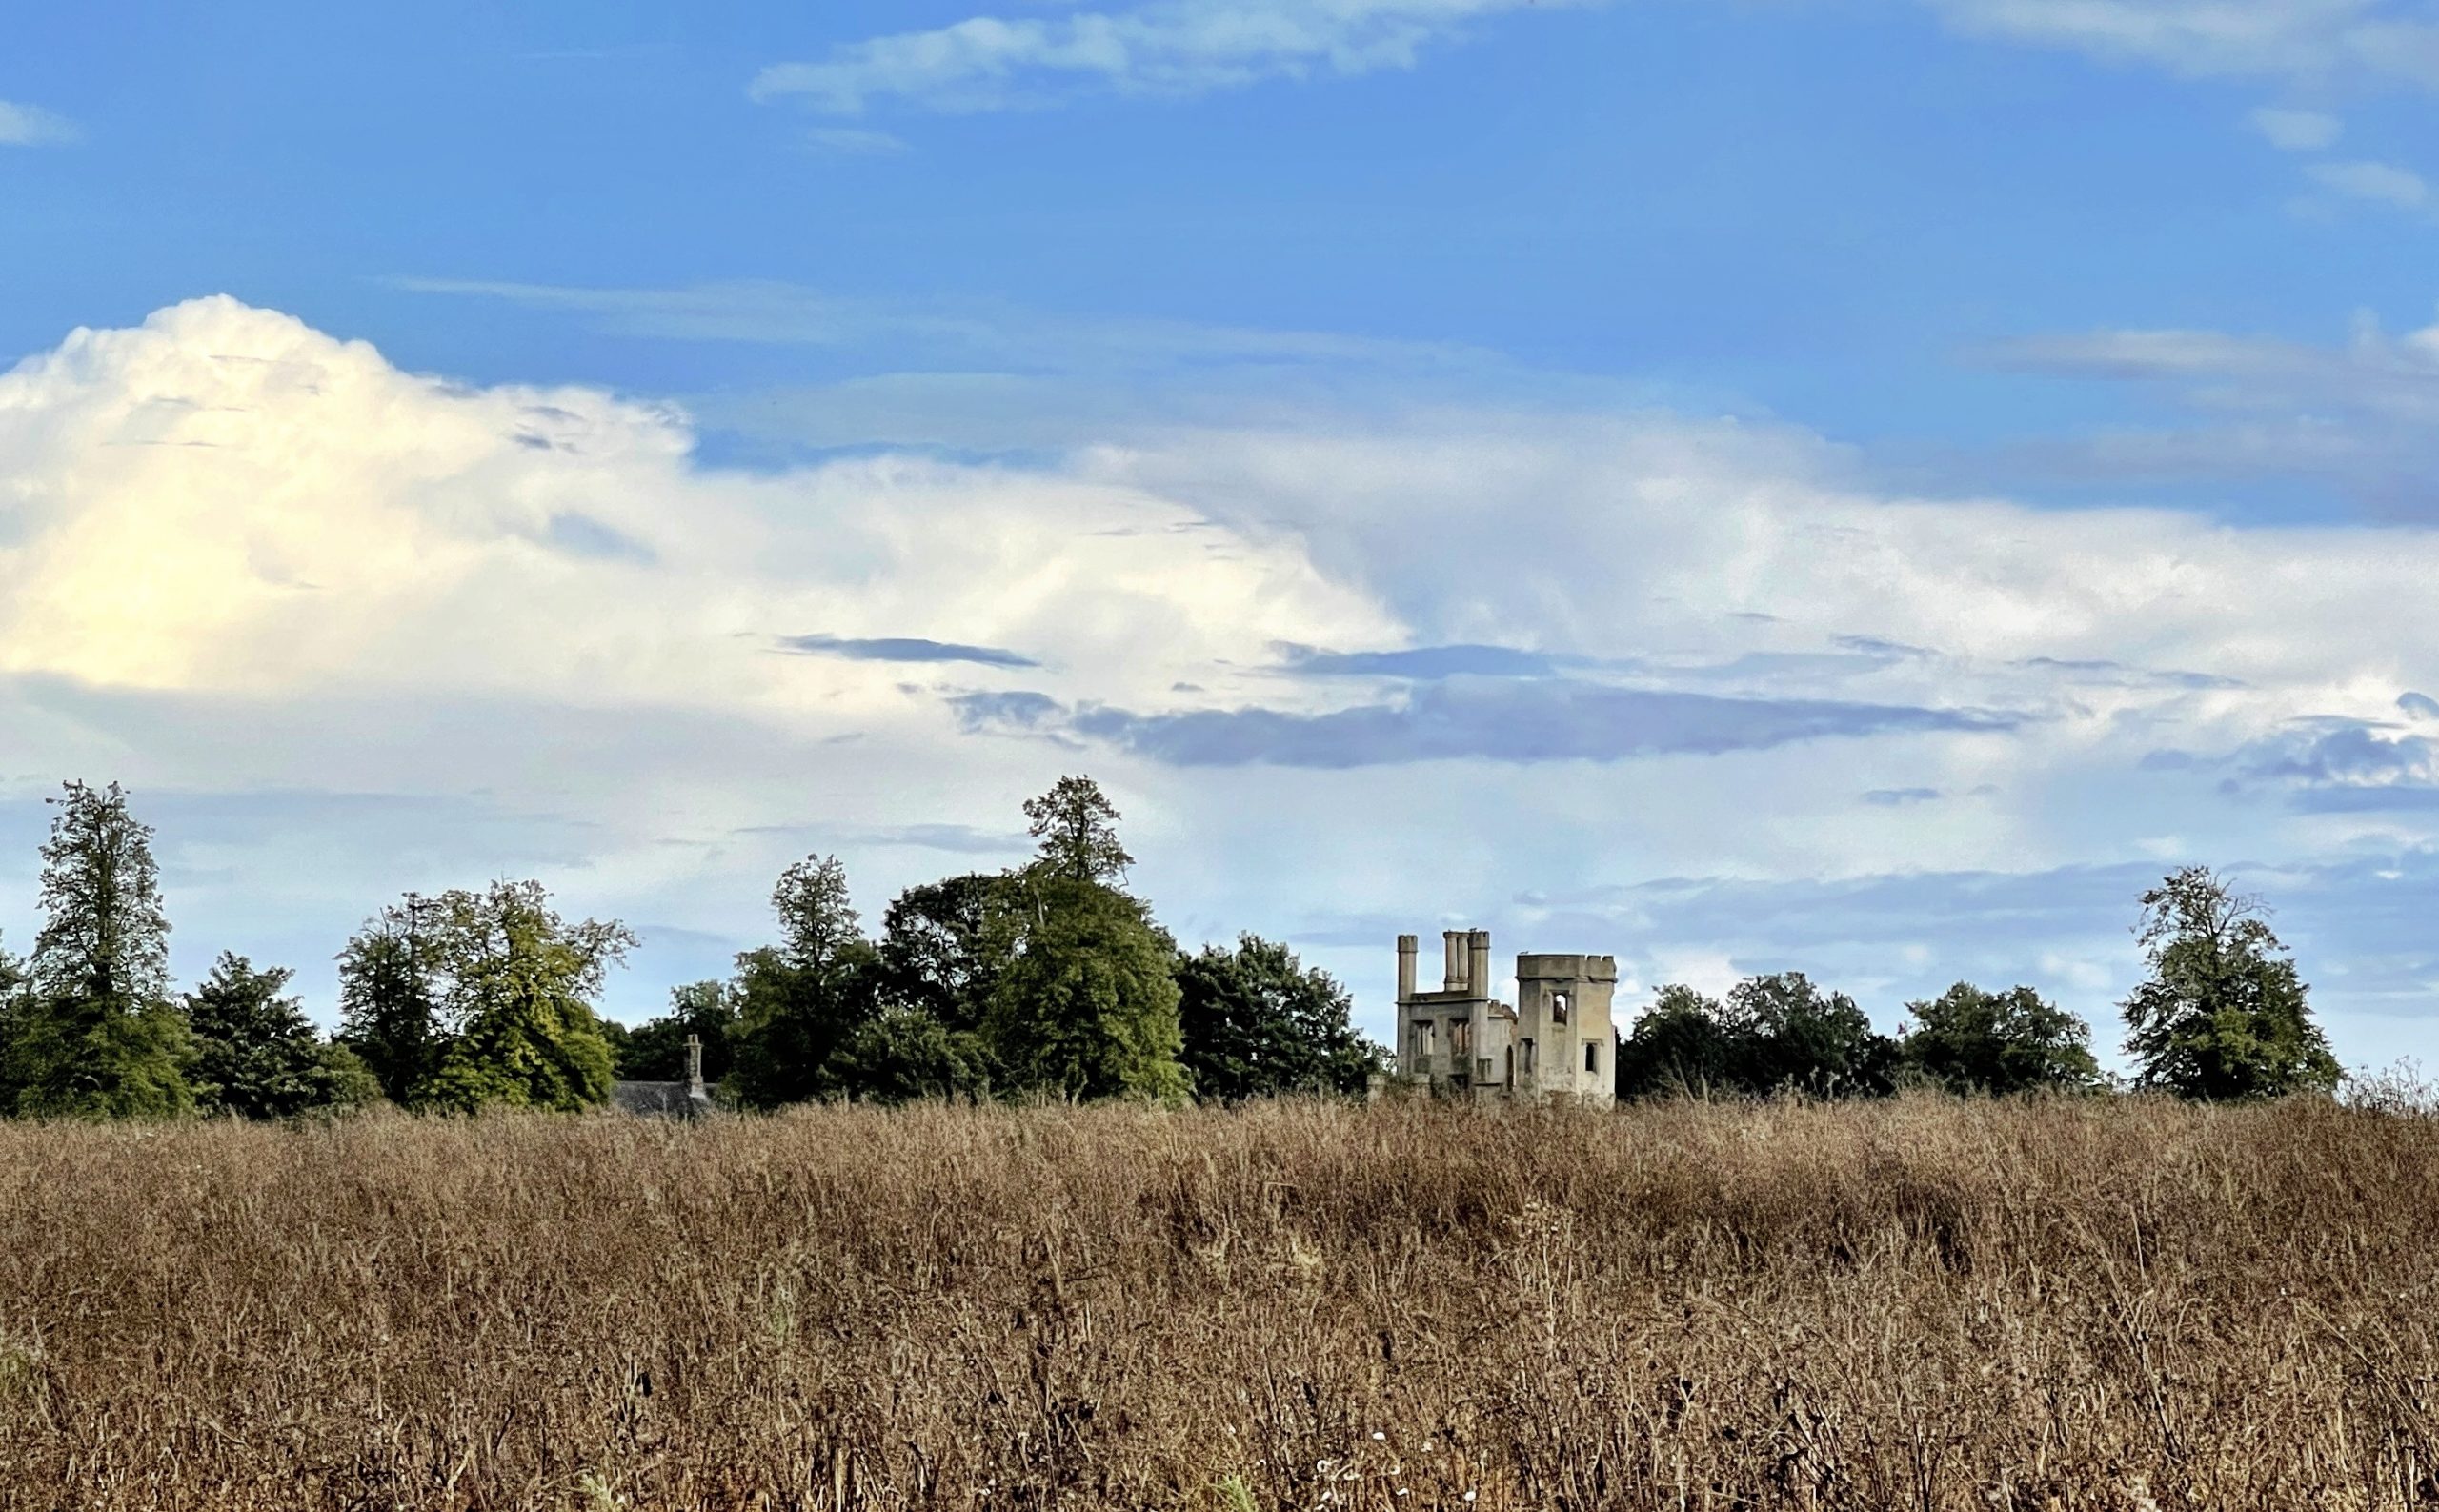
As I had the day off because of the American Football, I made bread and went for a walk, took some photos in what may be the last of the summer sunshine and made some coffee. I grabbed my Finnish haversack and some lightweight gear and headed out before the rain came. (Some of this blog was written whilst I was walking and some when I got home.)
Coffee
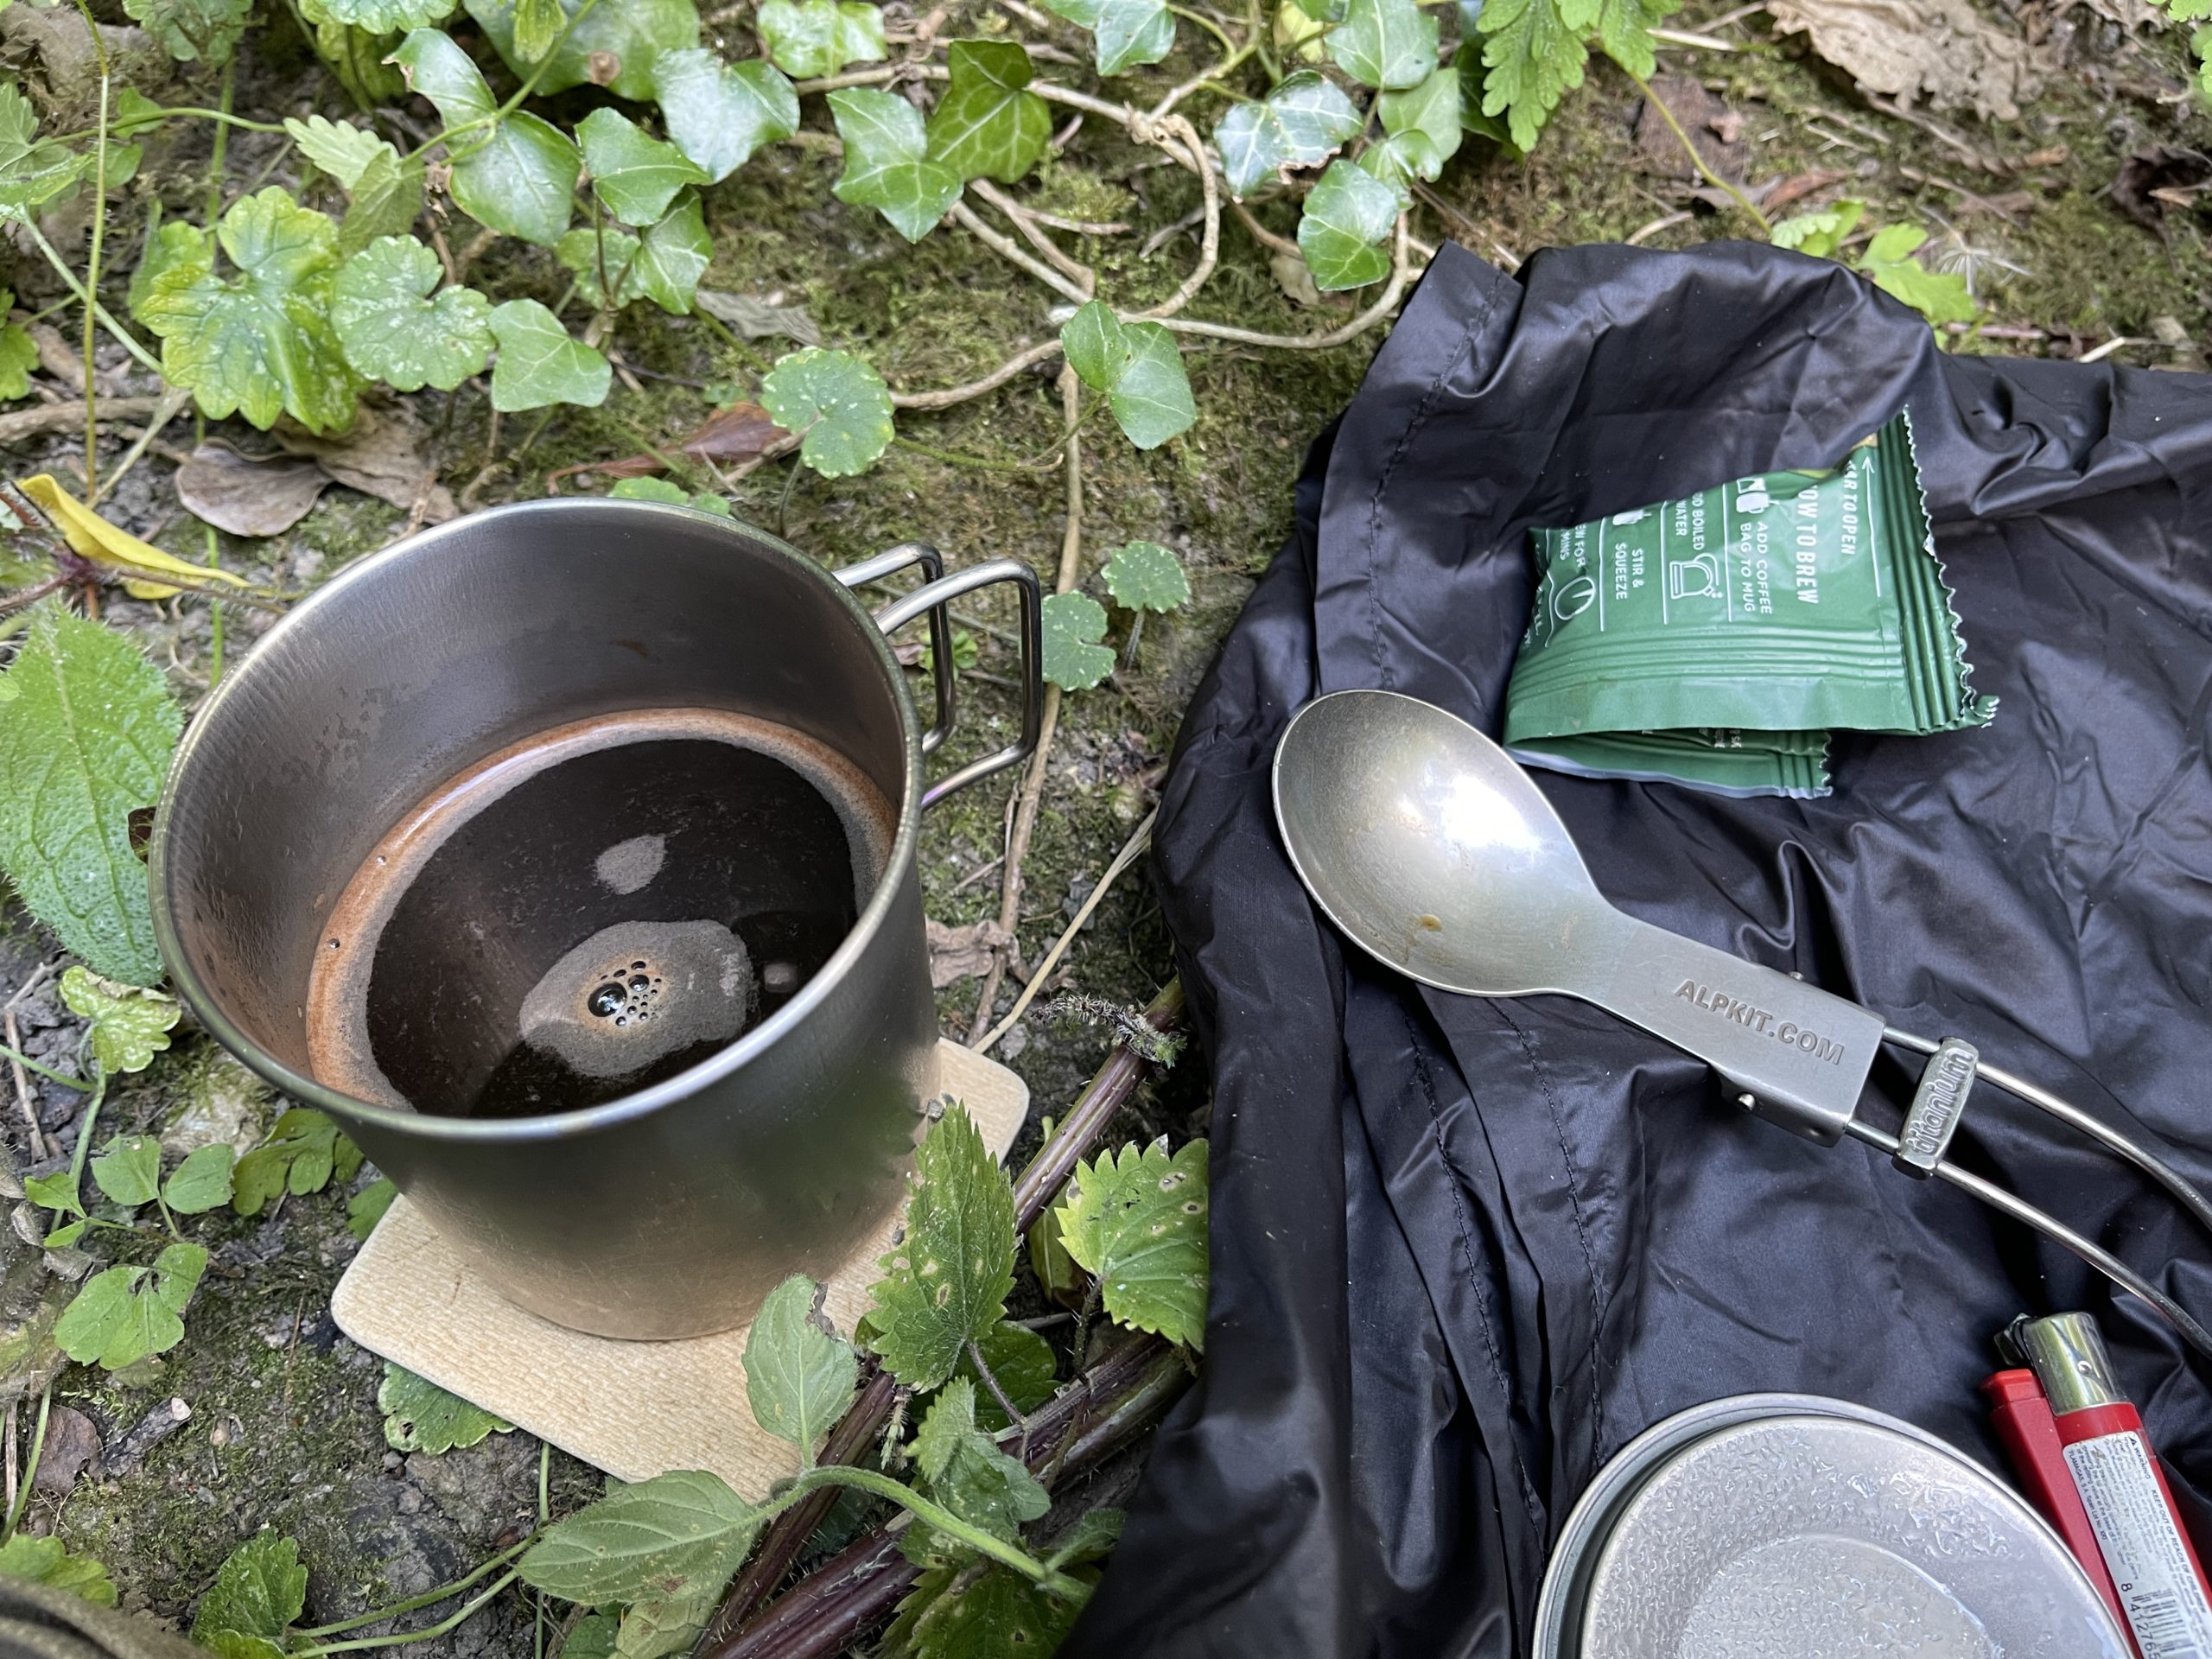
I found a log down by the river to sit on to make some coffee.
I have a small twig stove from Bushcraft Essentials, in my cook set but I use gel fuel in it, and use a Burt’s Bees tin as a burner. I carry the fuel in a re-purposed hand sanitise bottle. It makes a truly lightweight brew stove when out walking – when the tin/burner is brim of fuel it can heat about 250ml of water hot enough for coffee, noodles or soup.
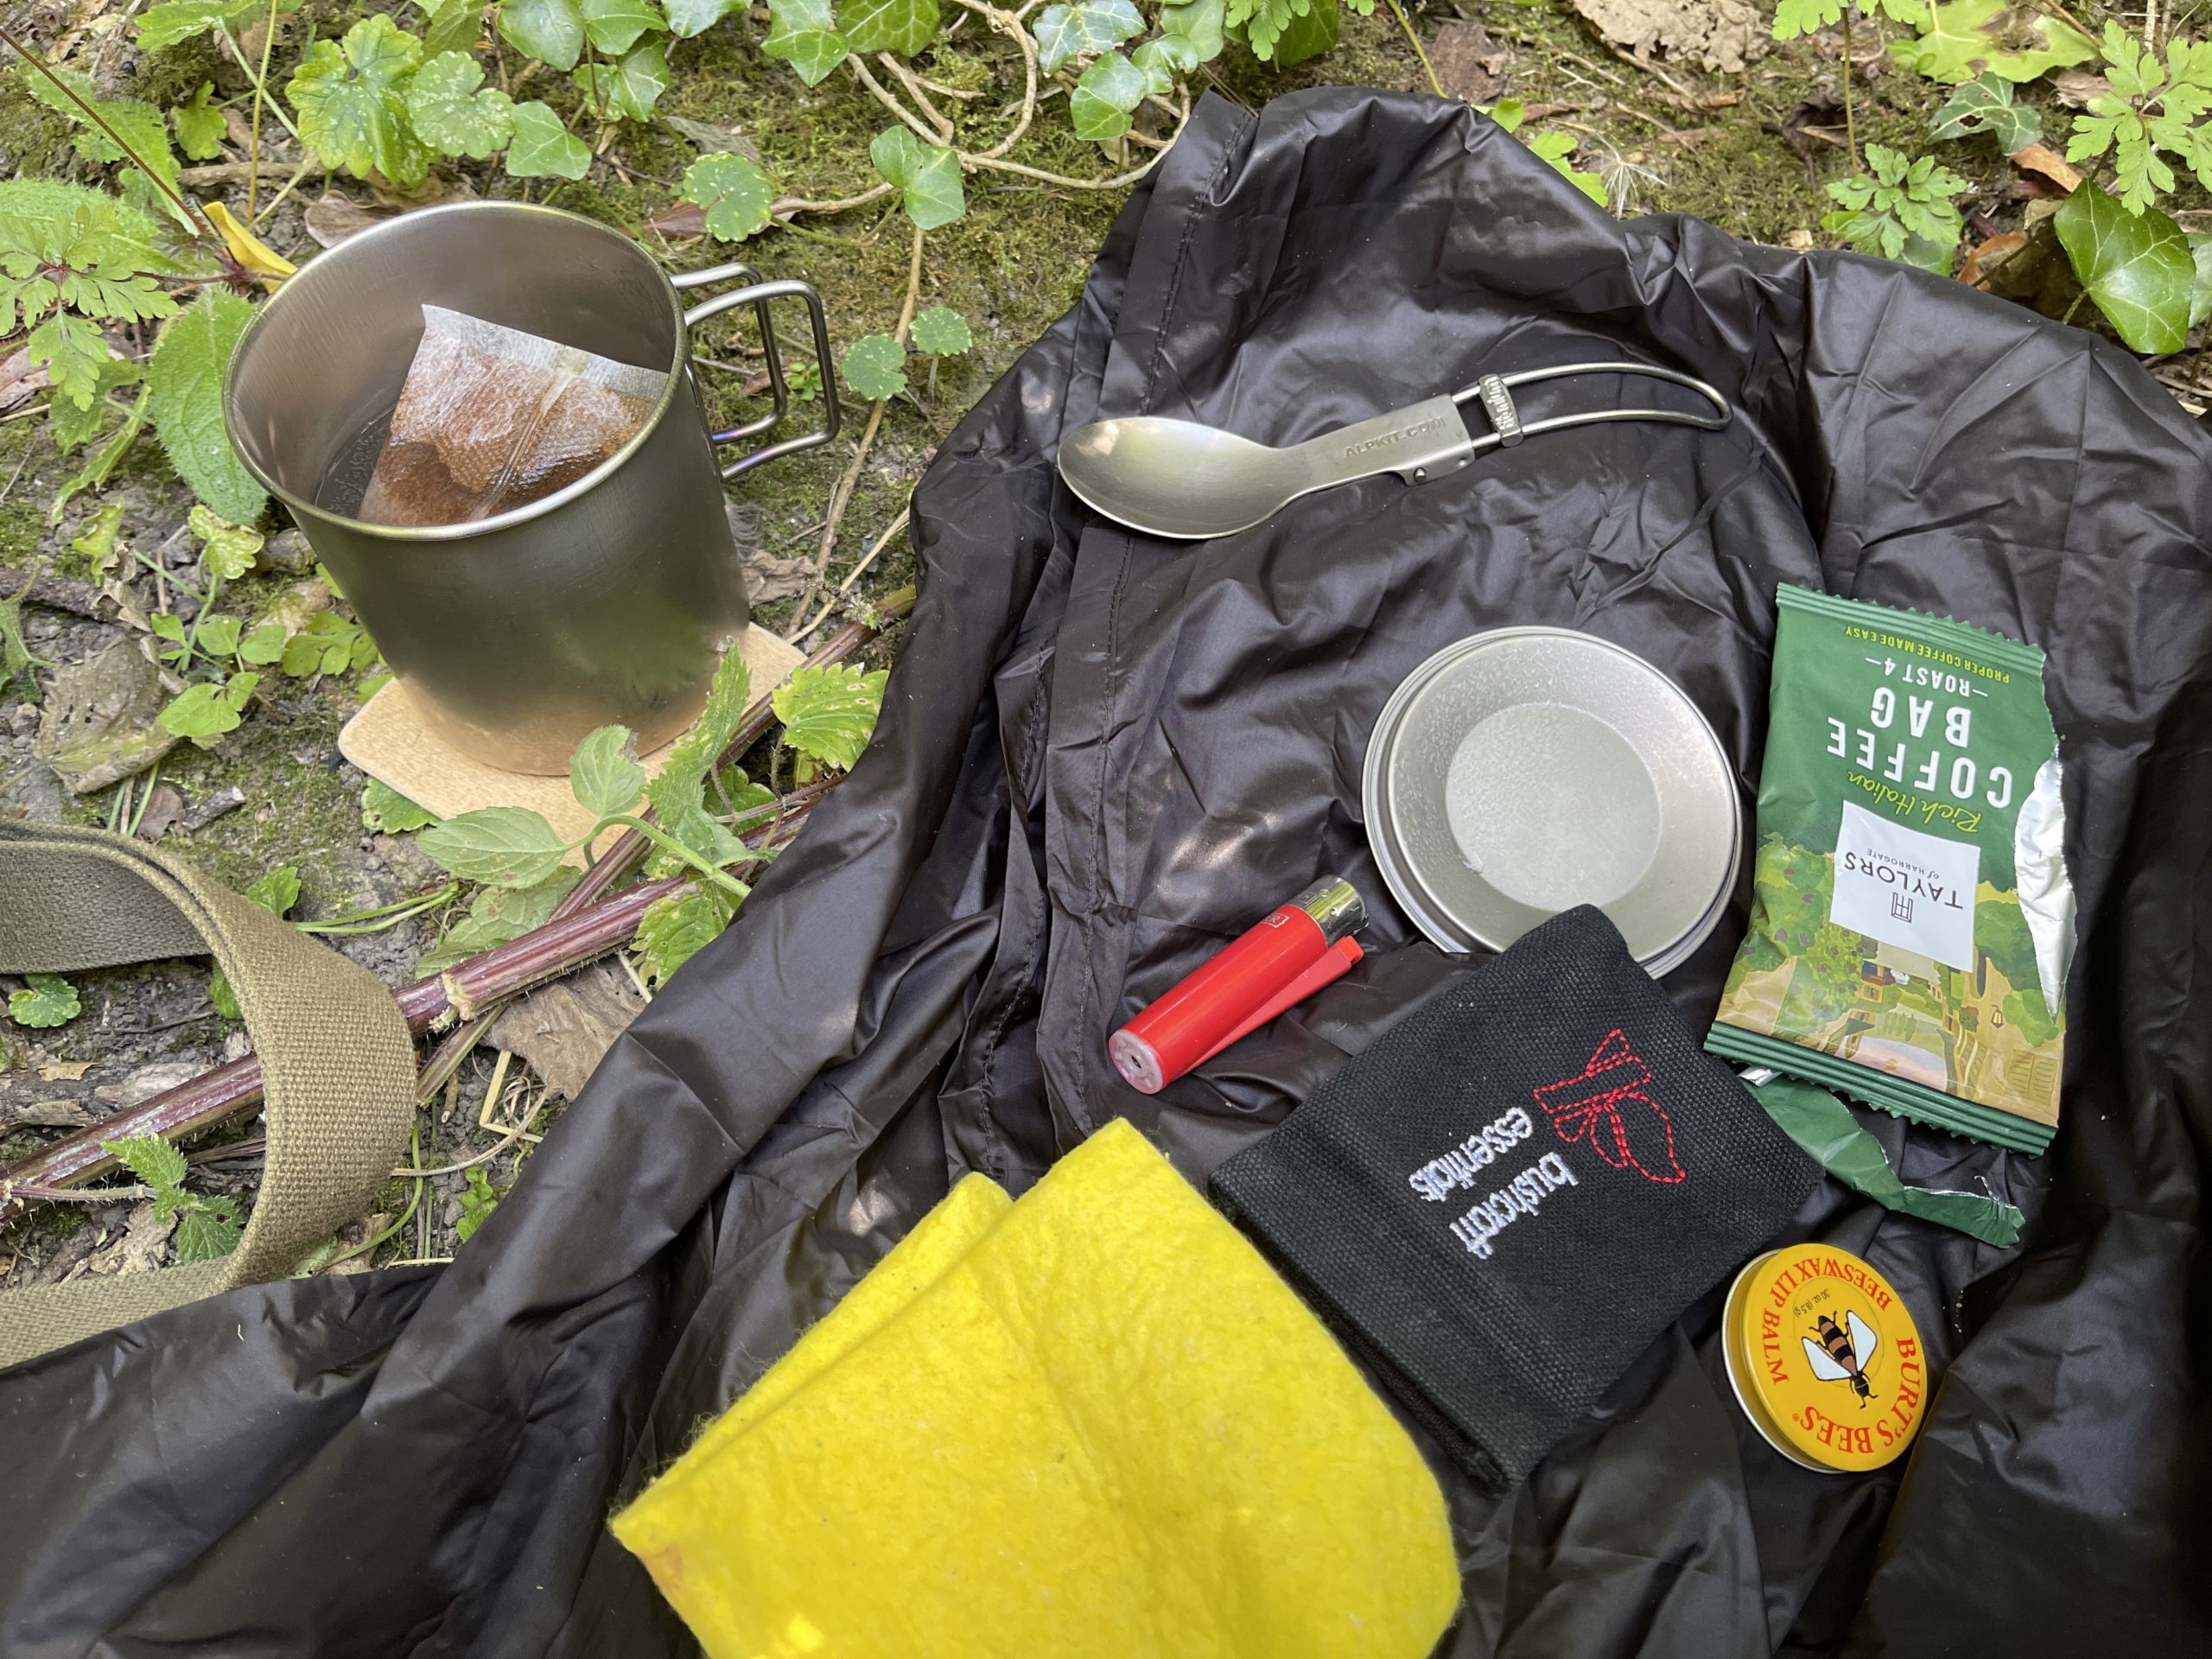
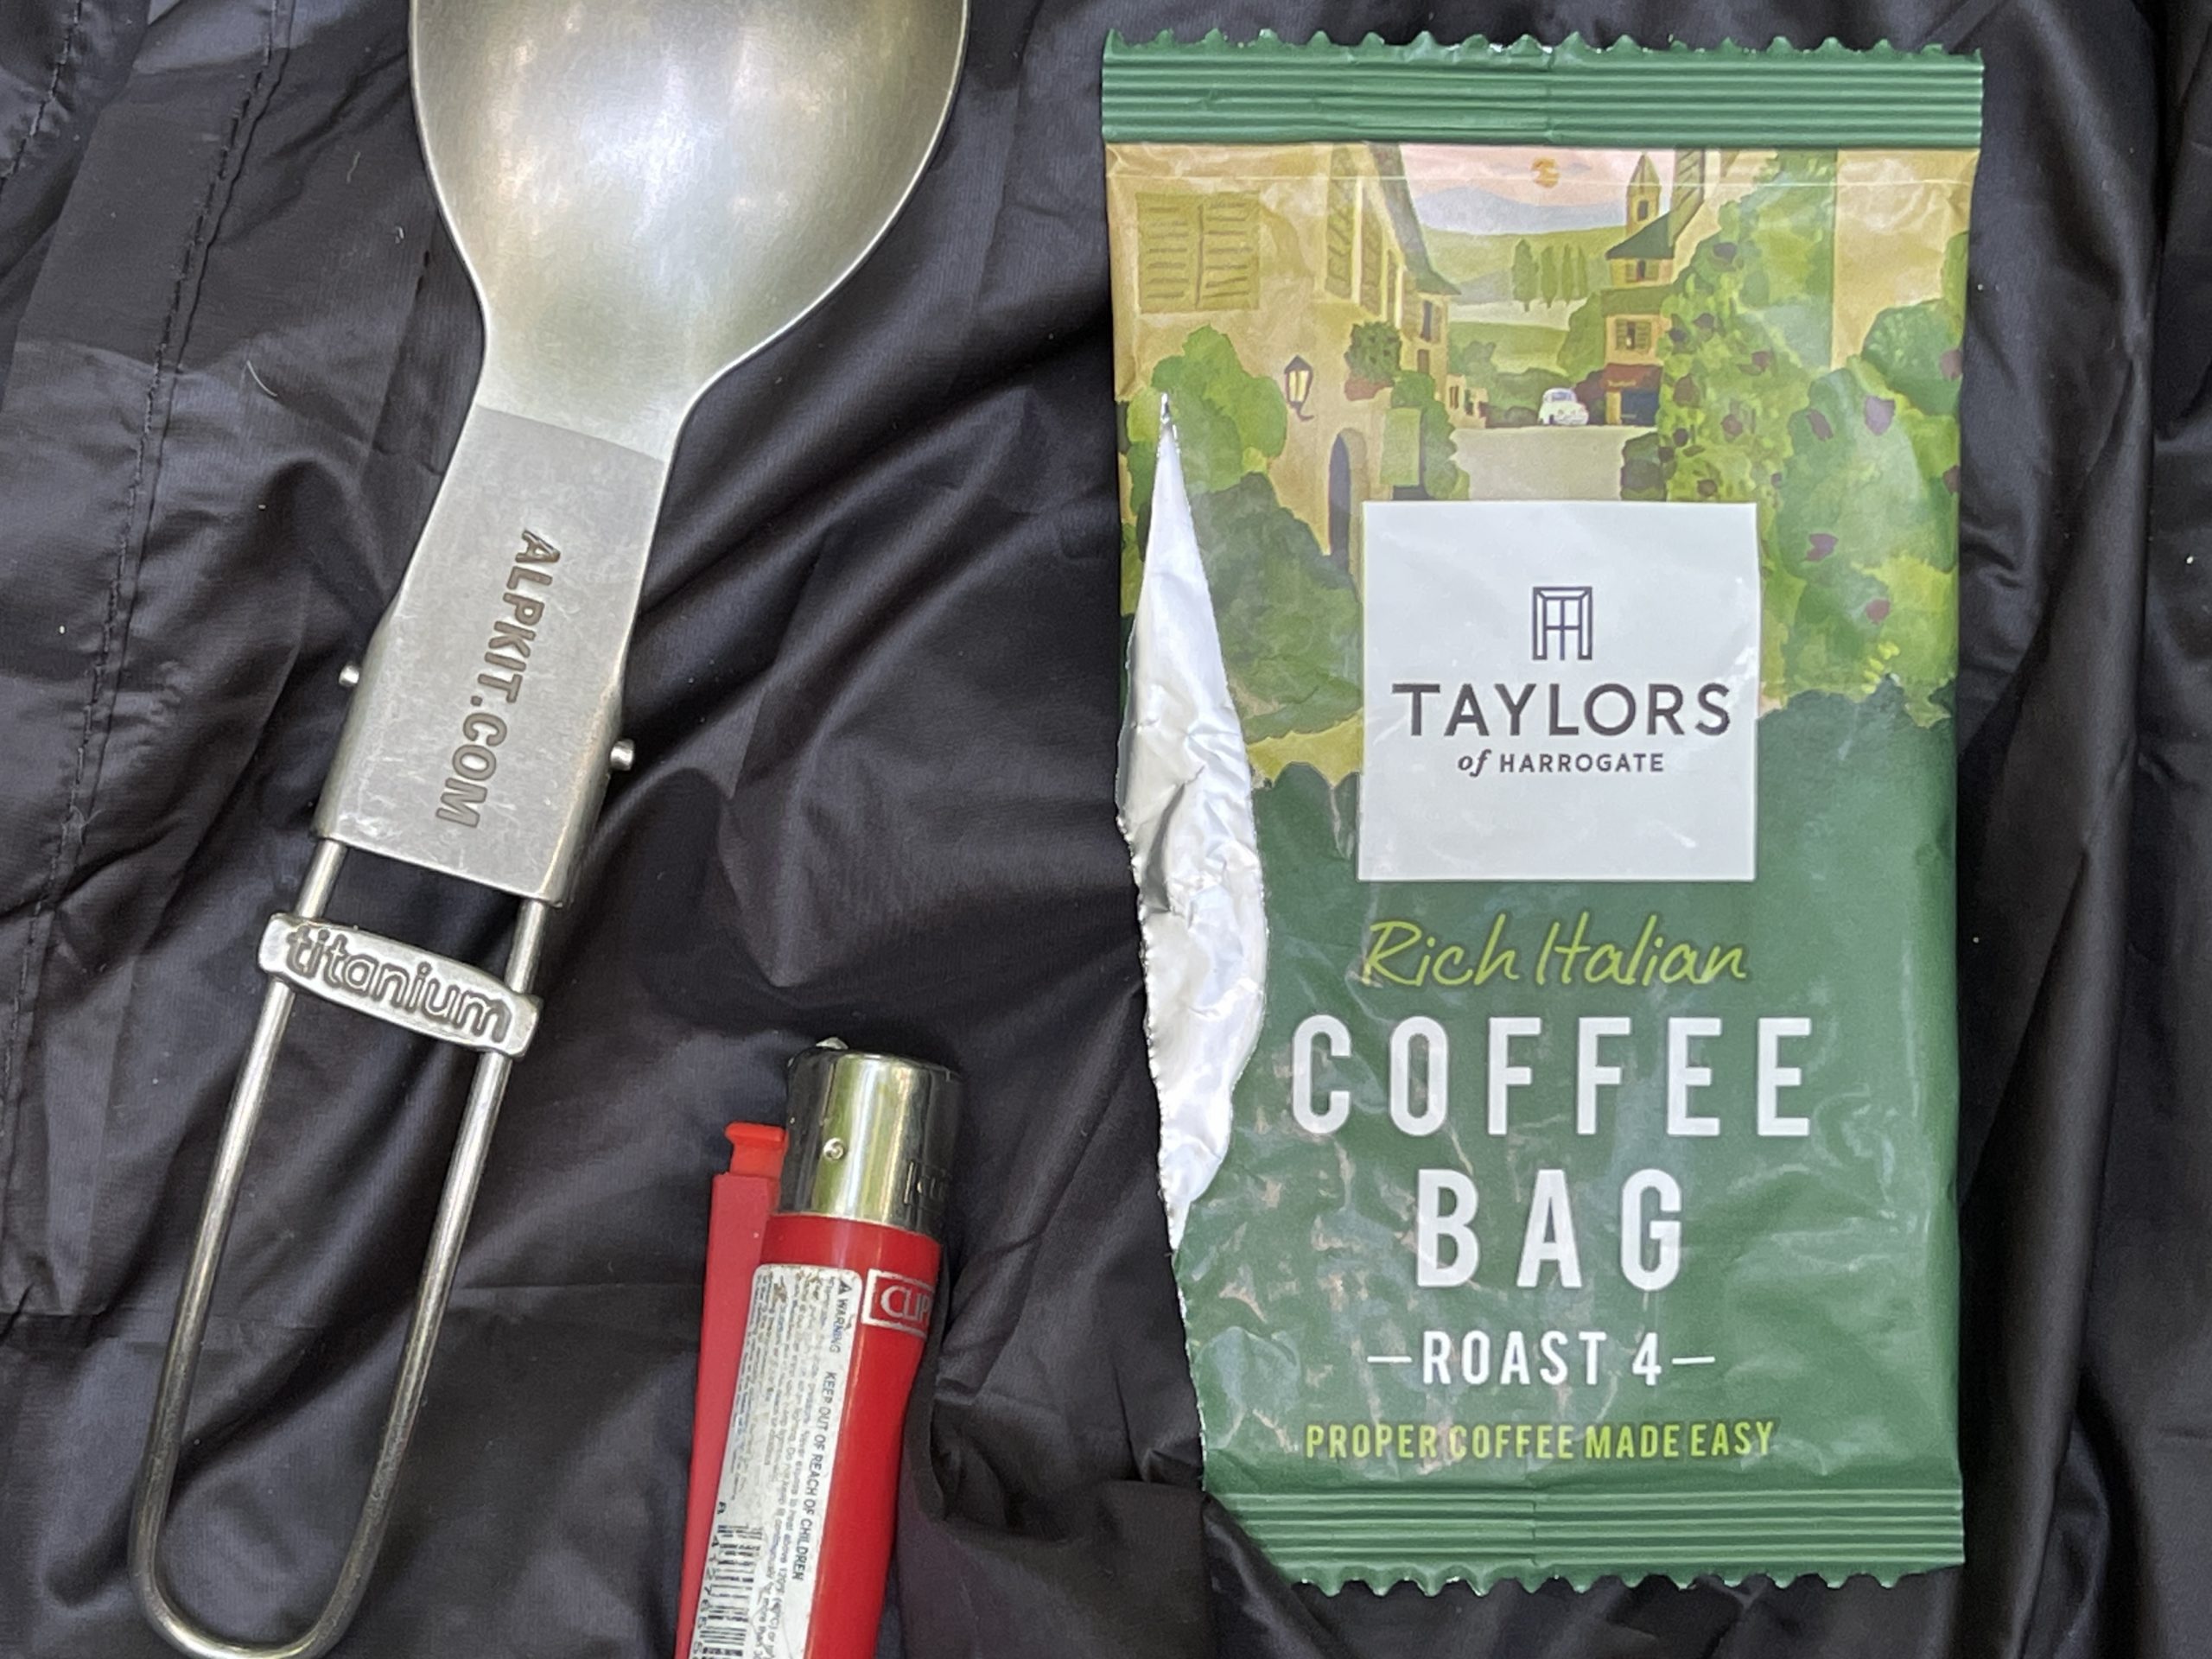
Rather than use the ground coffee and tea strainer from the cook set I chose to use a coffee bag – this brand from Taylors makes a good strong brew in the amount of water I had.
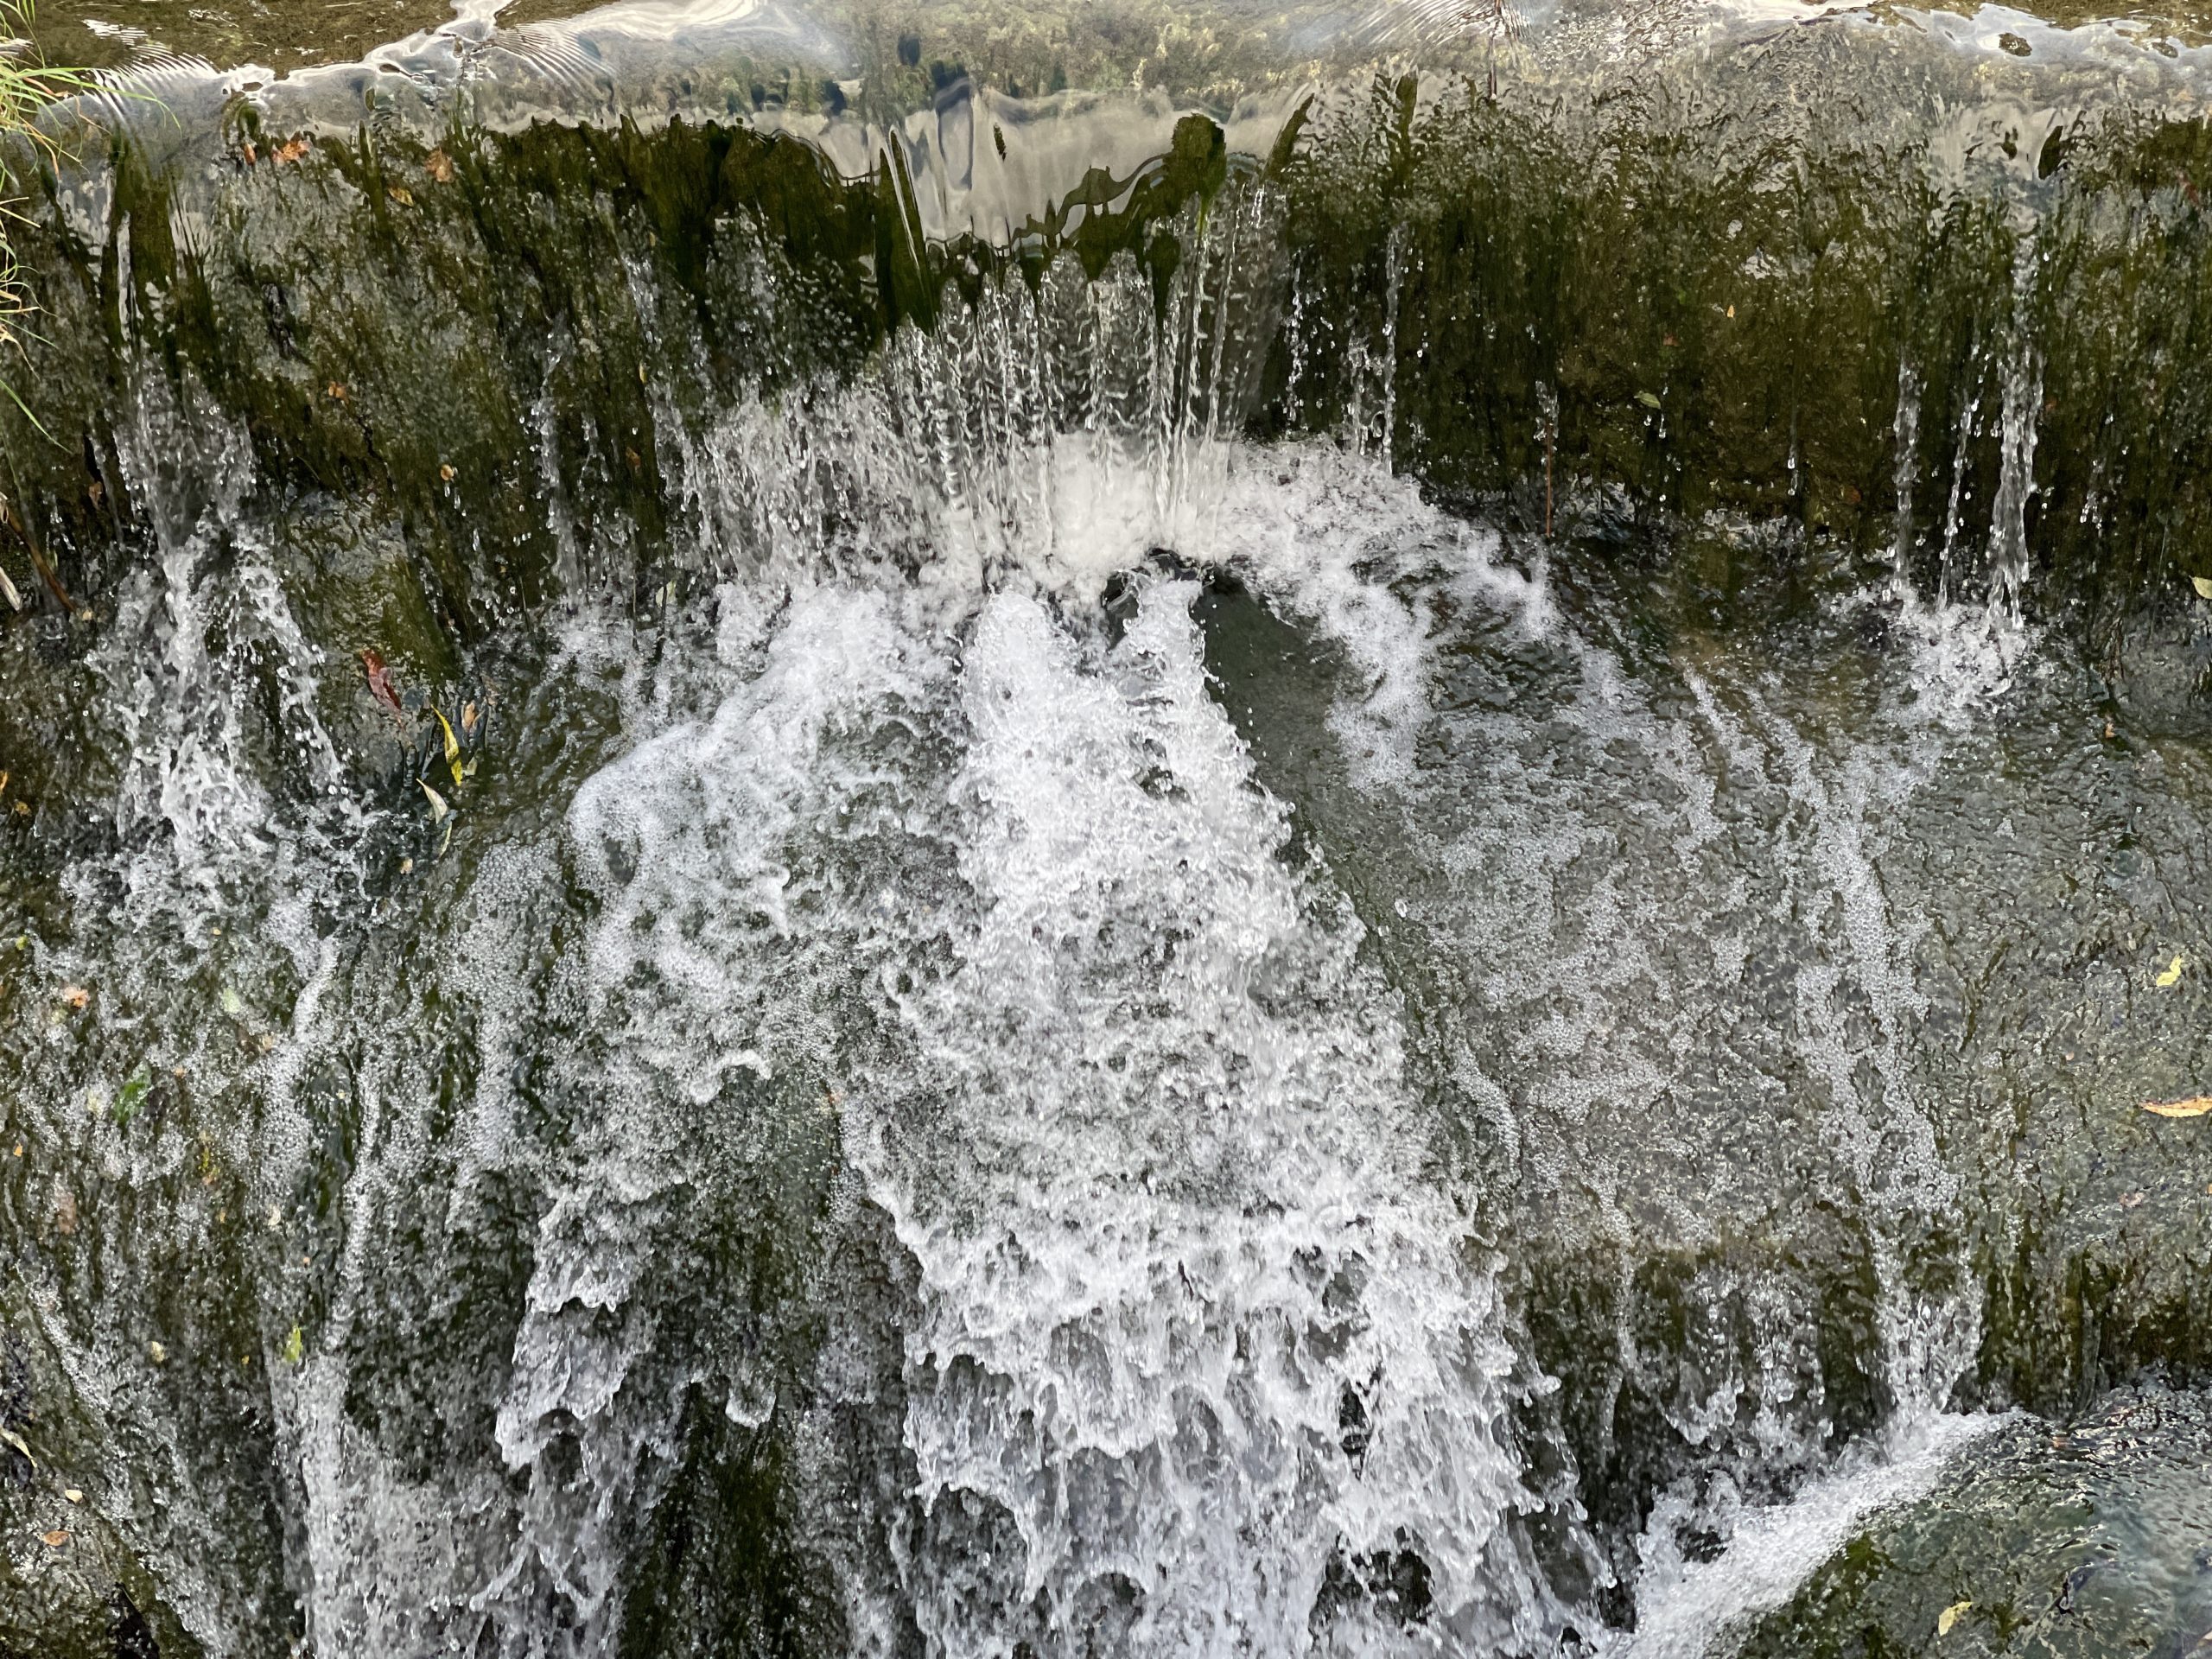
Weir and lock
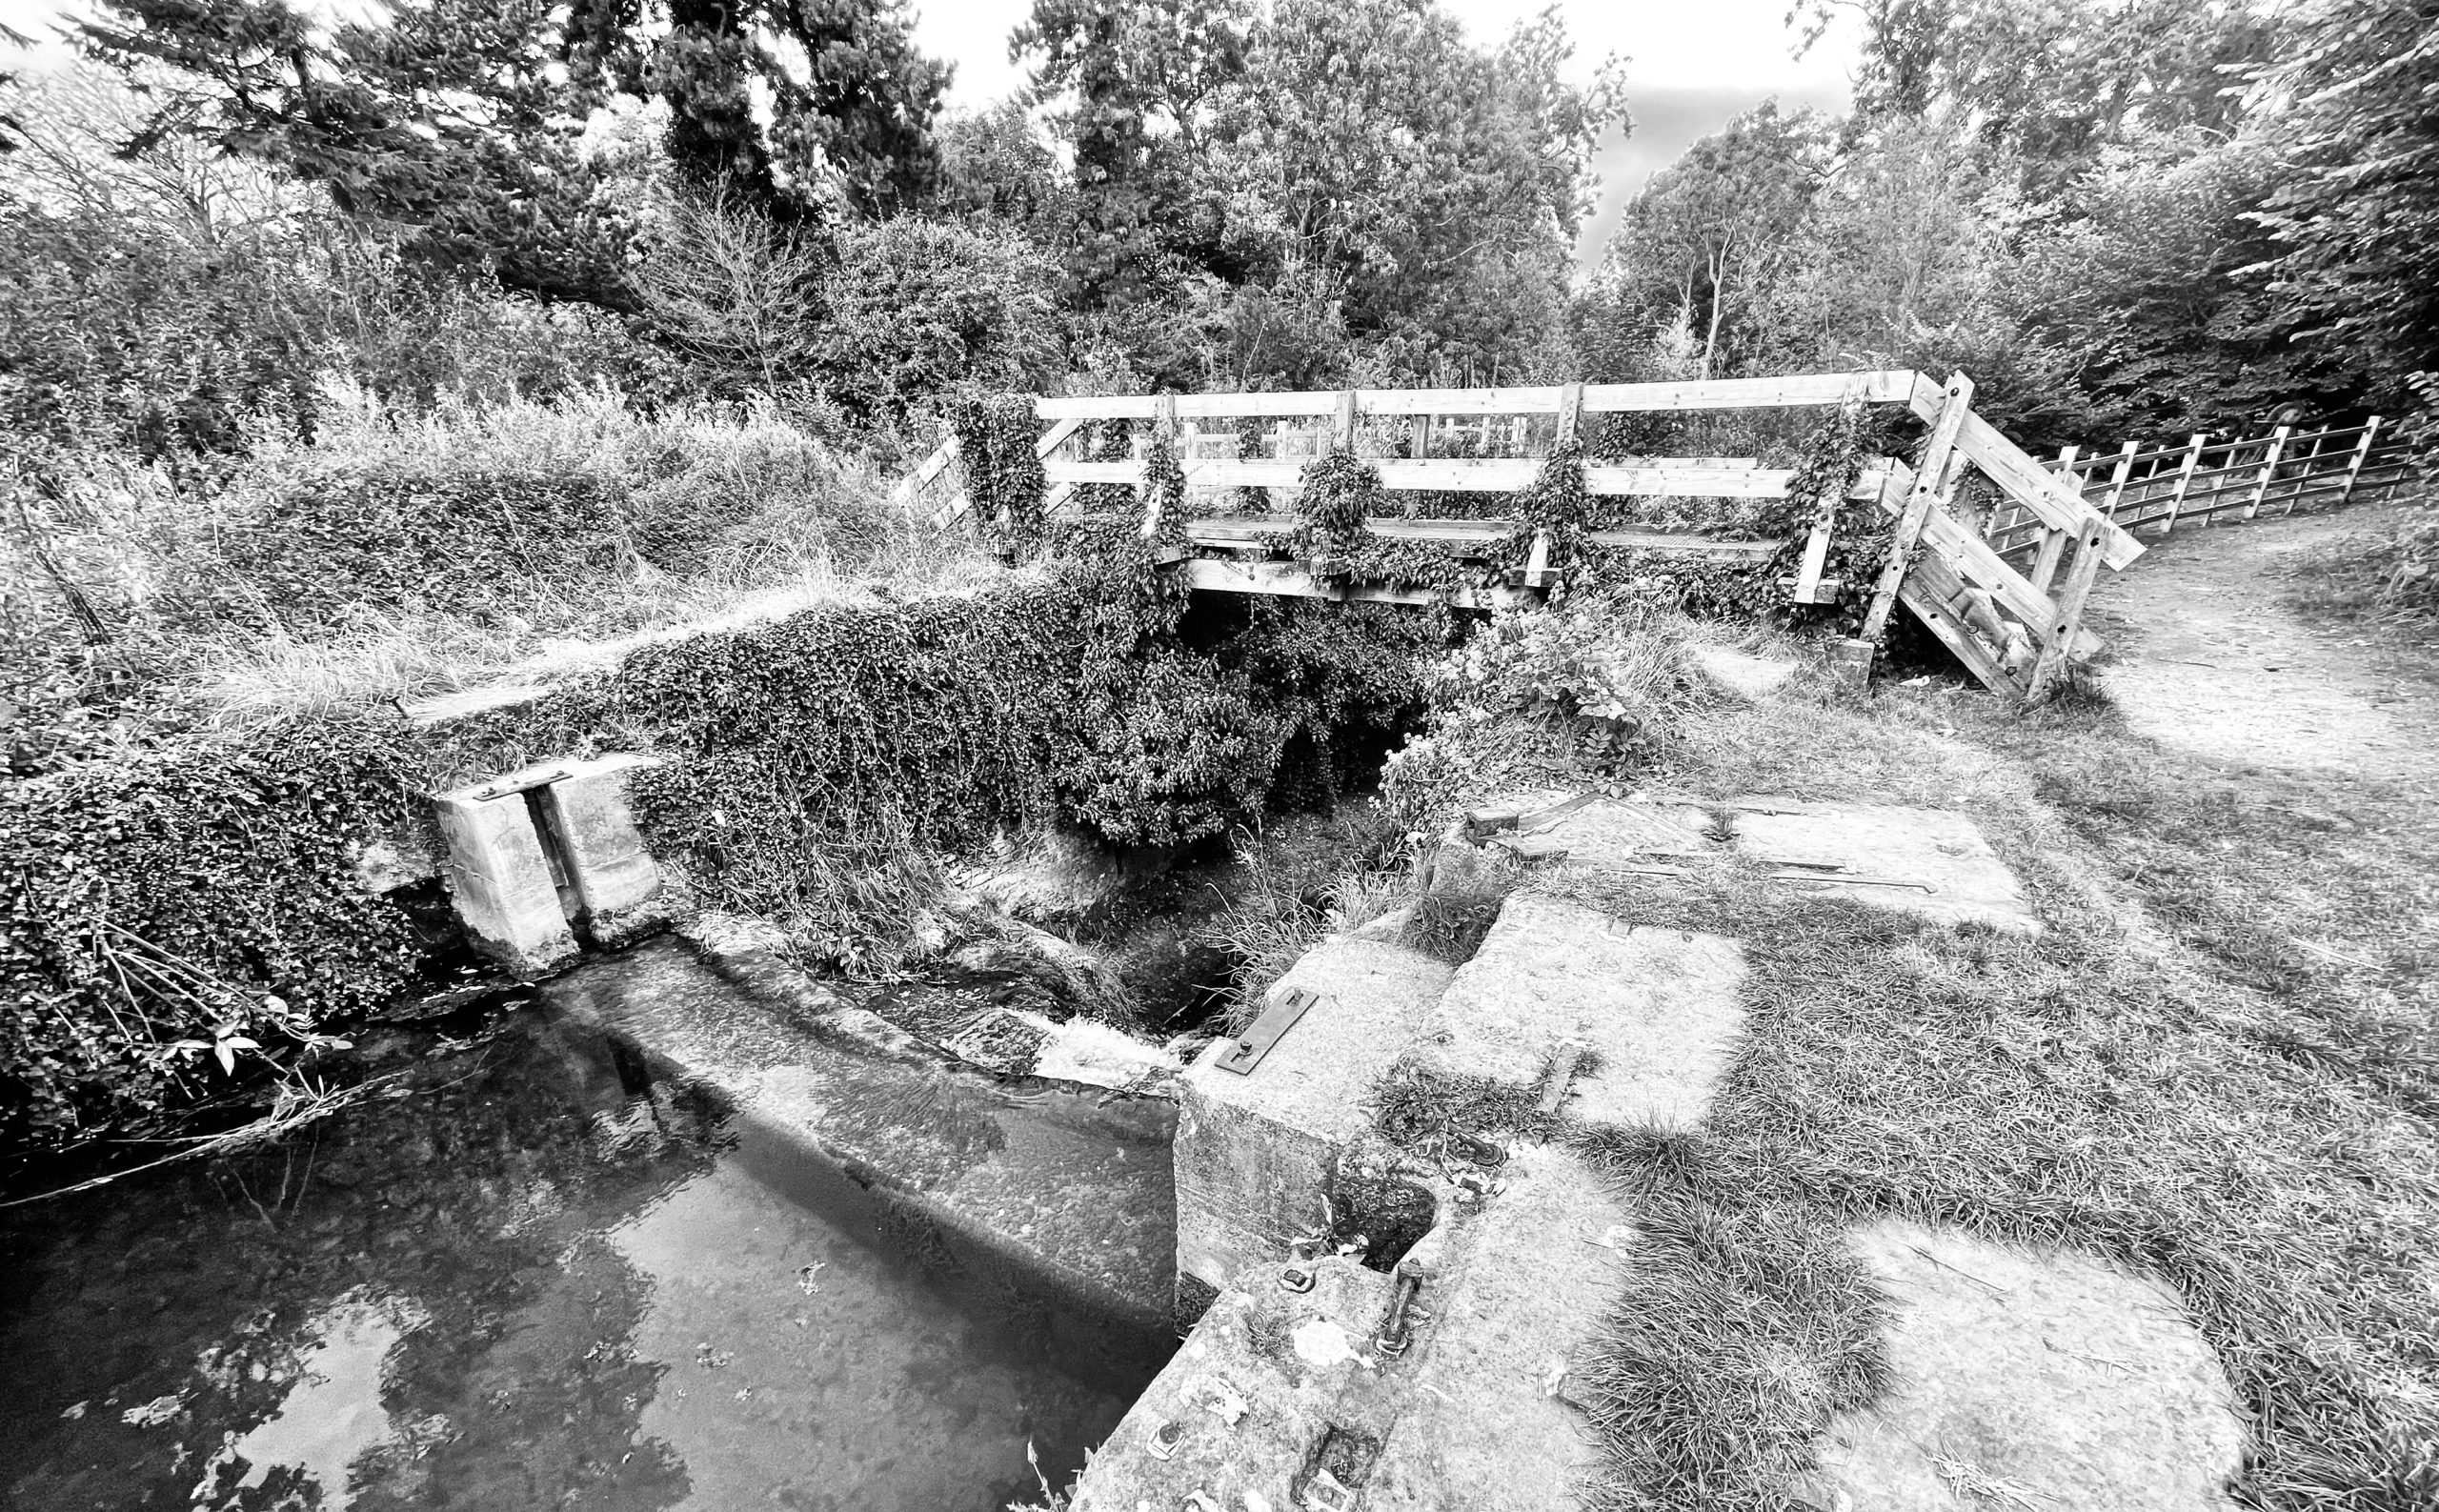
Well there was a lock, weir and associated machinery here in the past.
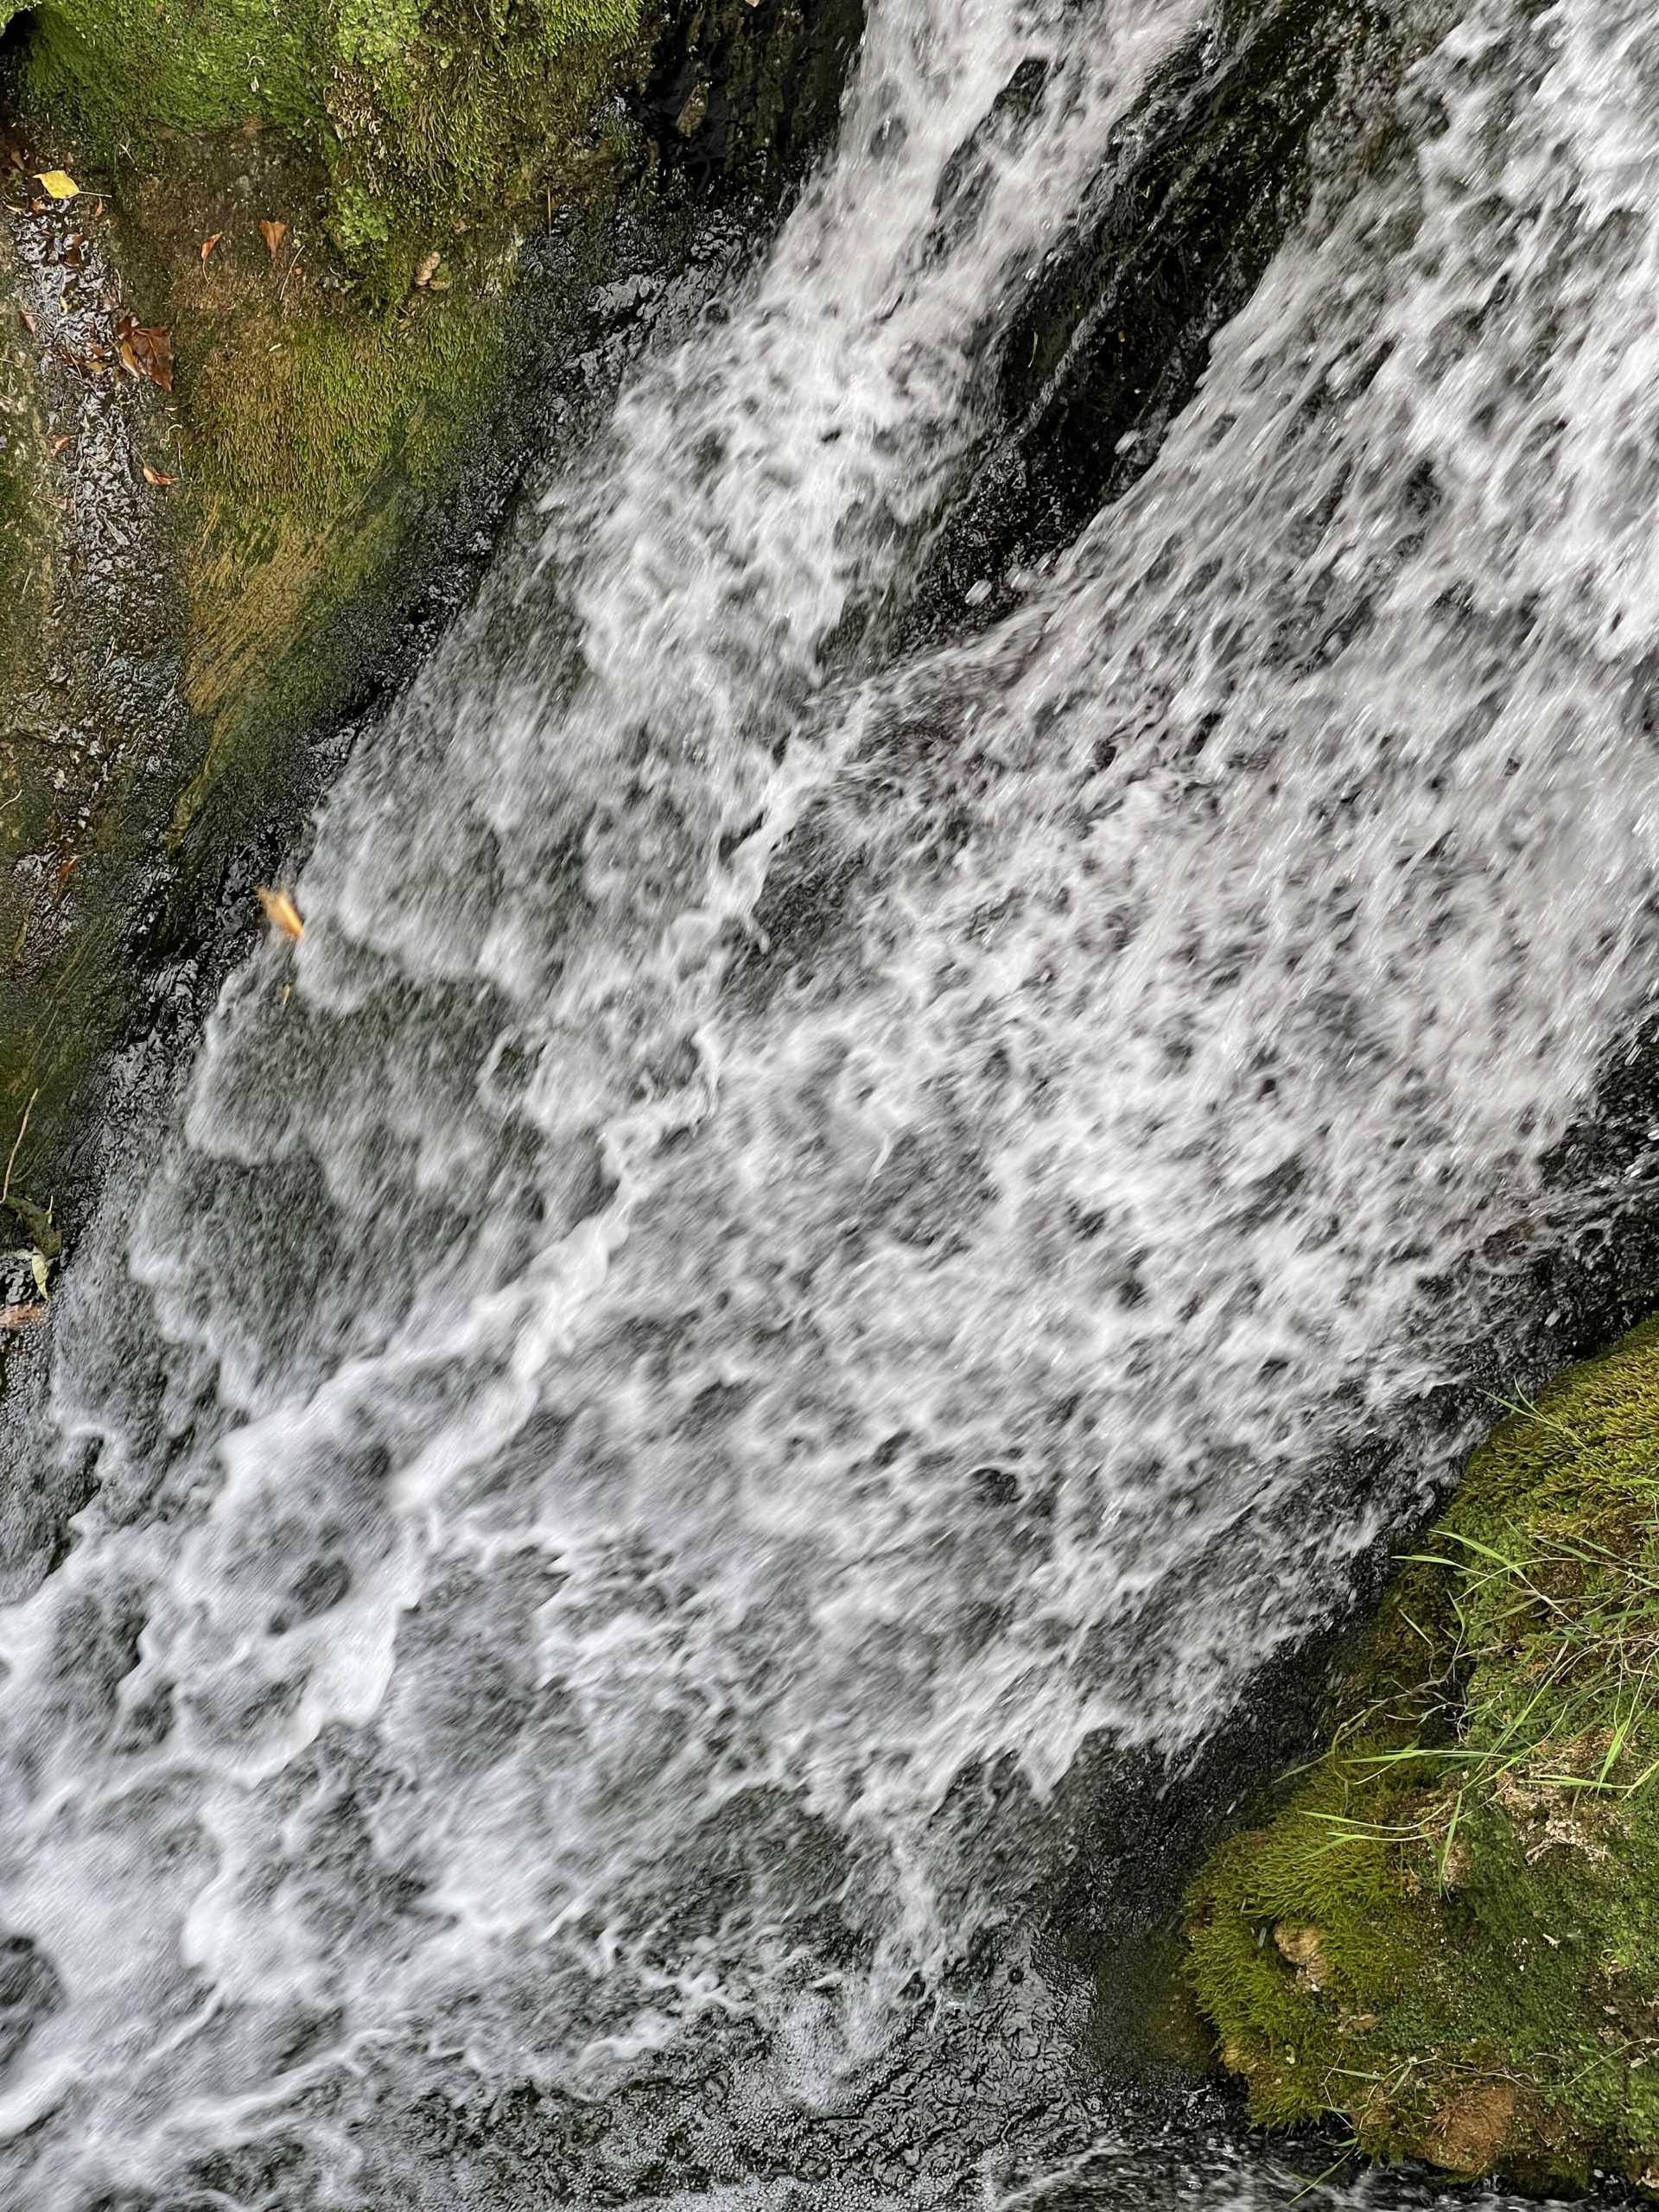
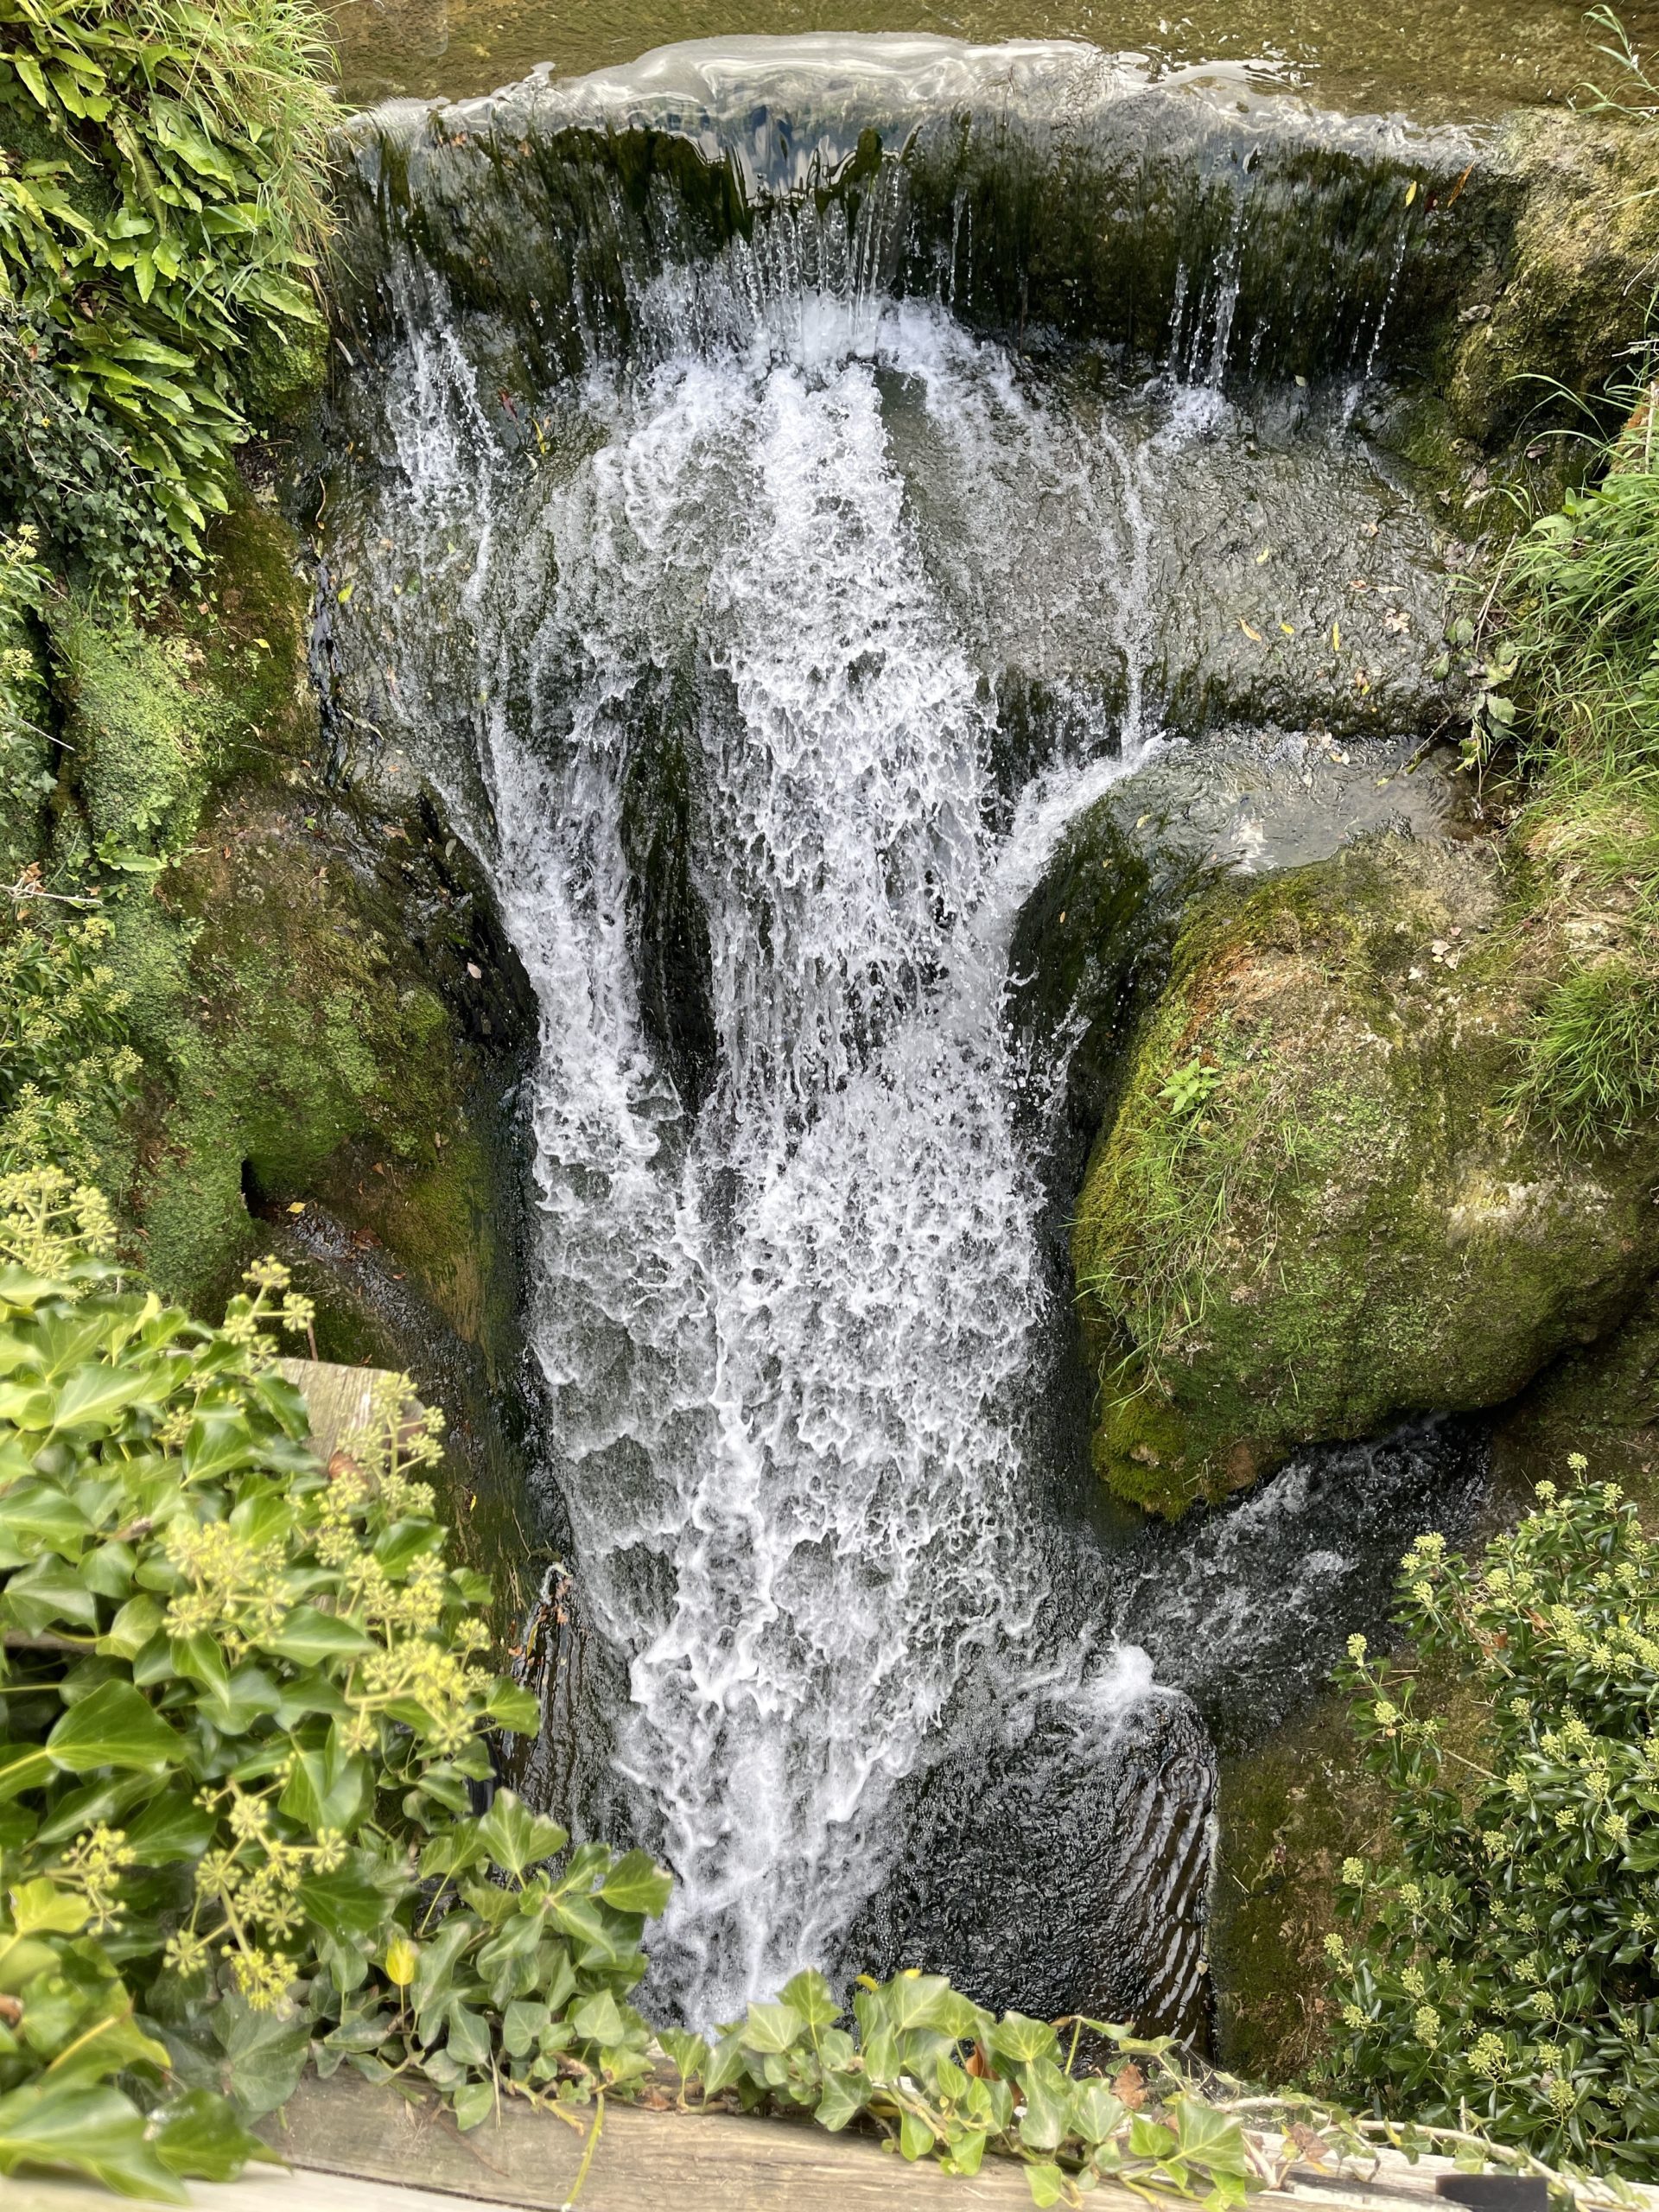
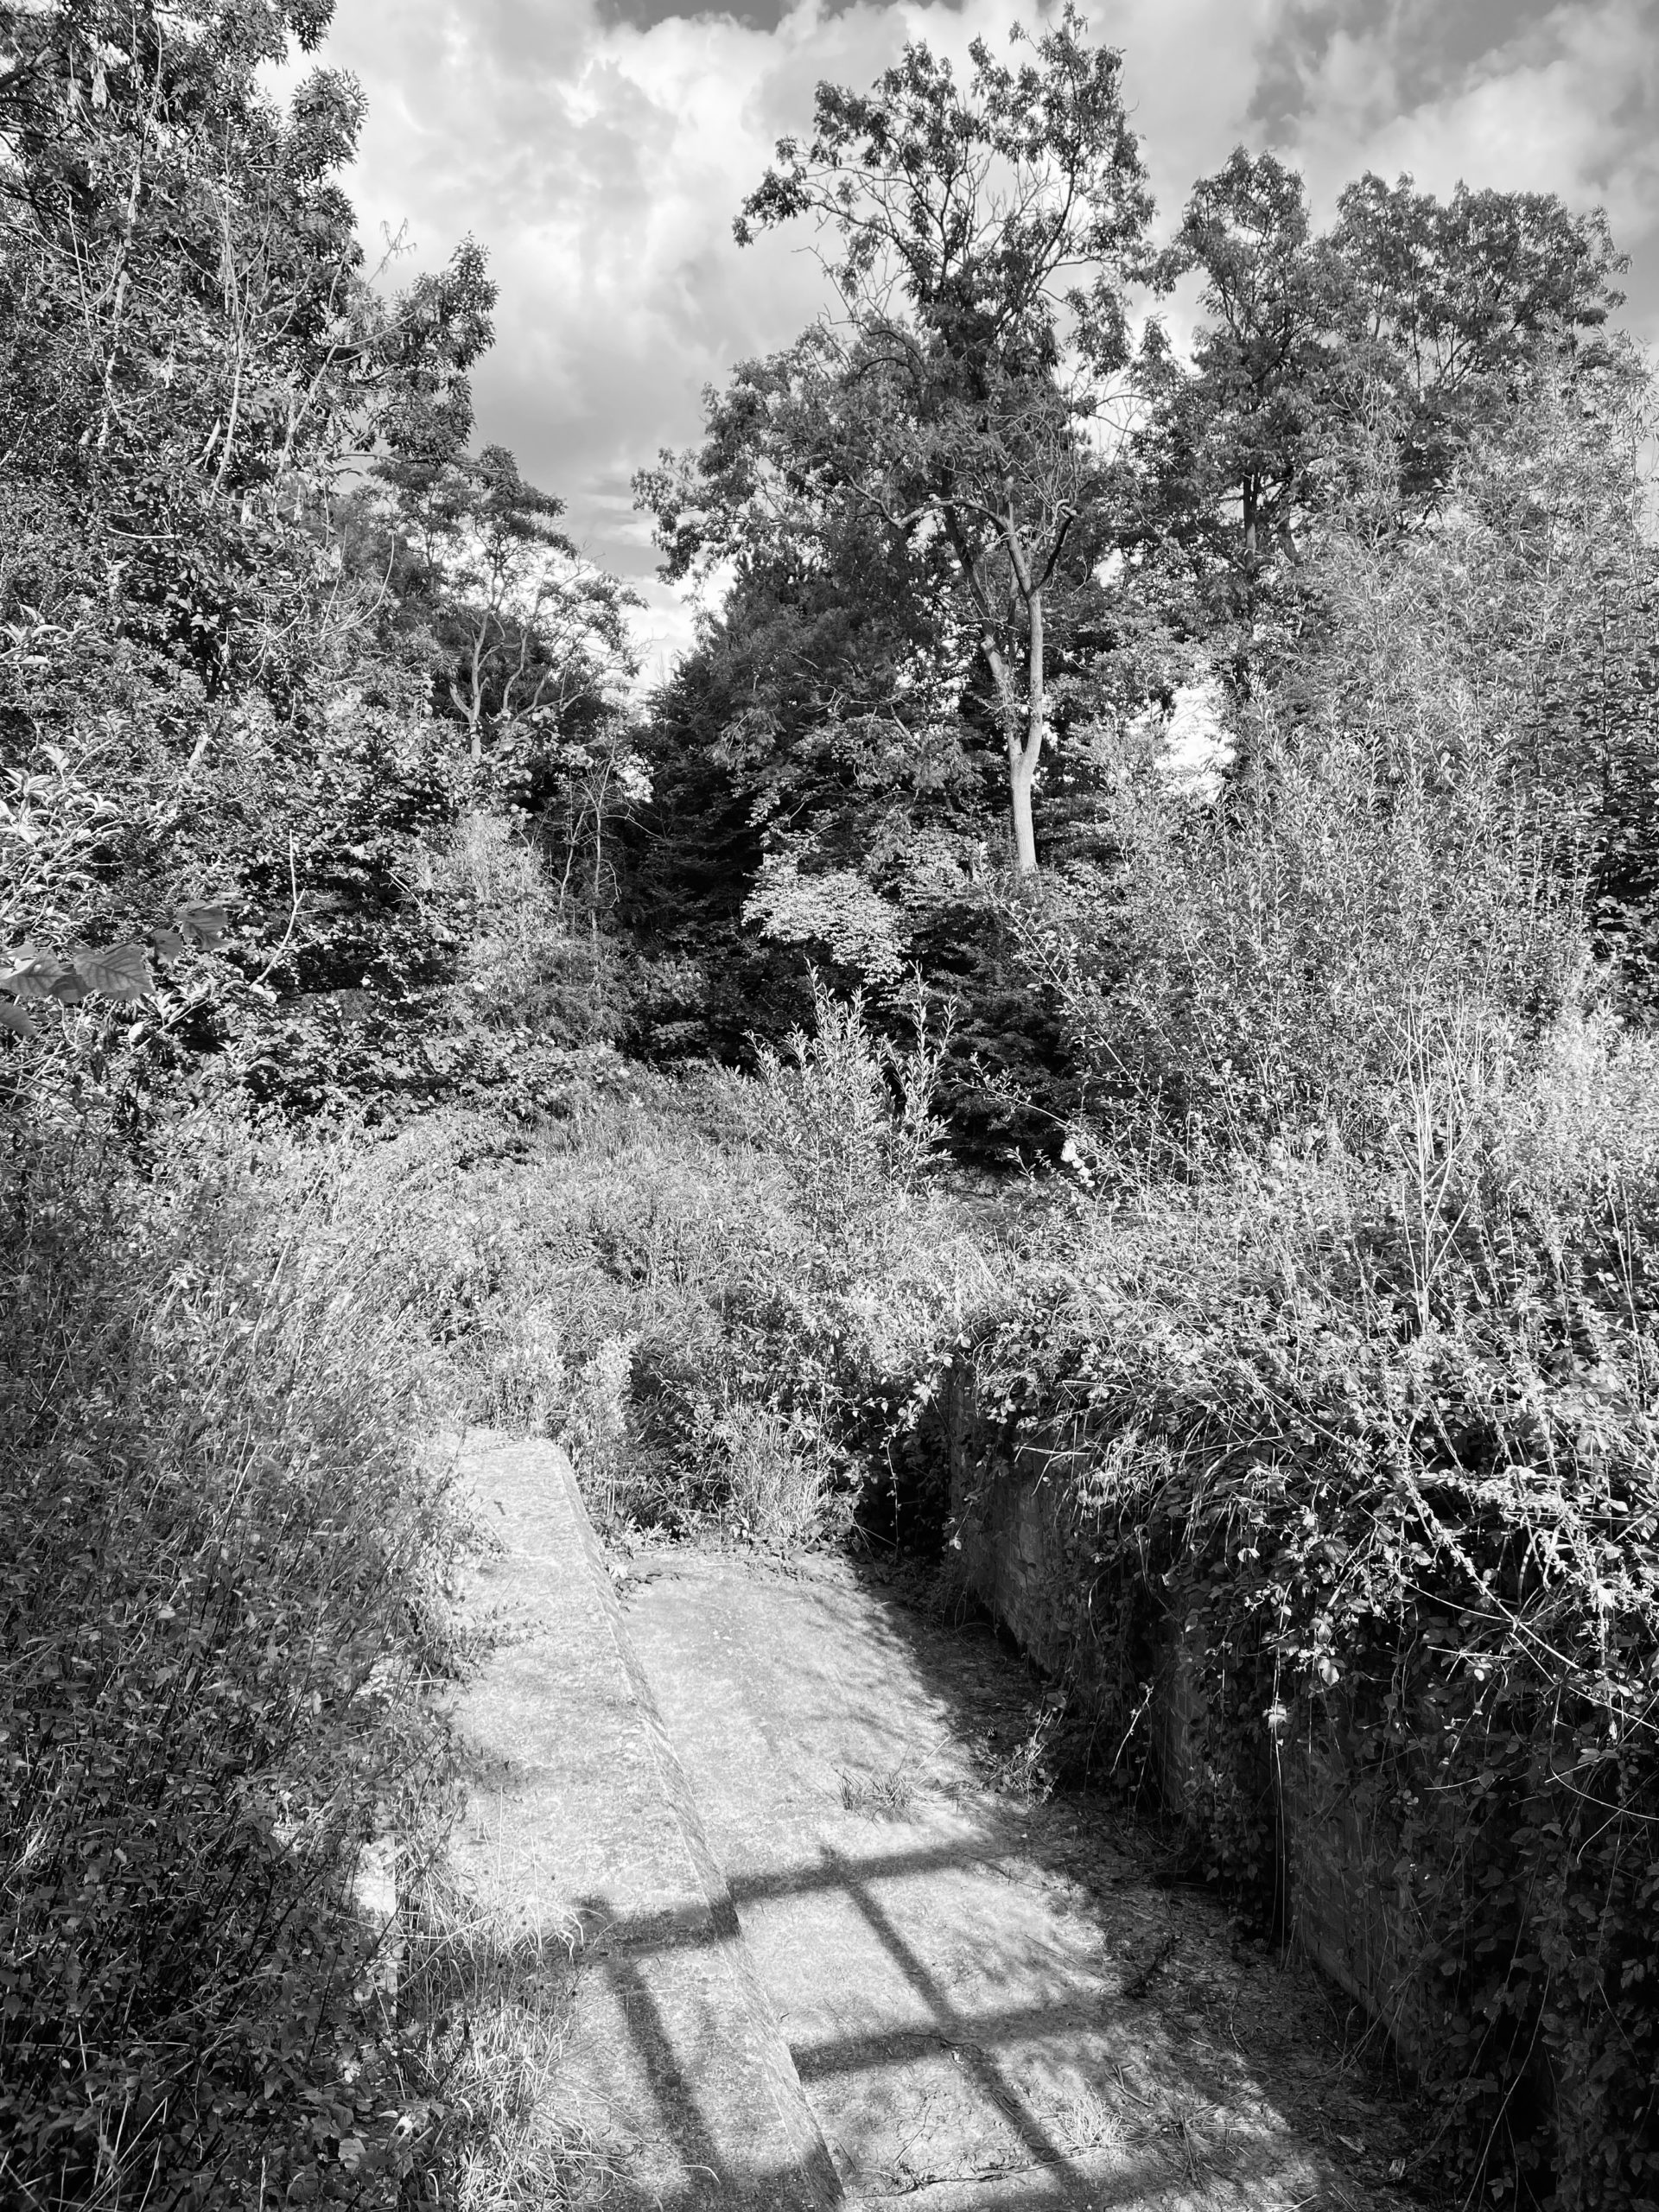
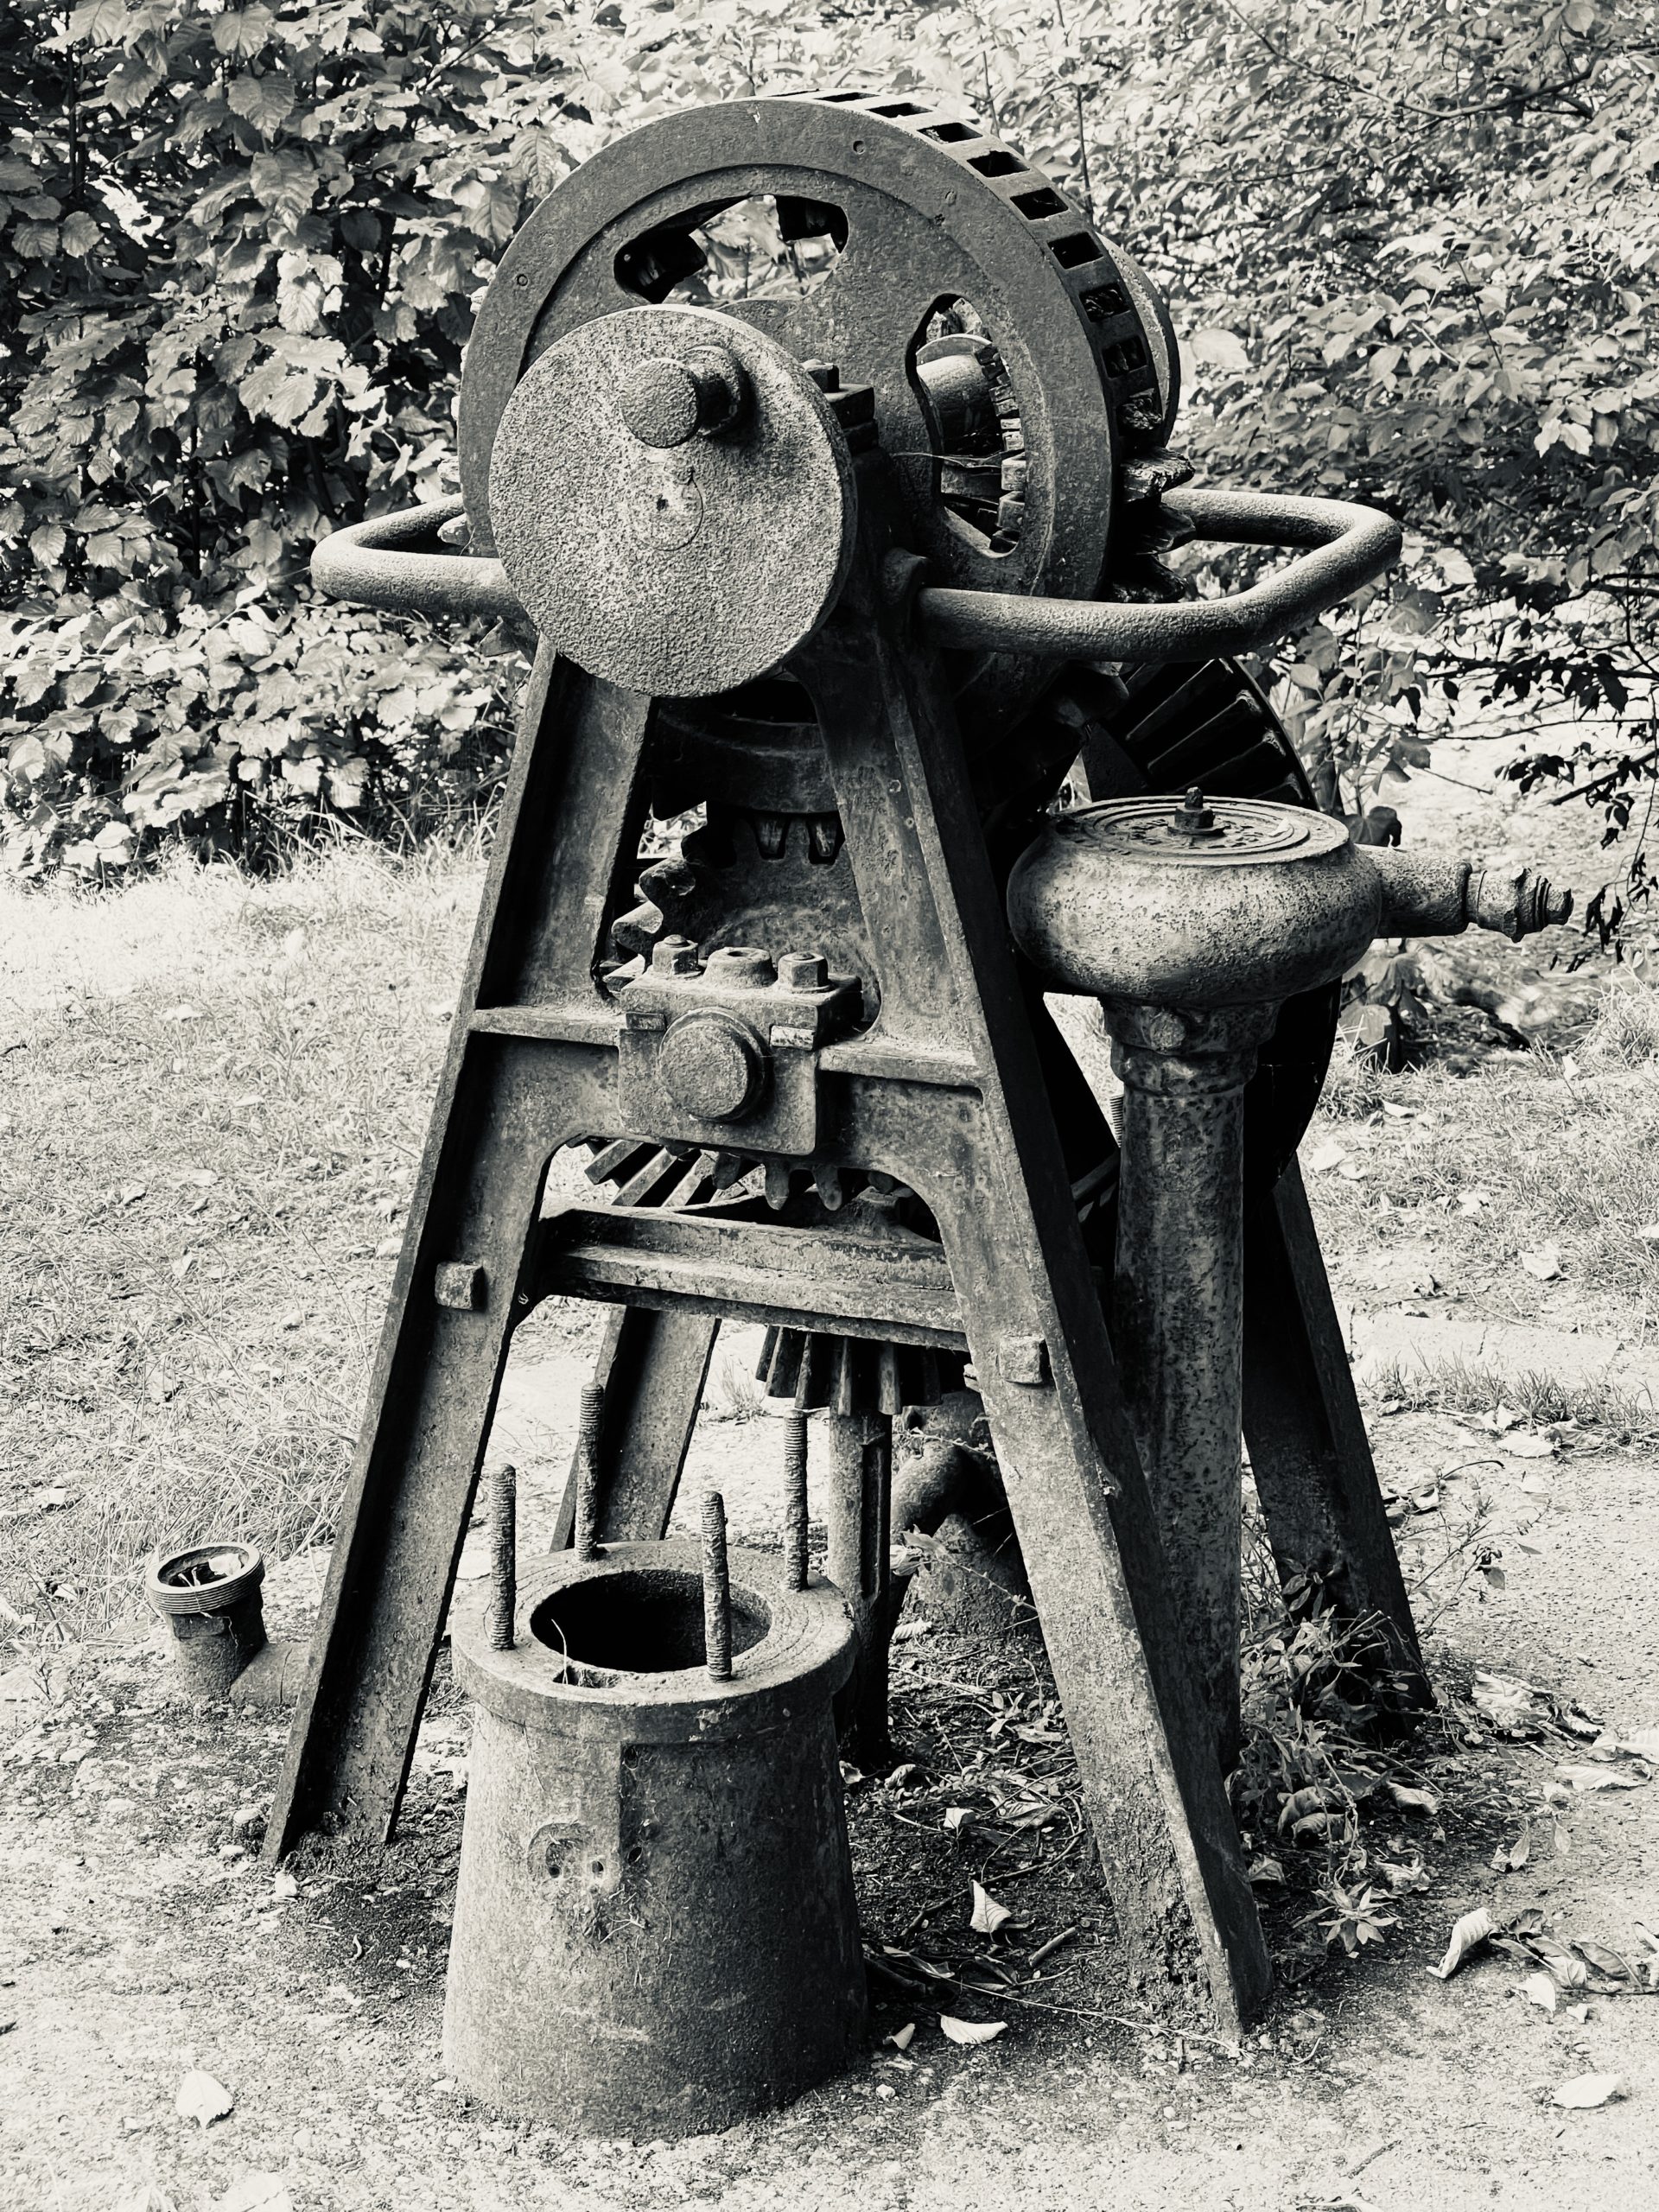
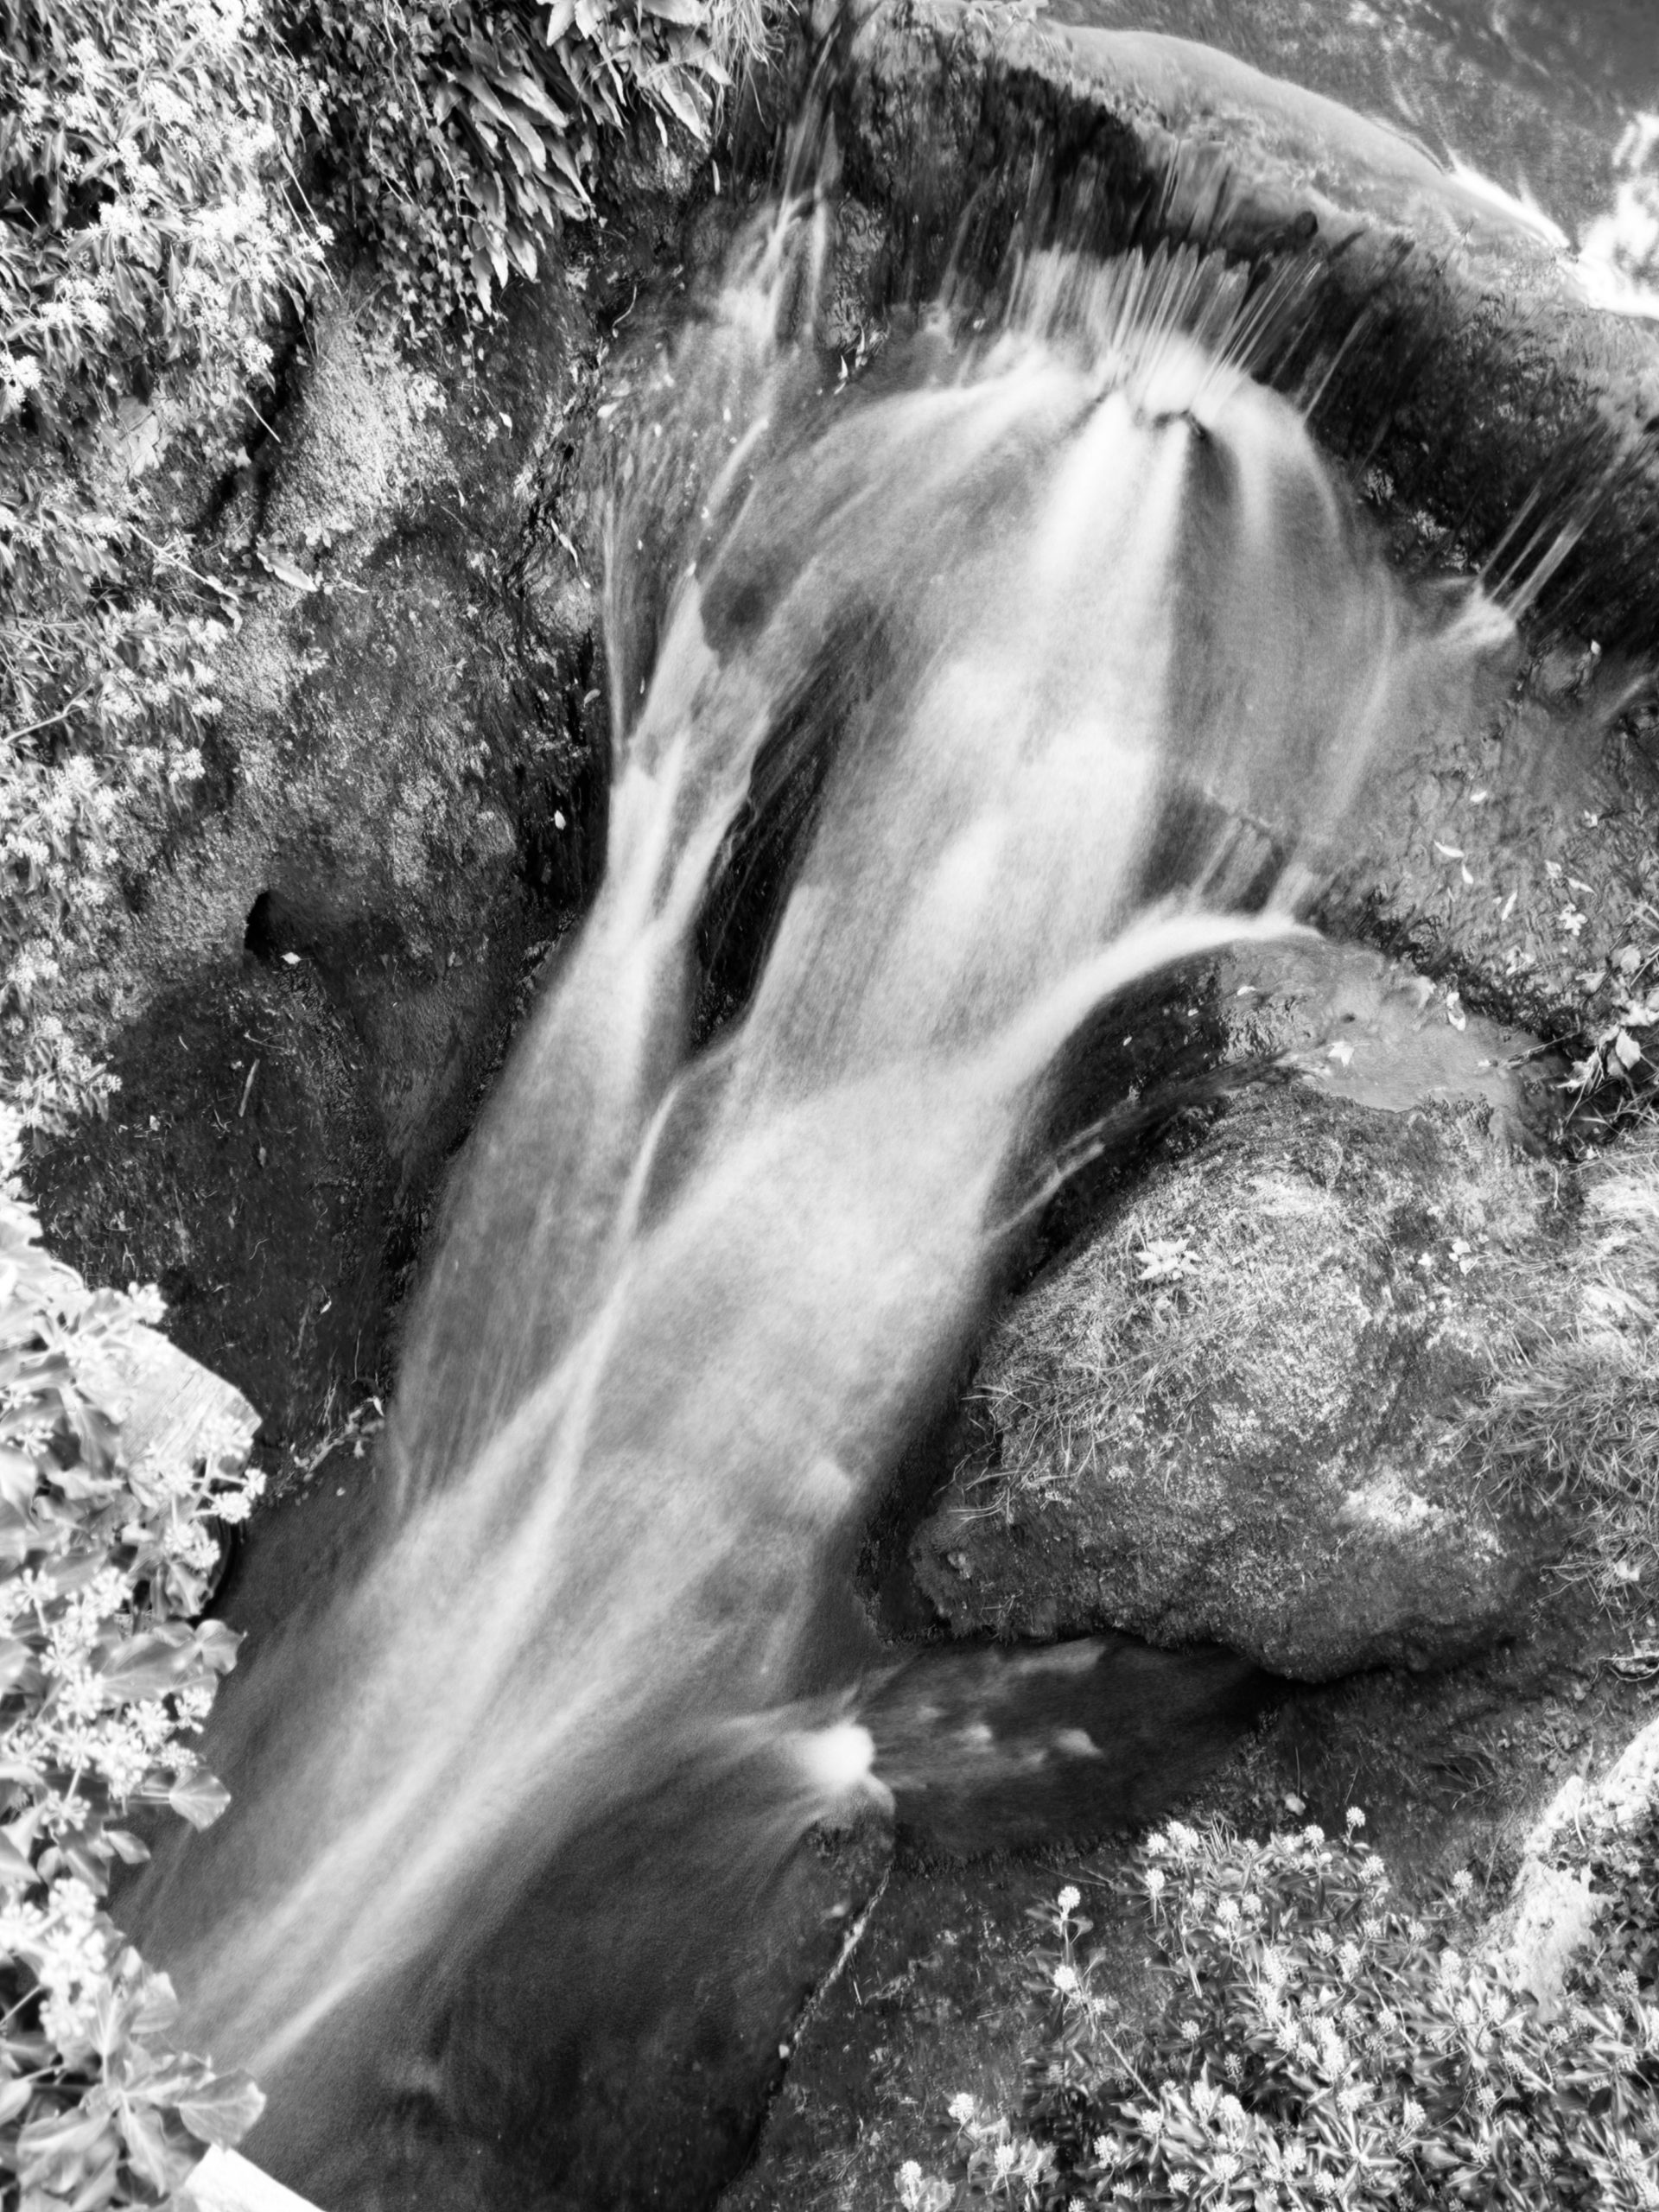
I used the Camera+2 app for the long shutter speed motion effect.
More Walking
Gear in the Haversack
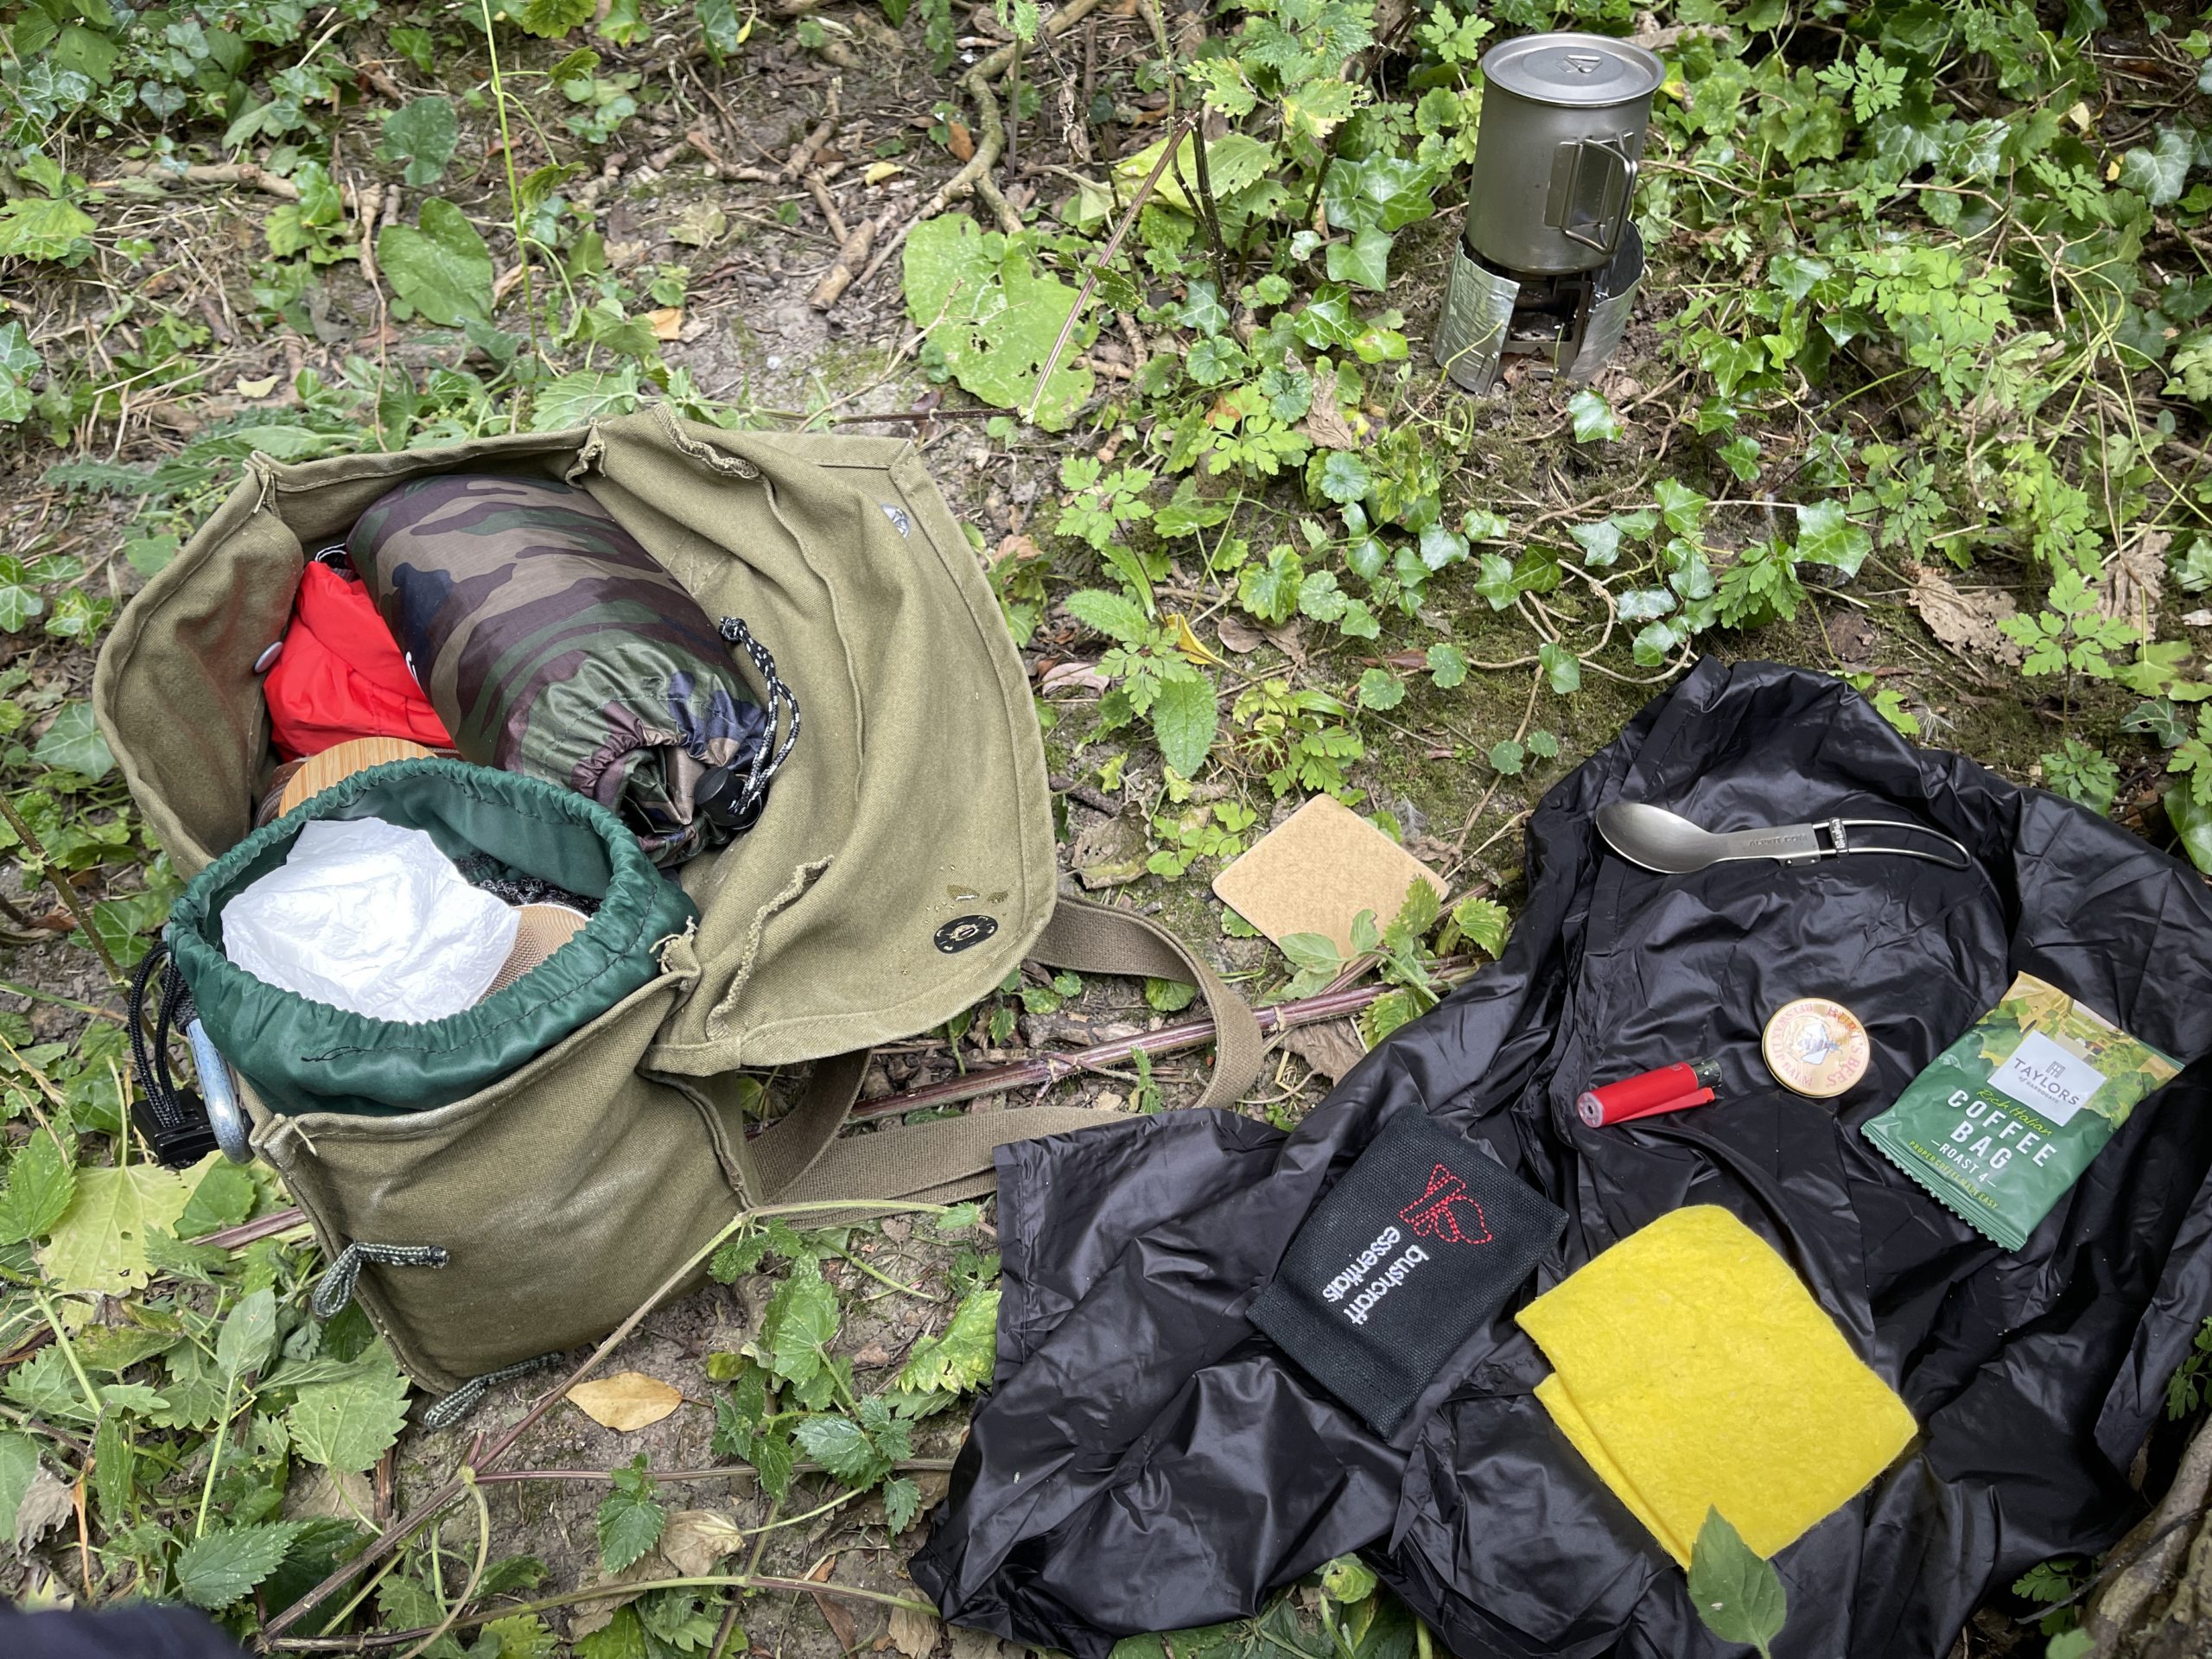
For lightweight trips the Finnish Haversack can hold enough gear and I use it rather than one of my small rucksacks in the summer when I do not extra clothes and gear.
Contents today:
- Backpacking cook set
- Breakfast biscuit snacks and coffee
- British Army bush hat
- Lightweight poncho (camouflage as it was the lightest one I could get on Amazon during the lockdown)
- Lightweight picnic ground cloth
- 500ml steel water bottle – with an MSR 350ml titanium mug pushed on the bottom
- 1l dry bag for electronics, Anker power pack, charge cable, Victorinox Swiss Card etc
- Paracord (about 5m)
- Small belt pouch – simple first aid kit, mini Petzl head torch, tea and coffee supplies, vegetable Oxo cube, salt packets, soup and chilli packs from instant noodles, Silva compass with thermometer, string, hotel sewing kit with some extra strong thread added to it, safety pins, Traditional Case mini Trapper knife, sharpening stone, duck tape patch, army style tin opener, refillable lighter, lifeboat whistle and lanyard for my Victorinox Camper knife, eye drops bottle re-purposed for hand sanitiser.
The little pouch is well packed for a trip like this but when I am on longer trips or away the lanyard and whistle are in use so making the rest of the items more accessible.
All images made with my iPhone 12 Pro Max which I carry in a belt case for lightweight trips like this.
Walking along the River Slea with lightweight gear Read More »
New gear
Now the MSc has been passed – I will be able to get out and walk more. I have bought a small, rugged tripod, that can be attached to my day pack – I want to get some long exposure exposure shots, to steady the camera when it is windy and May be even some video.
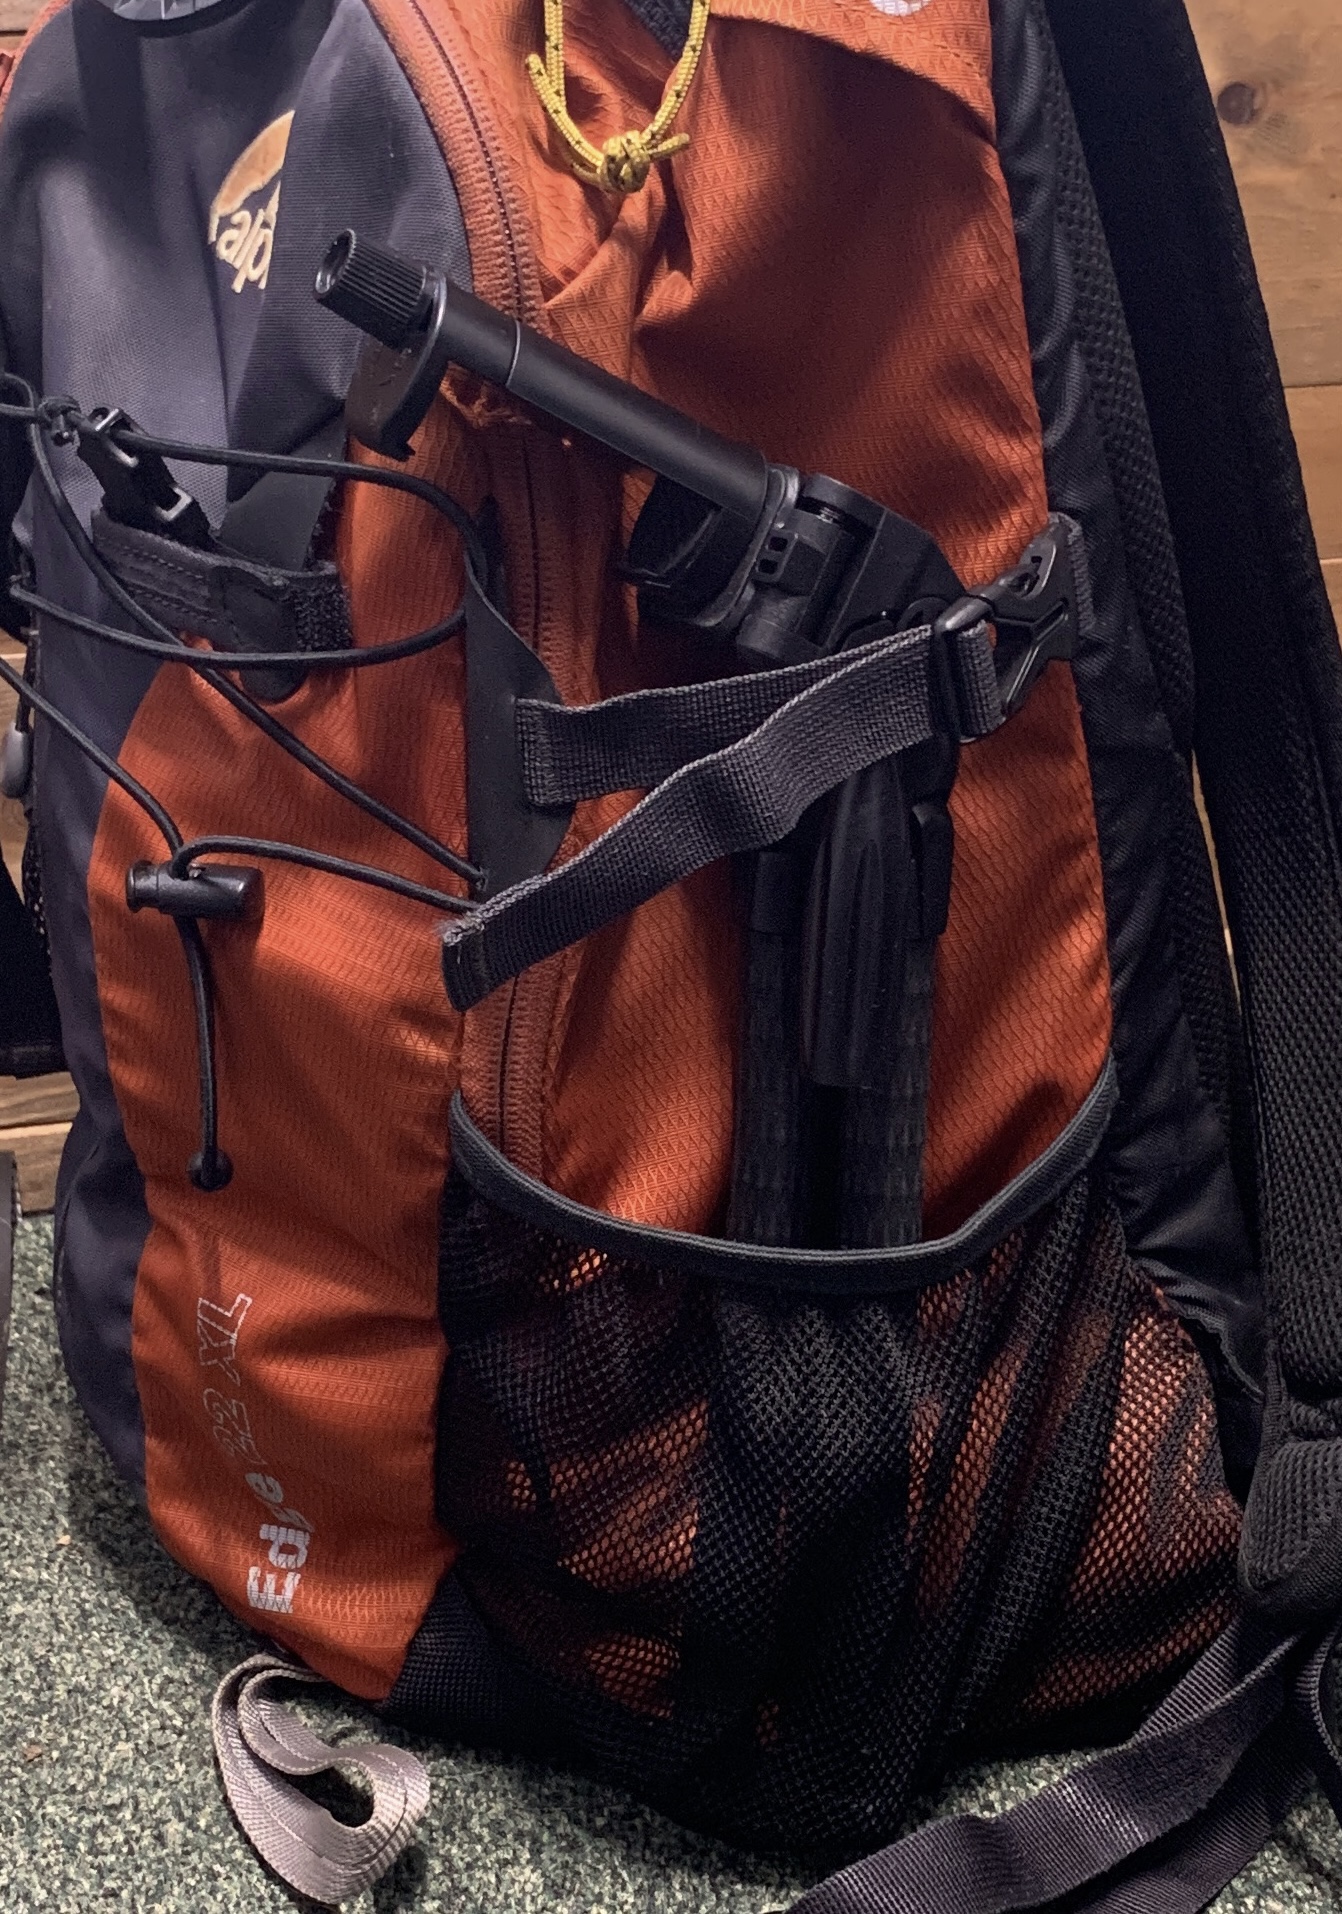
The legs of the tripod look like they will survive some mud and water. The smartphone mount that came with it is very simple in design so it too should survive outdoor use.
The tripod also came with a Bluetooth camera shutter release and fittings to mount a camera or Go-Pro.
Findhorn
click on the image for a larger version
click on the image for a larger version
click on the image for a larger version
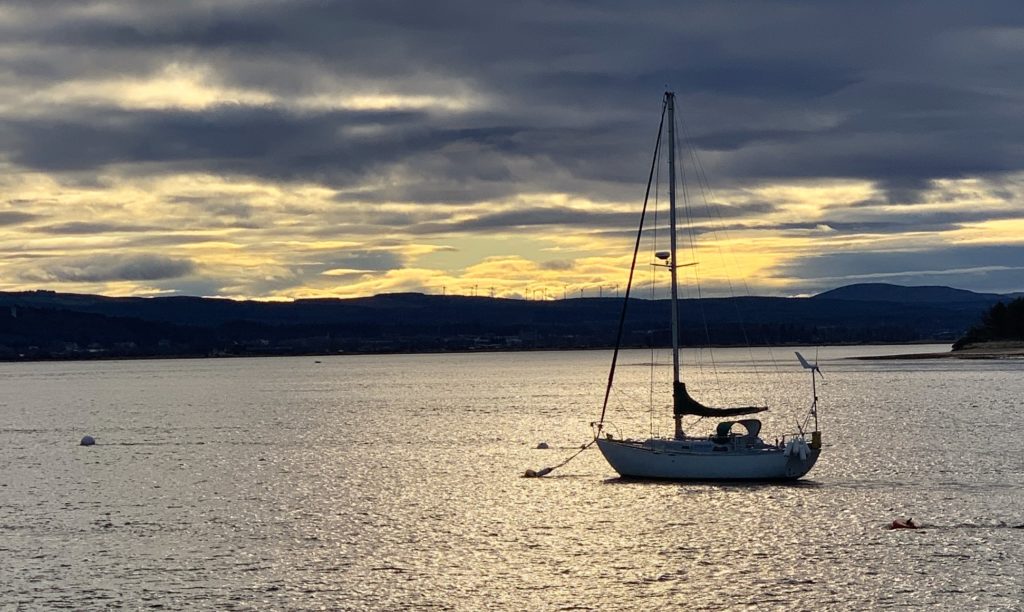
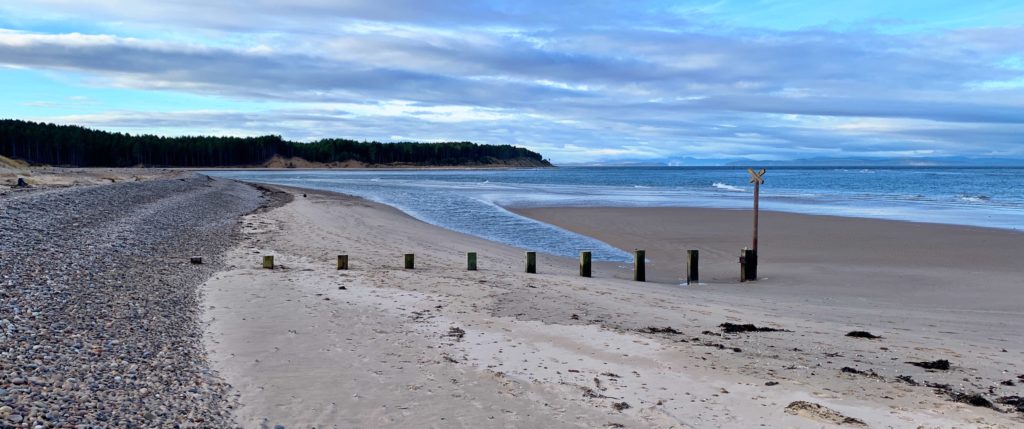
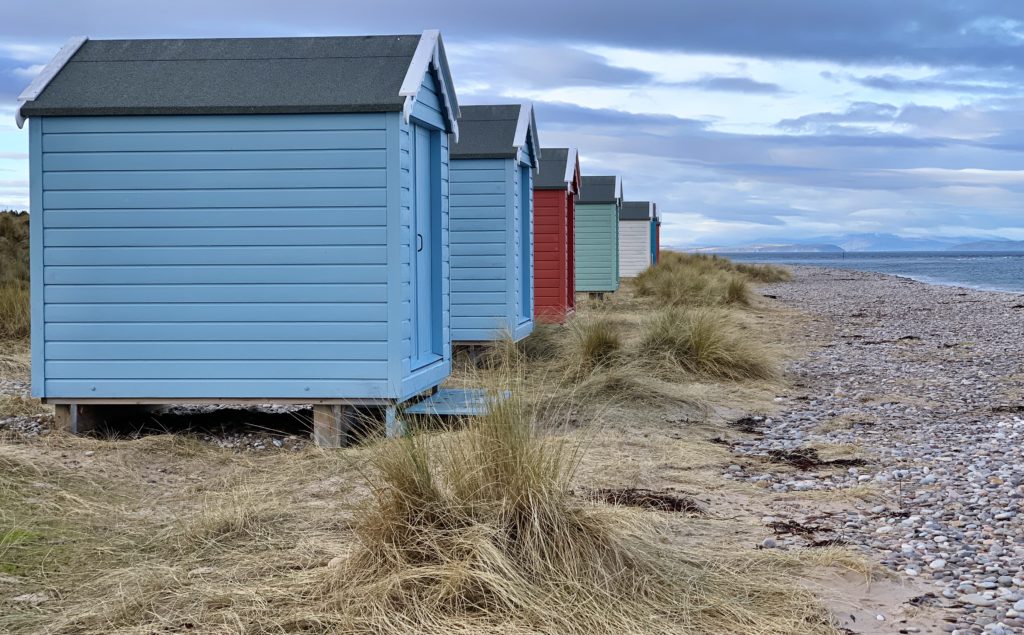
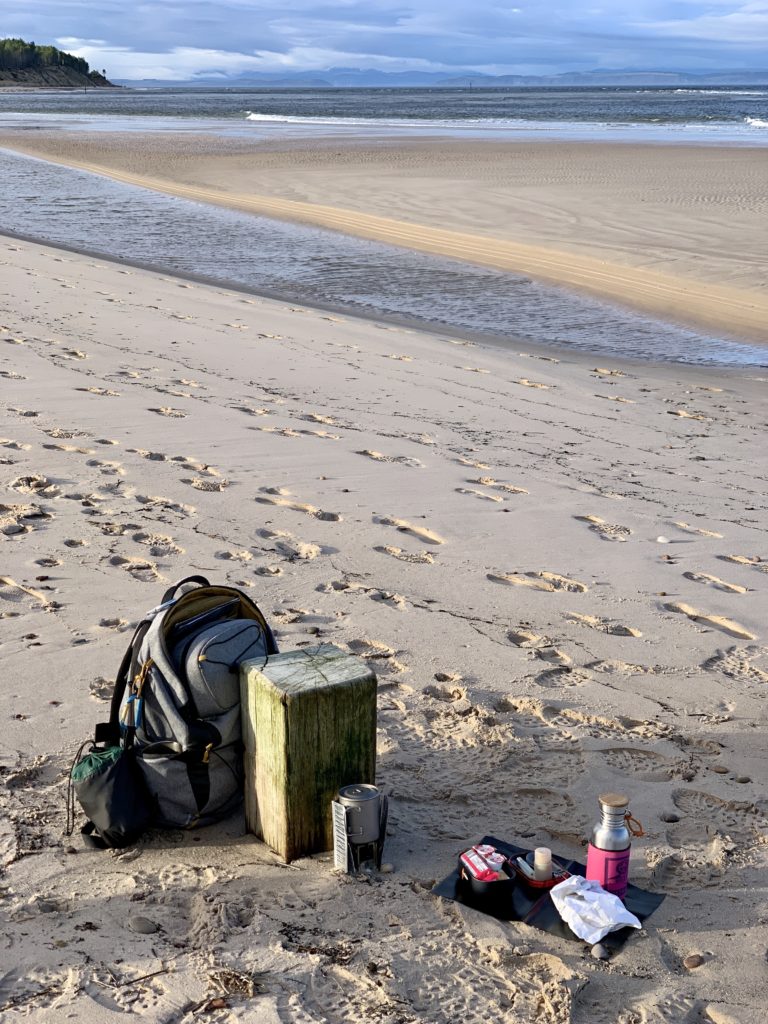
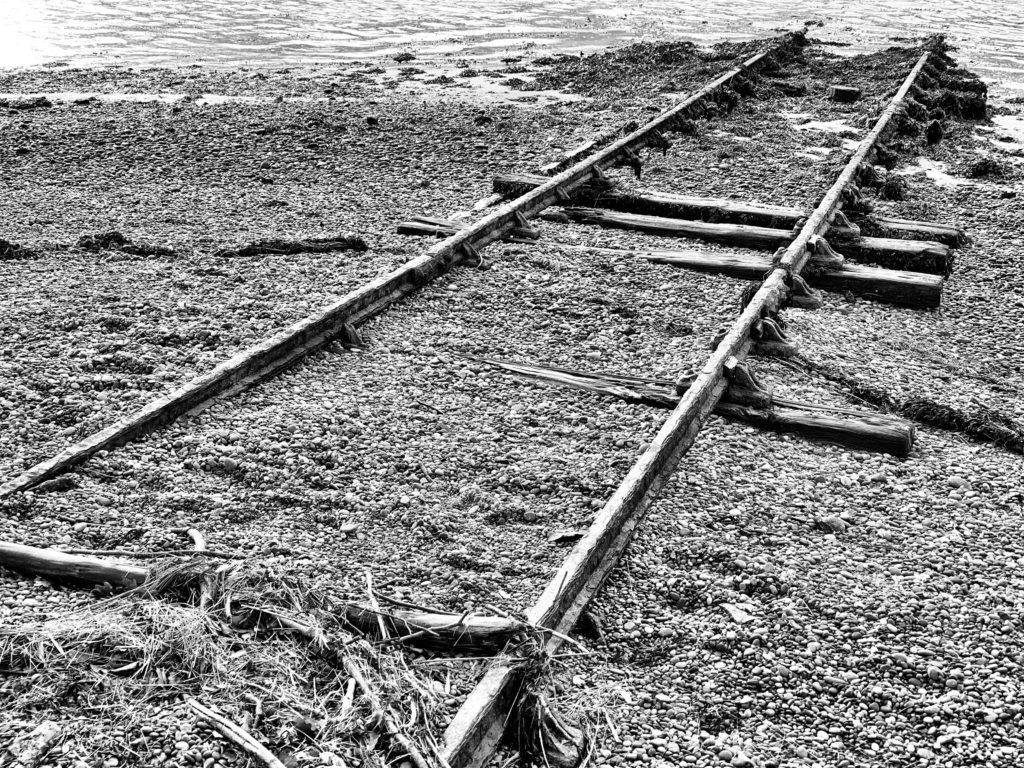
With a good day forecast and temperatures of 12c – I went for a walk along the coast at Findhorn.
I found a convenient post to sit on for lunch and to act as a wind break from the stiff sea breeze for my alcohol stove. Lunch was an award winning haggis and chicken pie from a baker in Forres, an apple and coffee with cream.
Updated website image
I have been tweaking my lightweight backpacking cooking kit.
I have replaced my Alpkit Kraku stove with the latest version. I bought one of the original models when they were released in December 2013 and it has done excellent service, but the o-ring seal became unreliable in September last year. Alpkit sent me some replacement rings but they kept failing – the latest design has a higher valve assembly and a different type of o-ring. So it was time for a new stove.
I have changed my tea-towel for a lightweight pack towel, replaced the battered homemade windshield for another homemade windshield and found an even lighter lid to use as a chopping board.
Updated website image Read More »
