lightweight stove

How to make camping coffee?

I was planning to go out for a lunch time walk and brew some camping coffee but the weather had other ideas – too much rain.

On a recent walk the wind shield I used was not effective so I was going to test out a new one I made from a used food tray. I moved the test to the doorway of the summer house office.
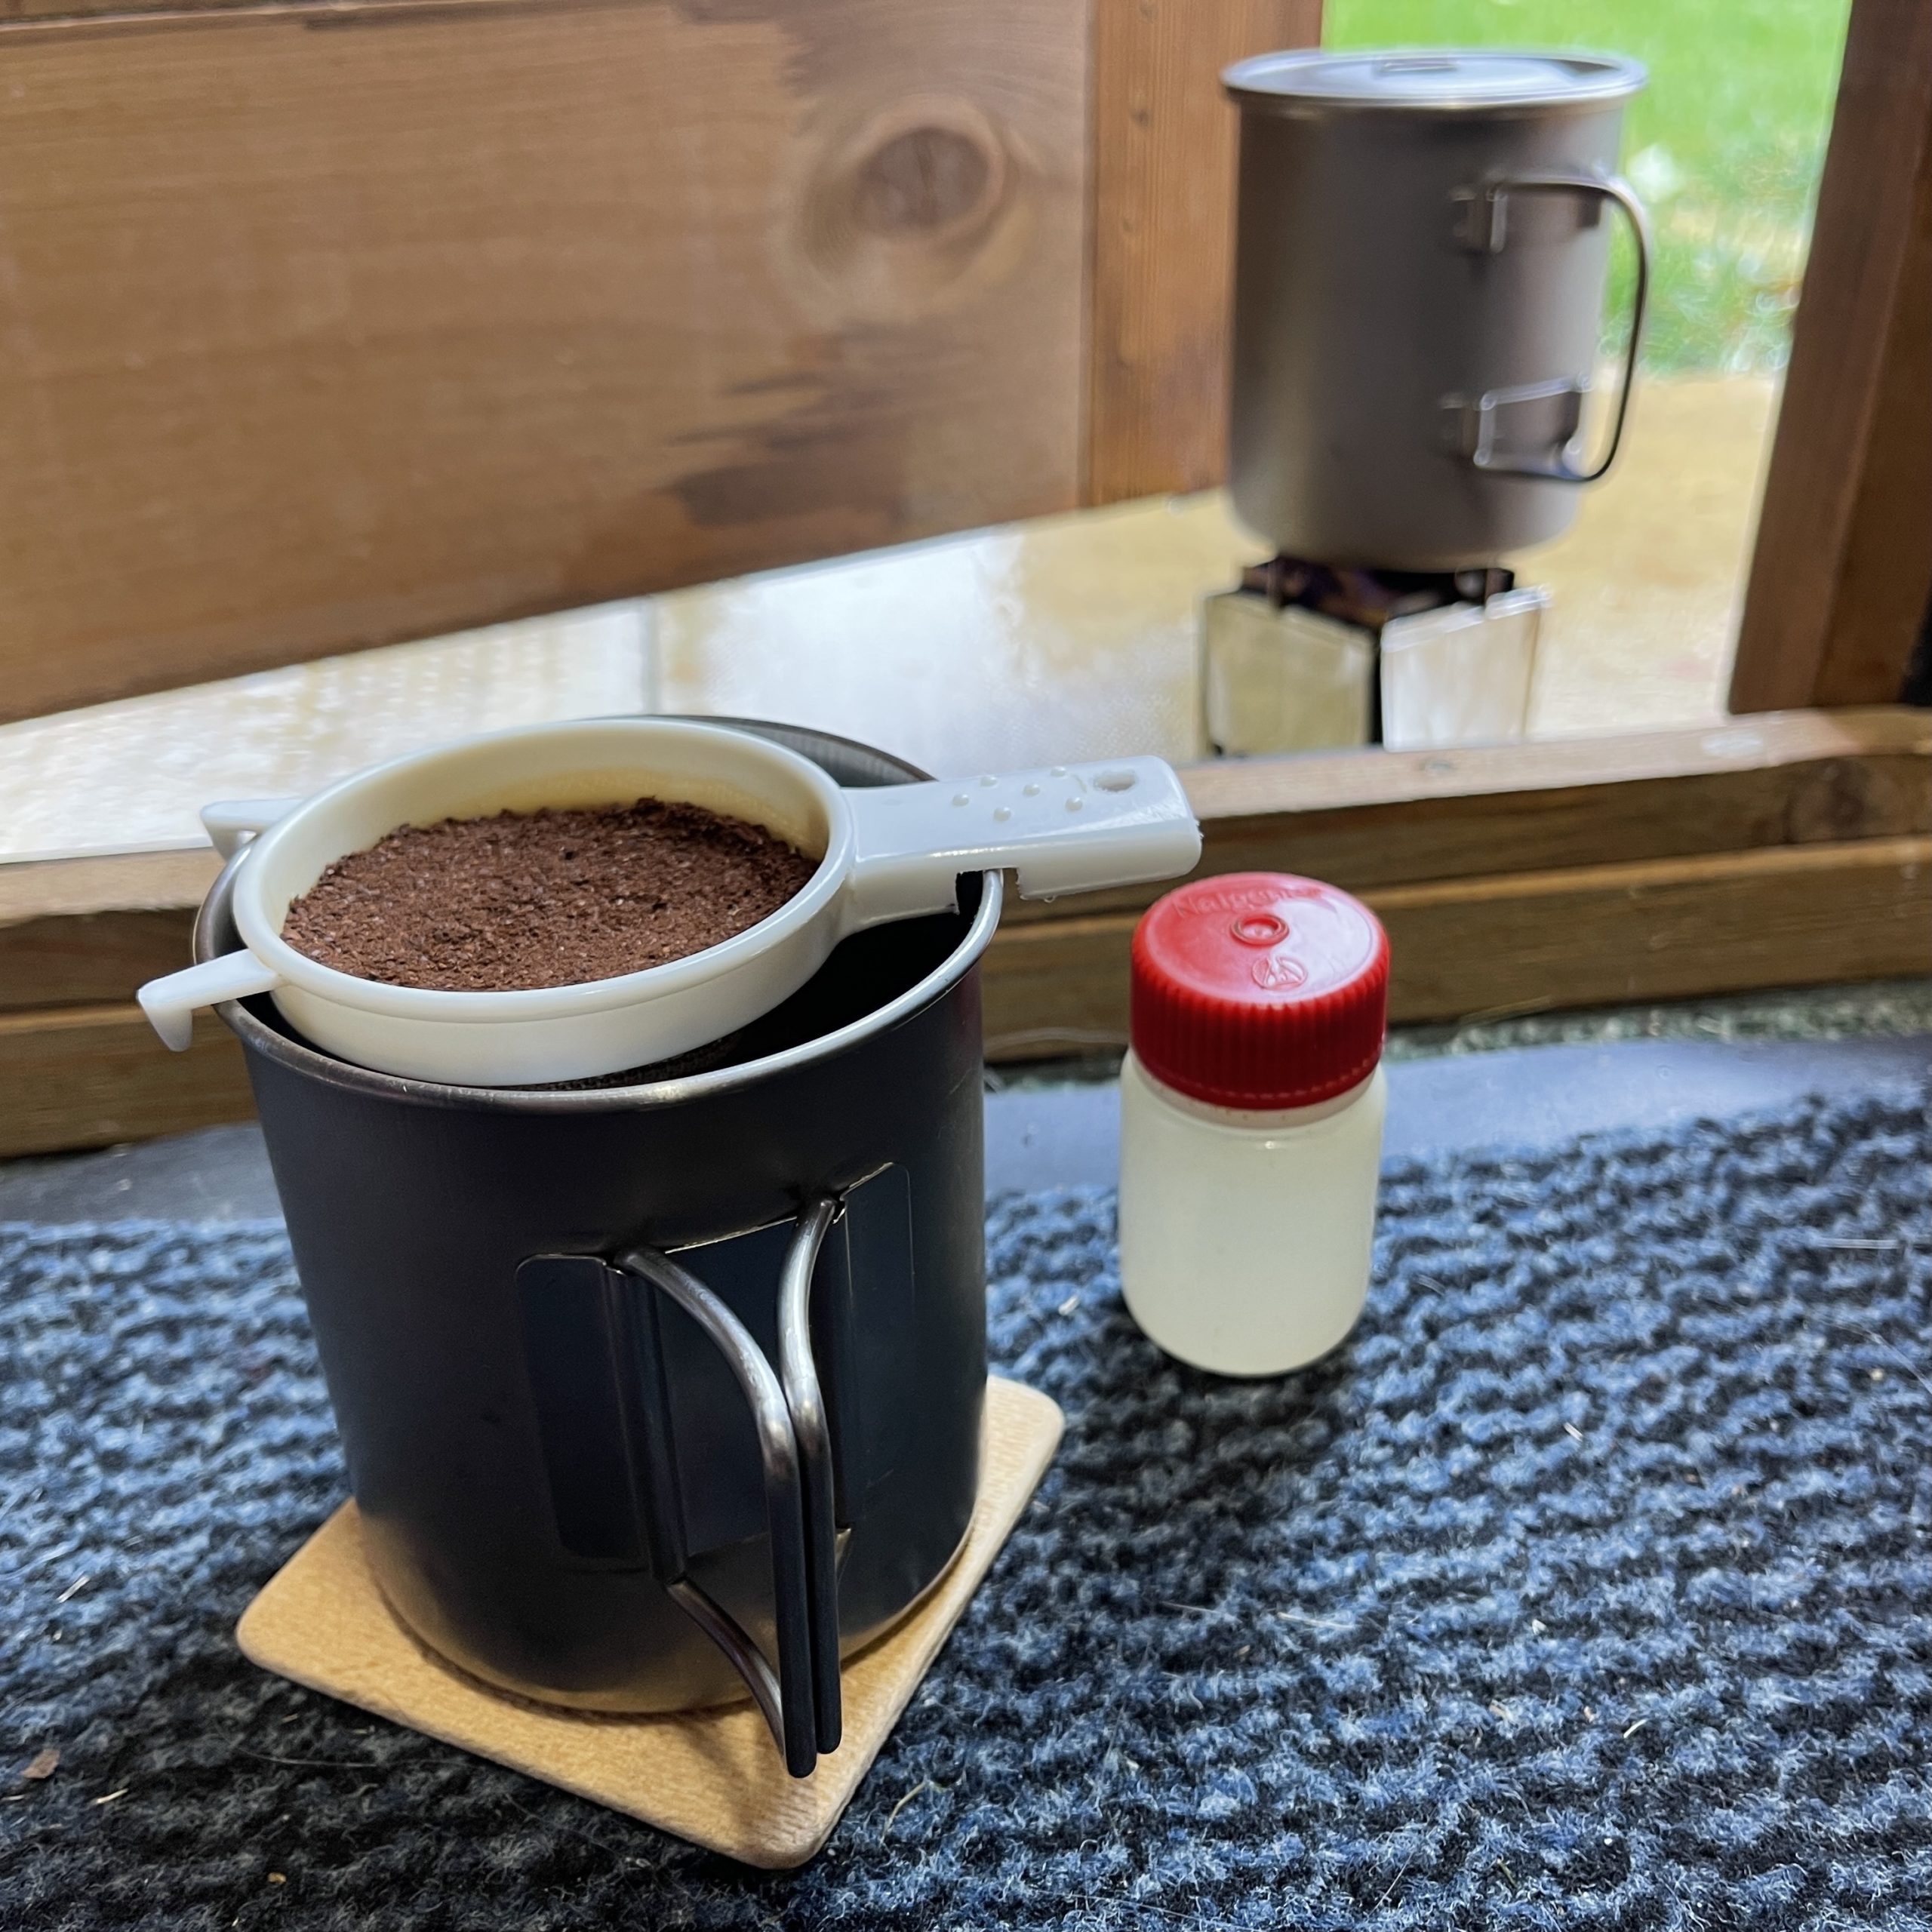
Making camping coffee in the office

The wind break was cut to fit tightly around a Bushcraft Essentials mini twig stove when using an up-cycled Burt’s Bees tin as a gel fuel burner. As the fit was close I punched some air holes low down and on two sides for air flow.
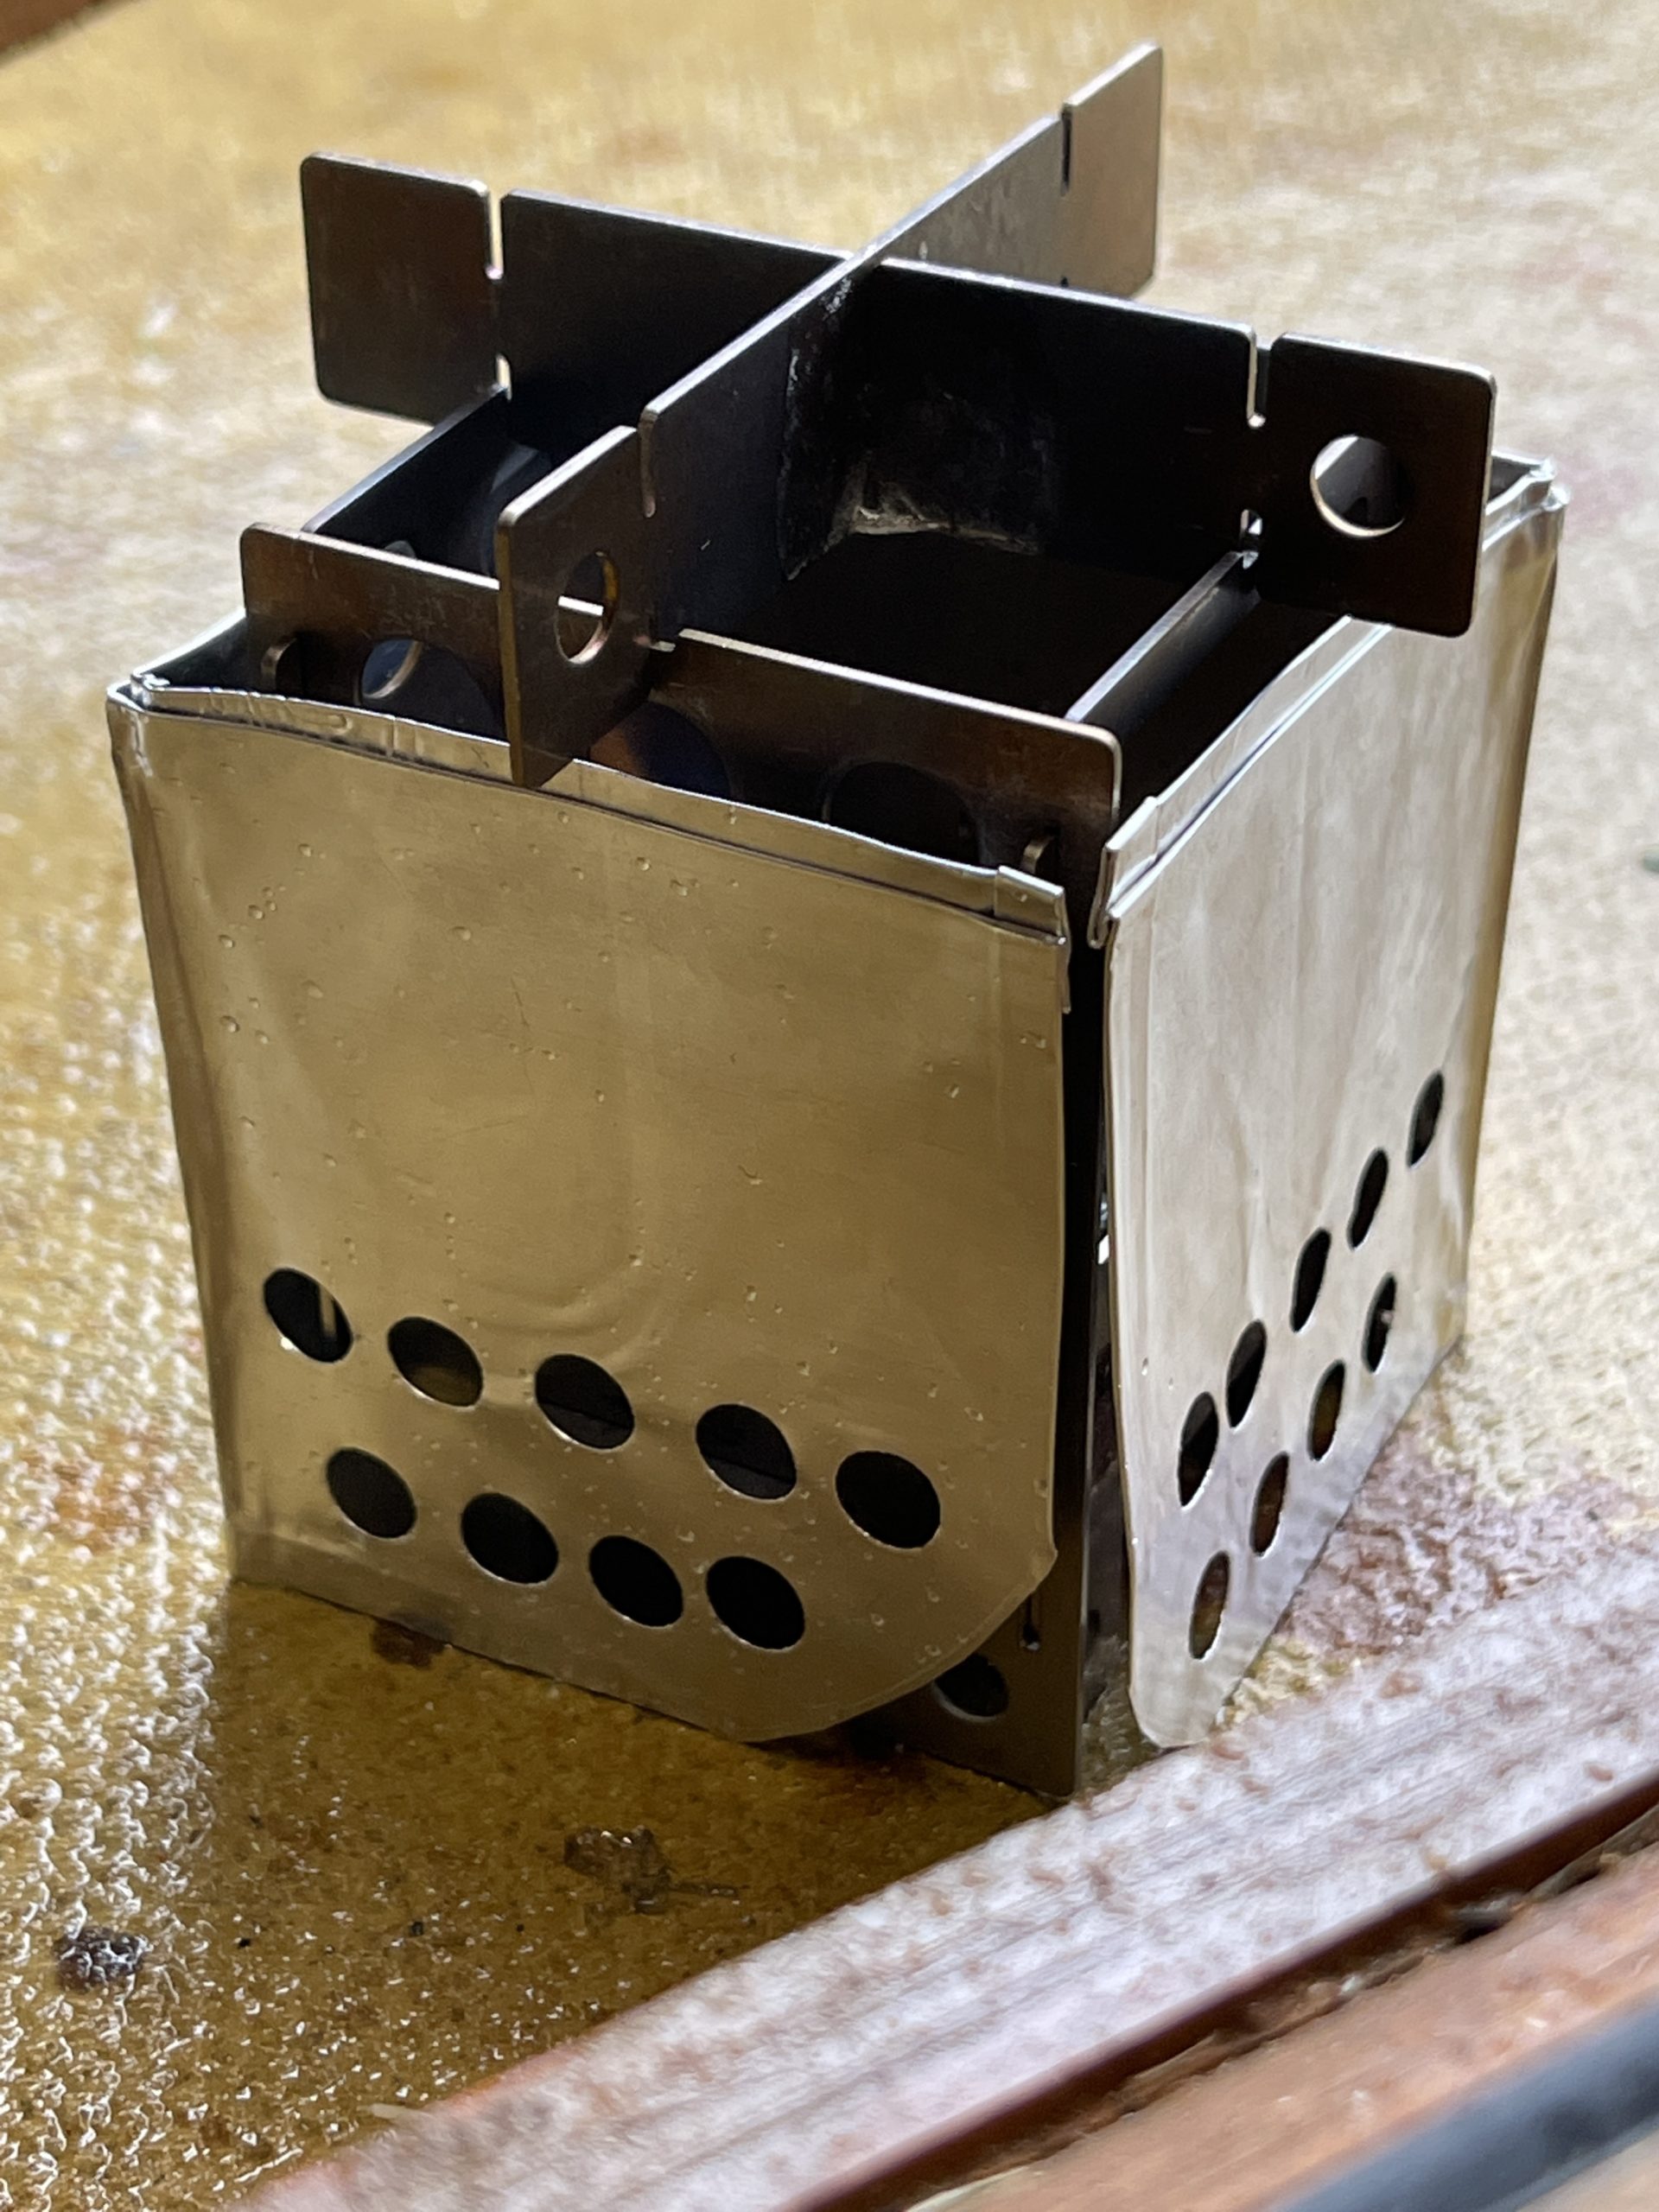
Outdoor Pocket Micro Stove EDCBox
Outdoor Pocket Micro Stove EDCBox with homemade wind shield

The idea of this stove is for me to have the makings for camping coffee or soup in my lightweight cookset bag. There is a very small gas burner in the cookset but no gas – the gel fuel for the Bushcraft Essentials stove is carried an up-cycled hand sanitiser bottle in the cookset stuff sack.
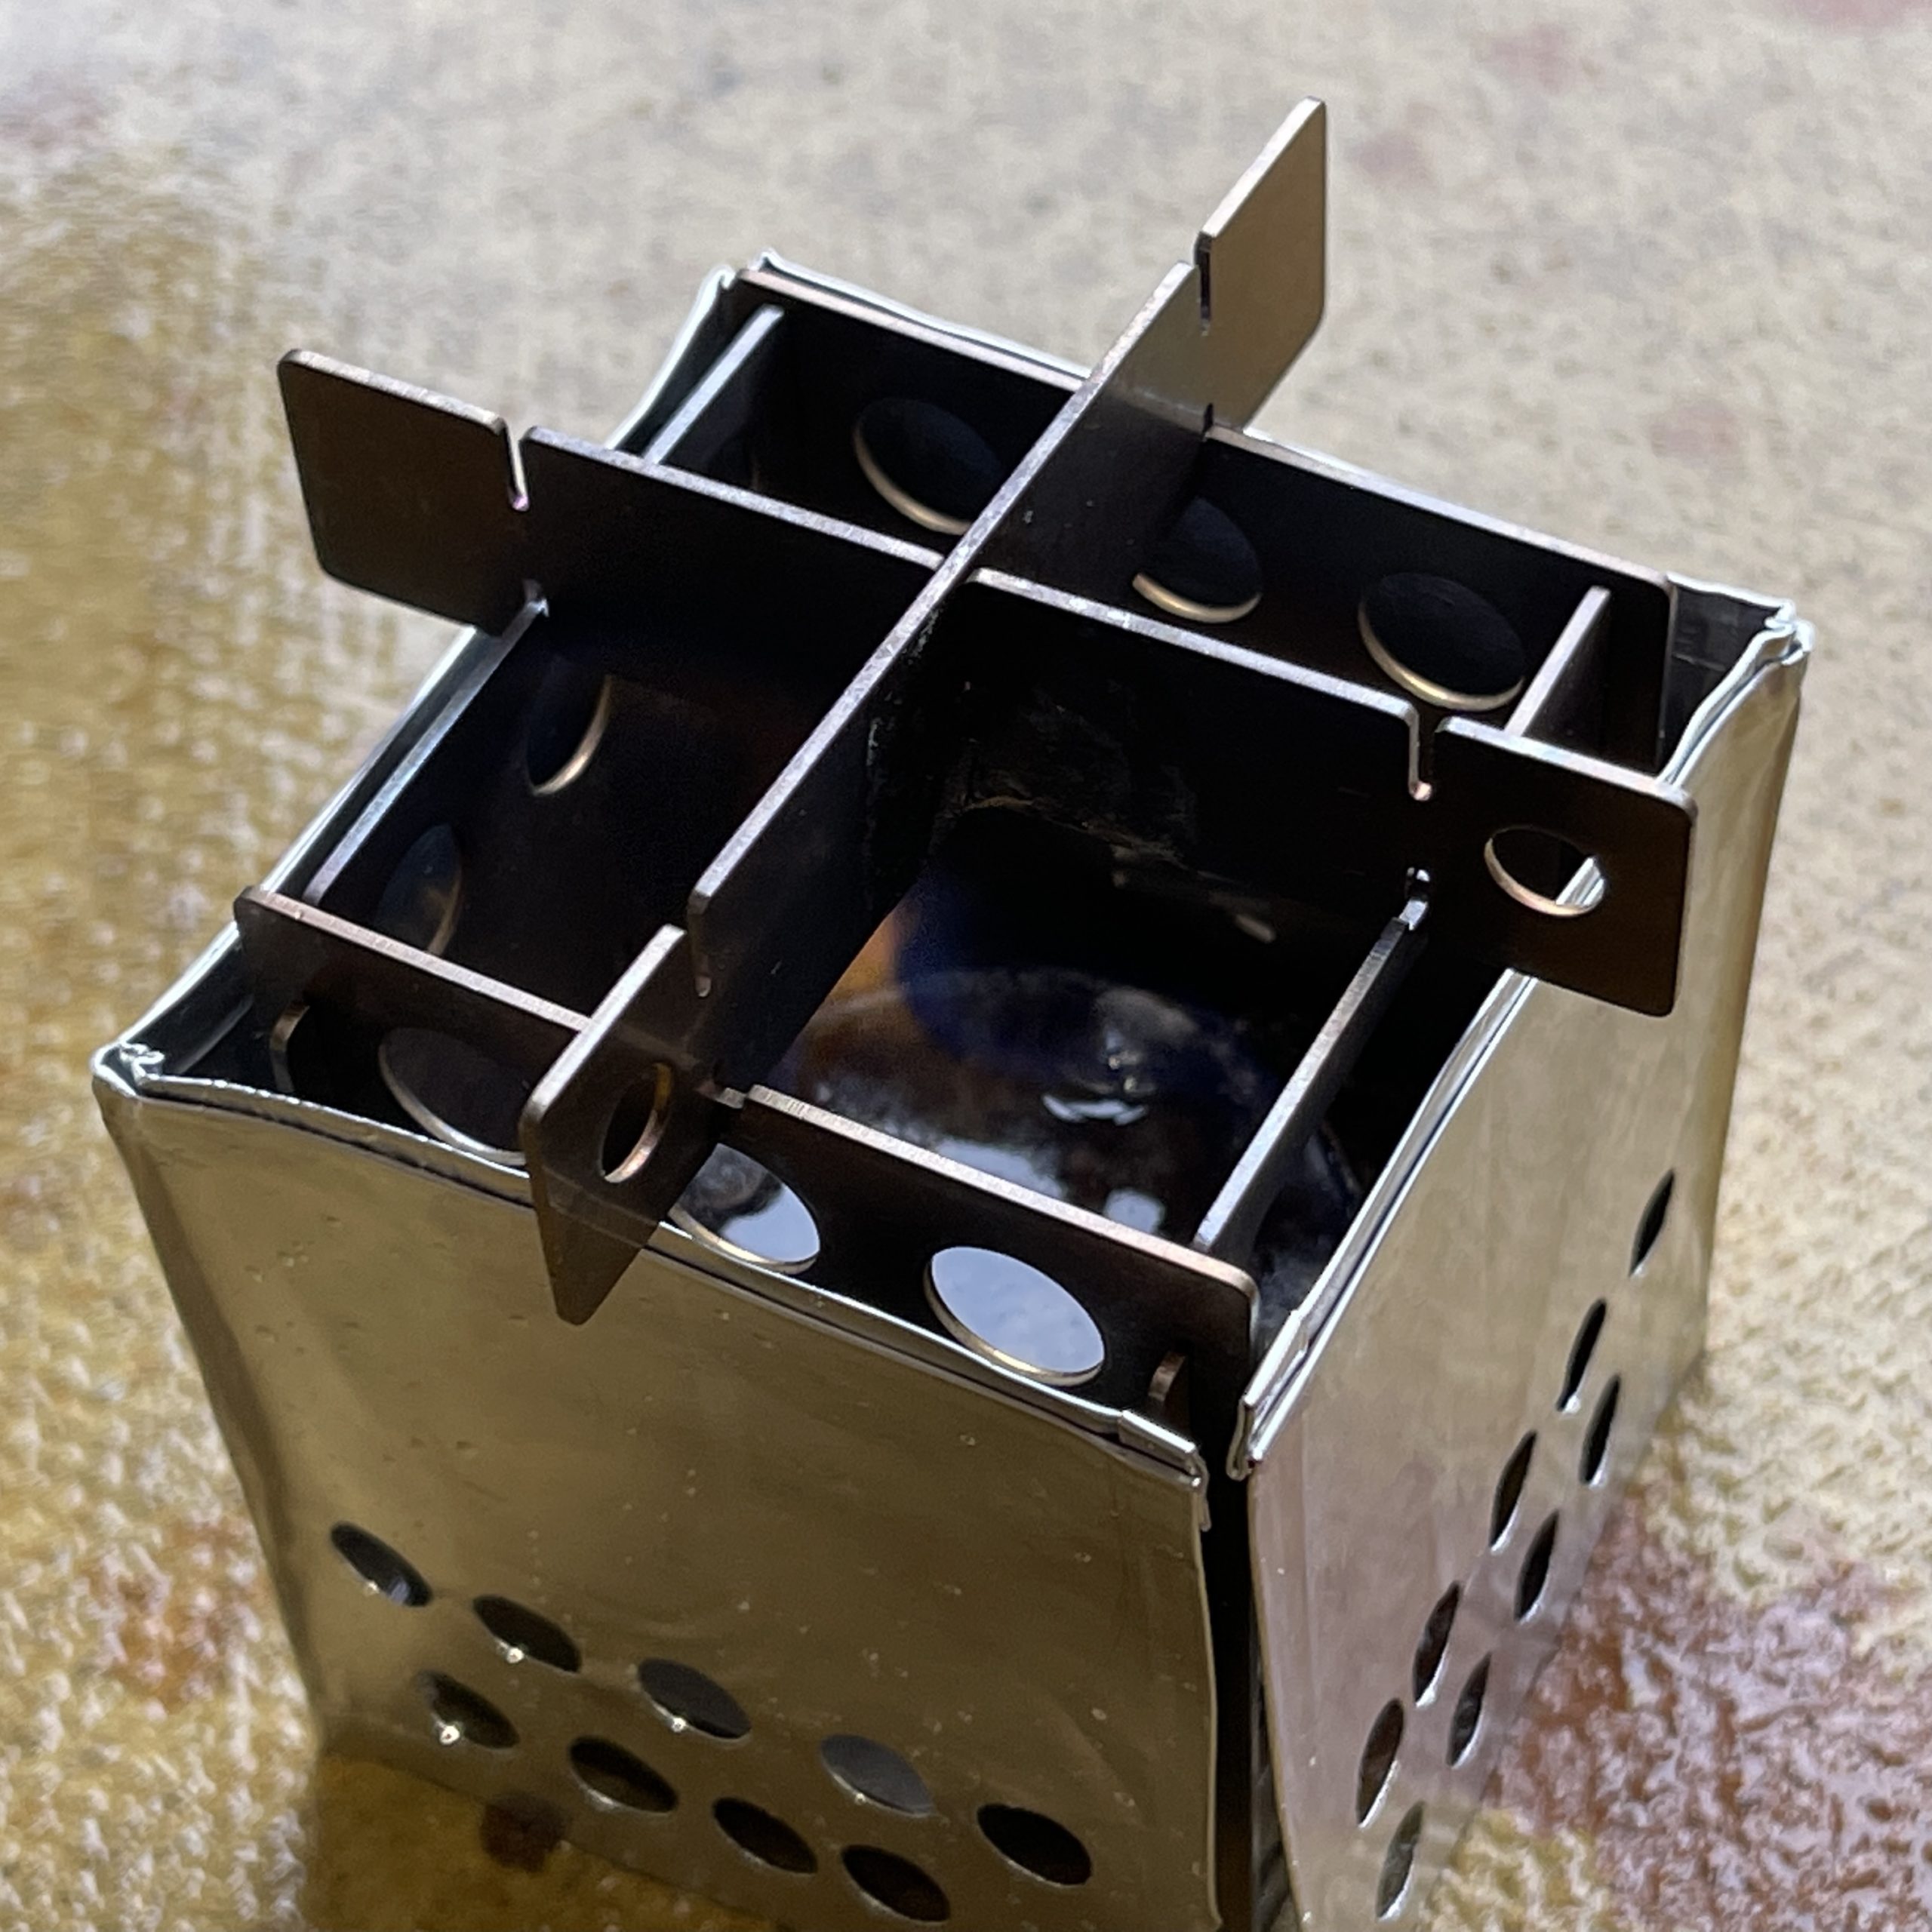
Outdoor Pocket Micro Stove EDCBox adapted for gel fuel
The Burt’s Bees tin for the gel fuel – alight!

To test the stove wind break I made coffee.

Making Camping Coffee

There are many gadgets on the market for making coffee when camping – I have a 750ml titanium bush pot/cafetiere for when I am car camping – but when backpacking and walking I like this lightweight solution.

For a while now I have been using a plastic tea strainer as a reusable coffee filter (see my camping coffee page). Since I wrote that page I have cut down the handle and made some cut-outs so the filter sits level.
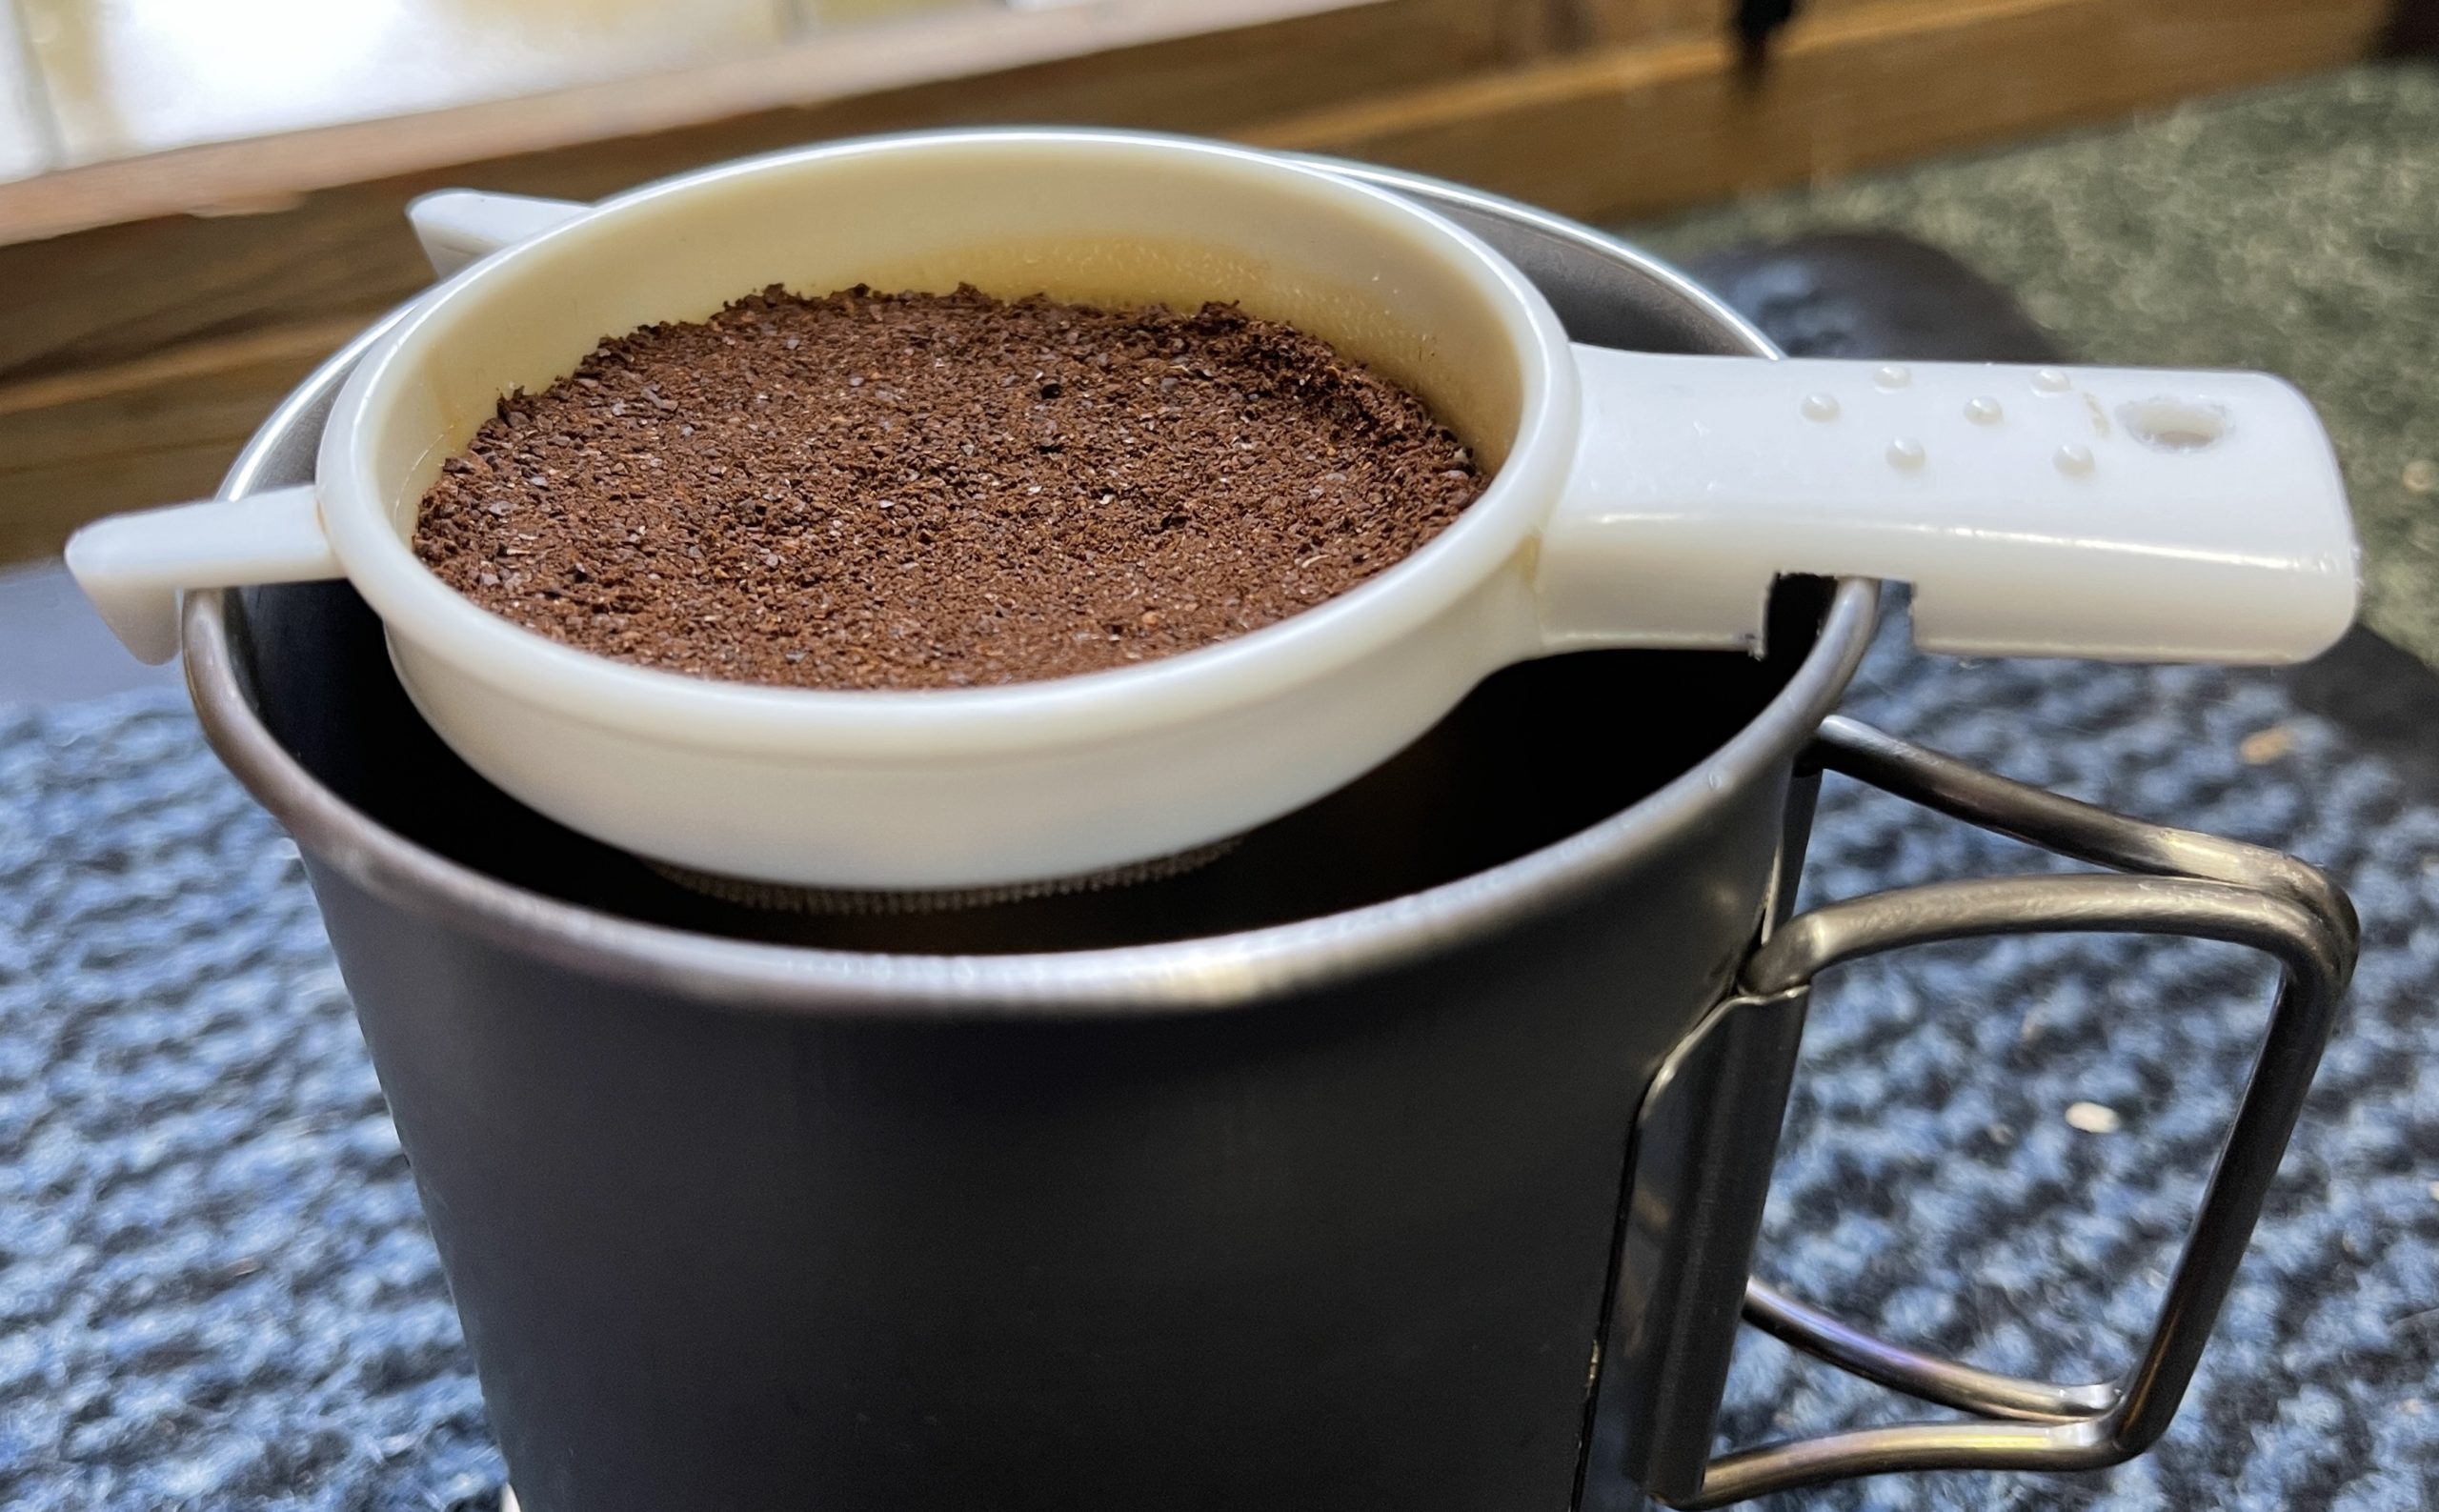
Tea strainer adapted for making camping coffee
The notches keep the filter level

The process I use is:

1 I fill the strainer mesh with ground coffee until it just covers the the plastic rim.

2 Wet the coffee grounds and then wait a minute or so.
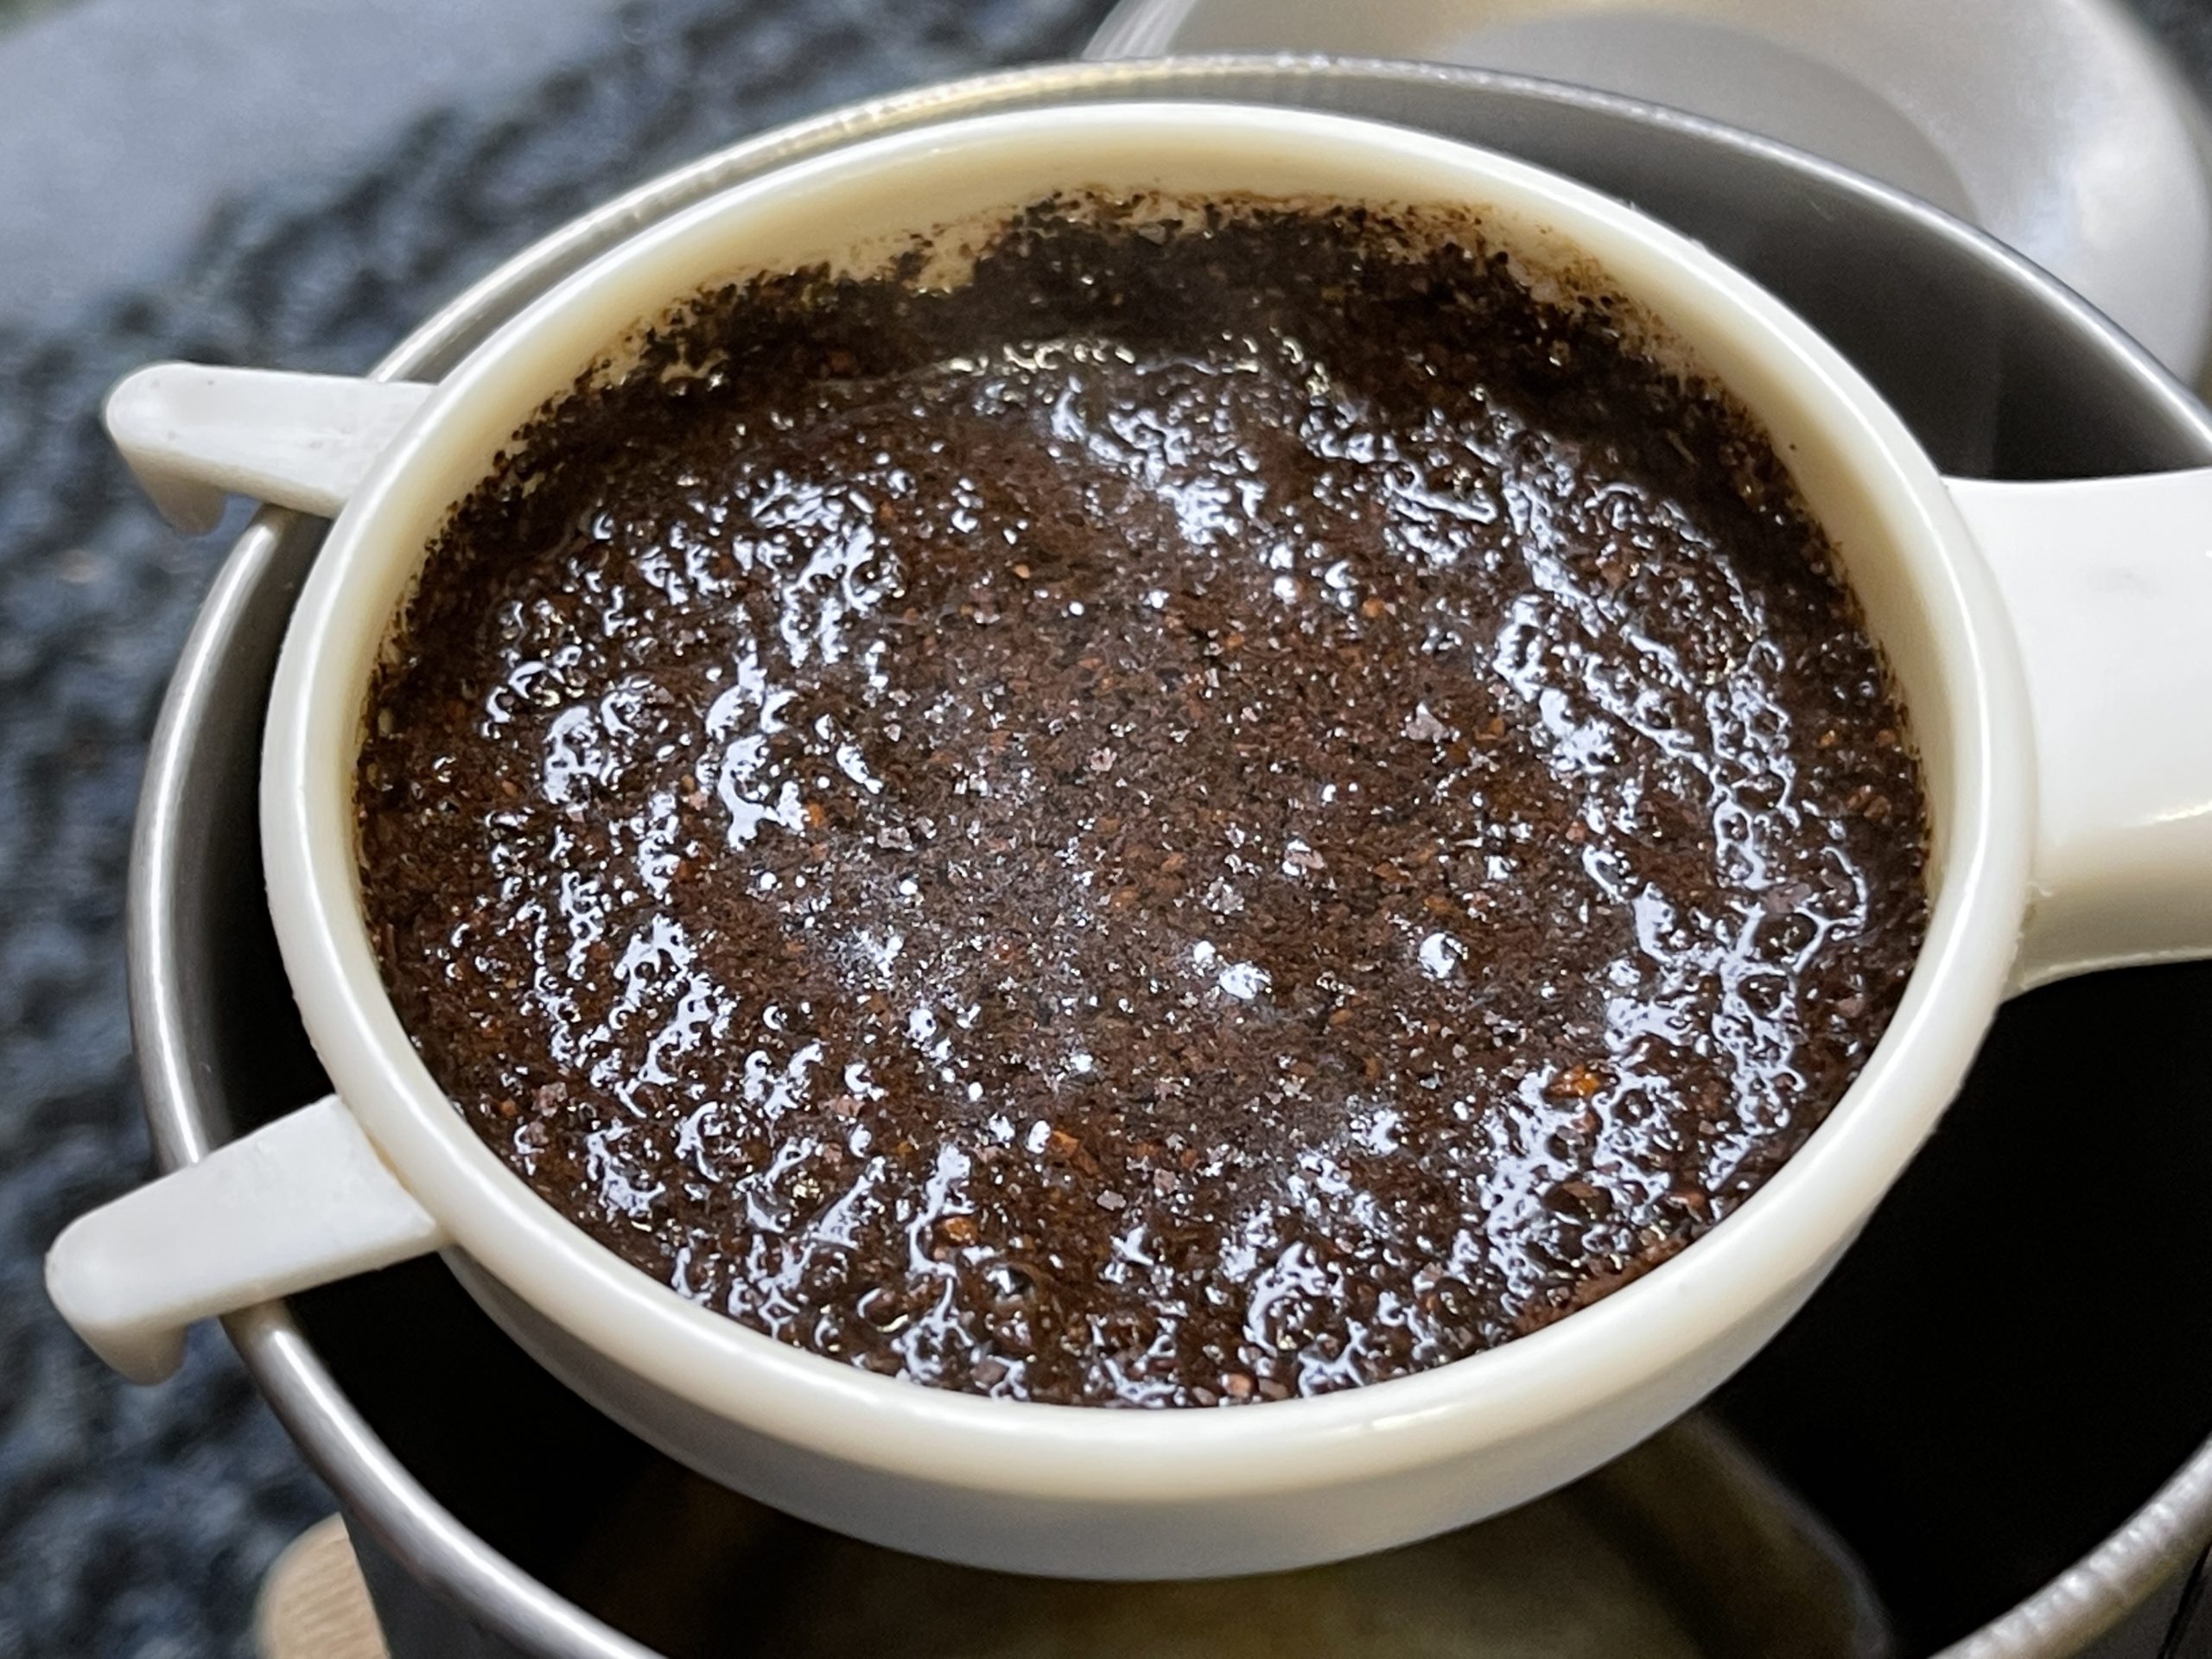
Camping coffee wetting the grounds
For the best results the coffee grounds need a little hot water and a rest!

3 I then carefully add water to the brim of the strainer and let it drain through.
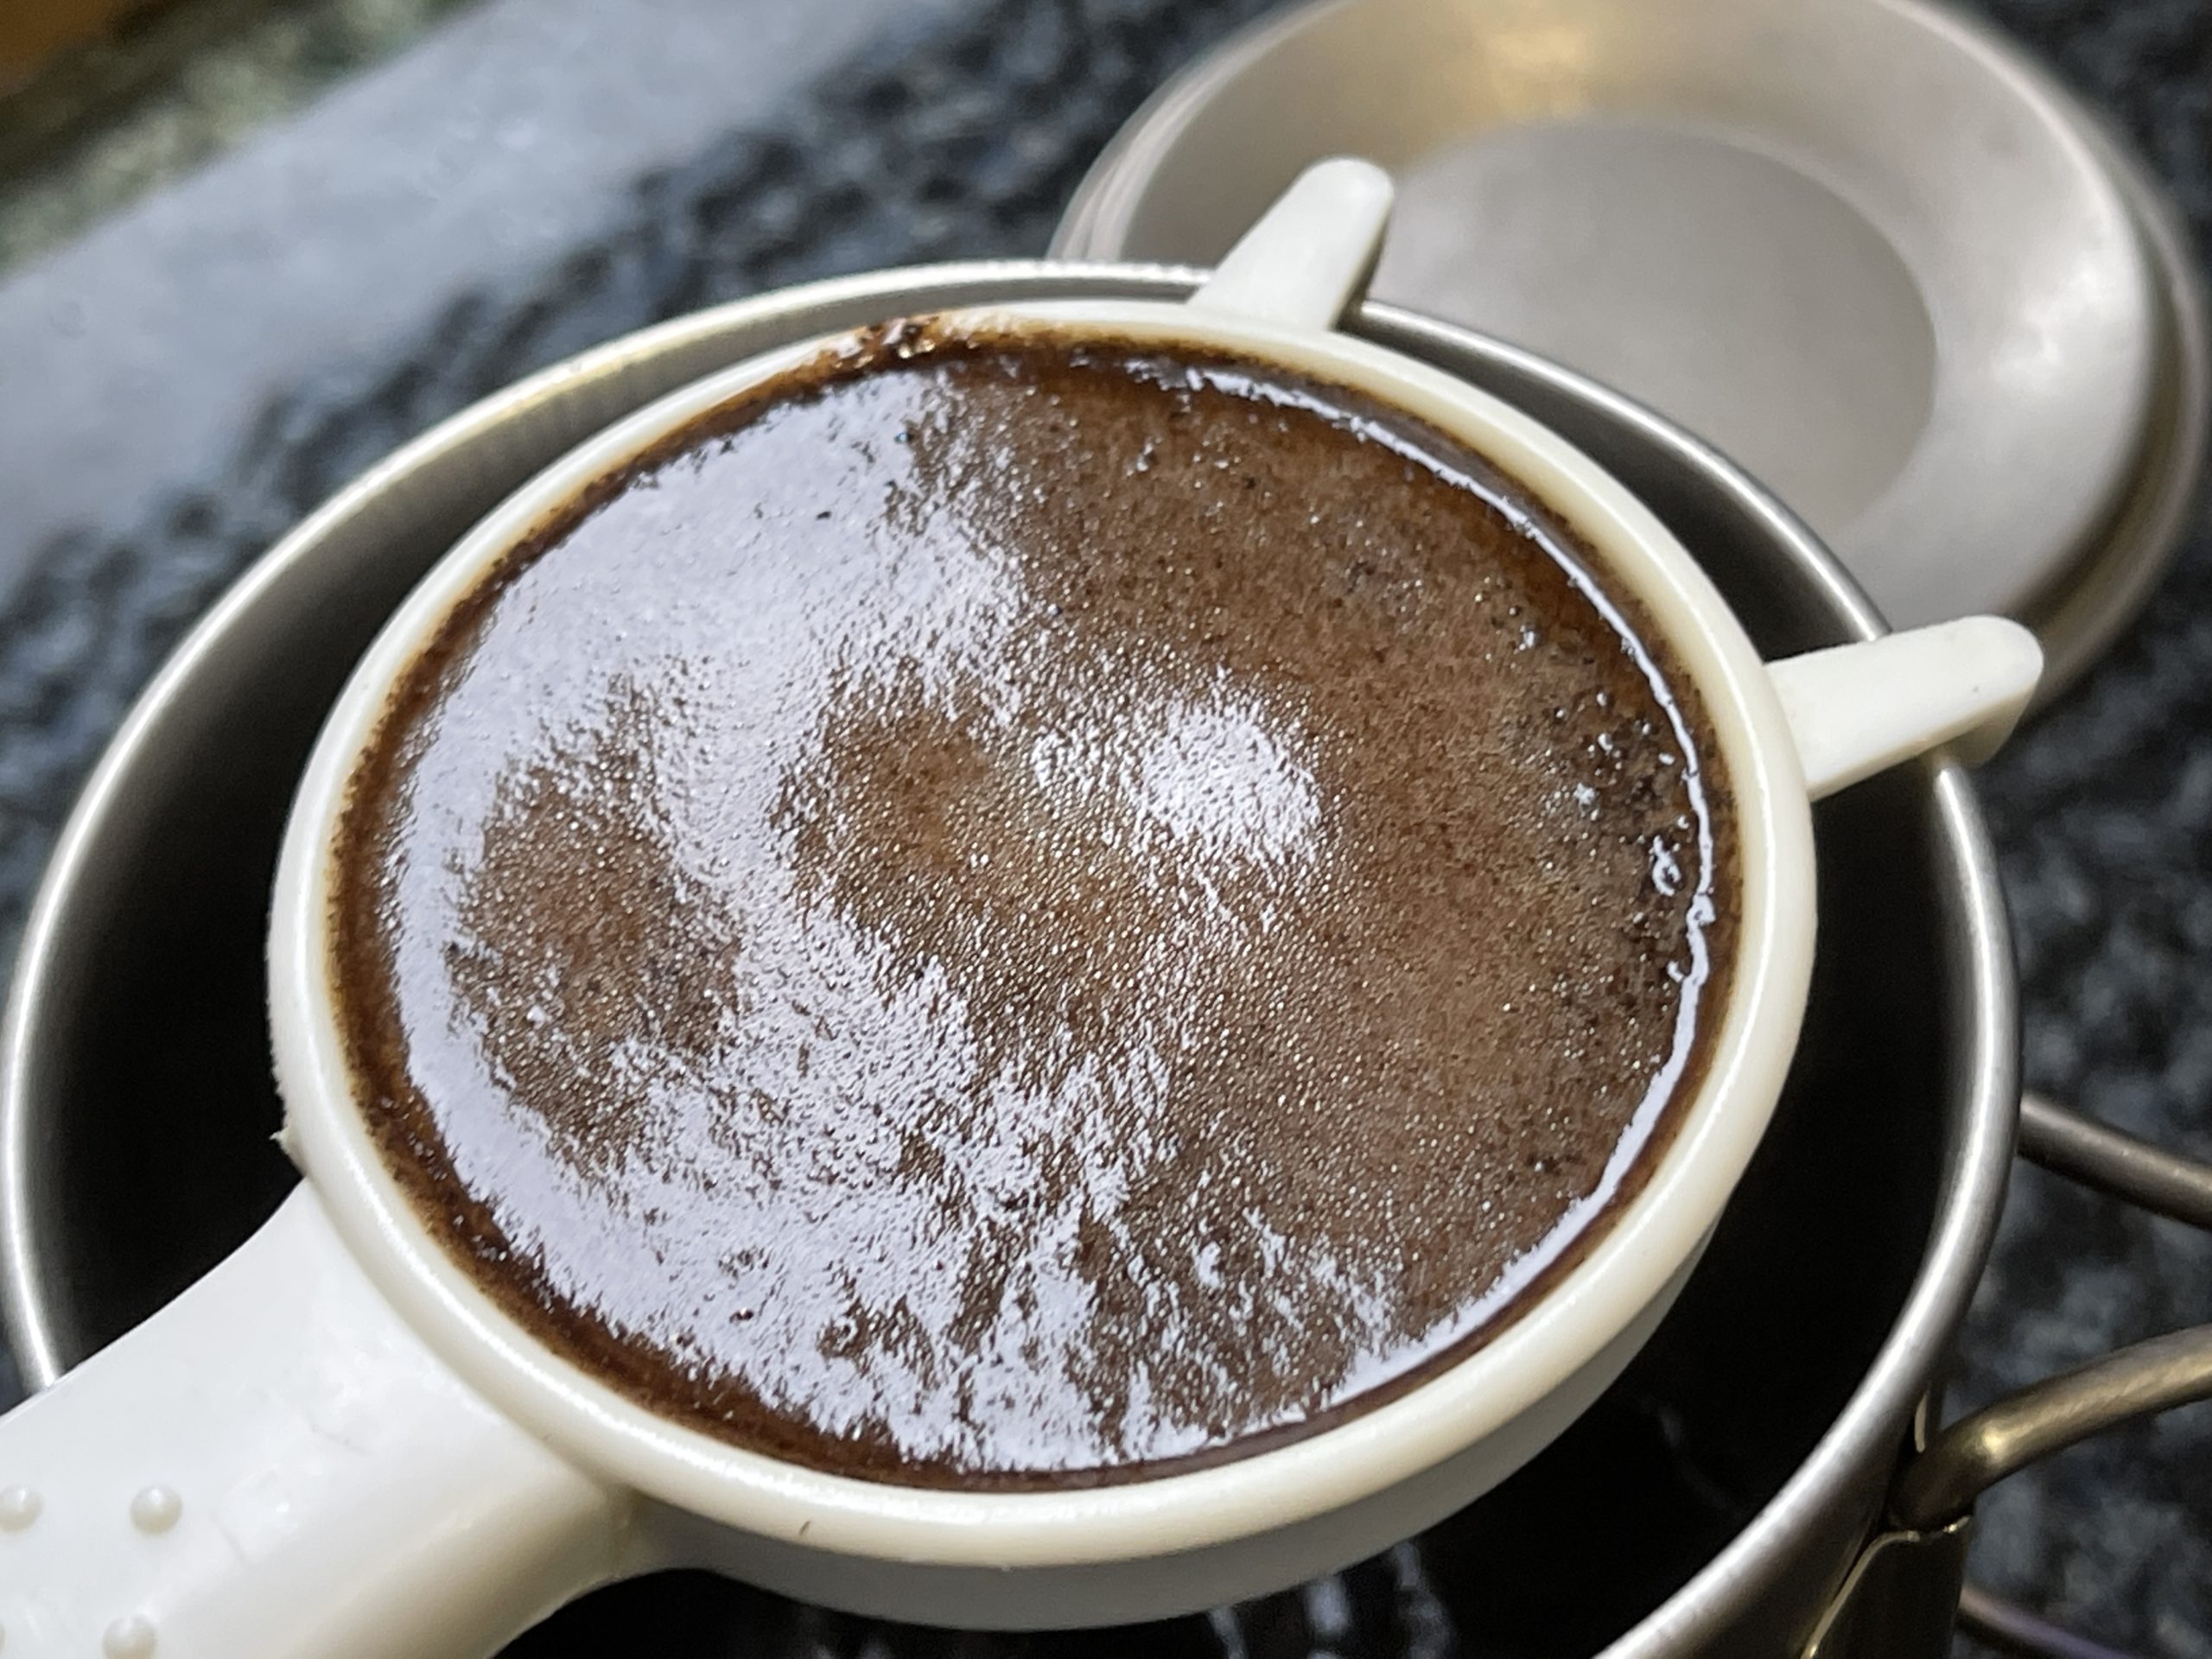
Coffee for camping in a small strainer coffee making gadget
Care is needed when filling the strainer so it does not overflow

4 It takes about 100ml to 150ml of water to make a strong brew. I top up with hot water.
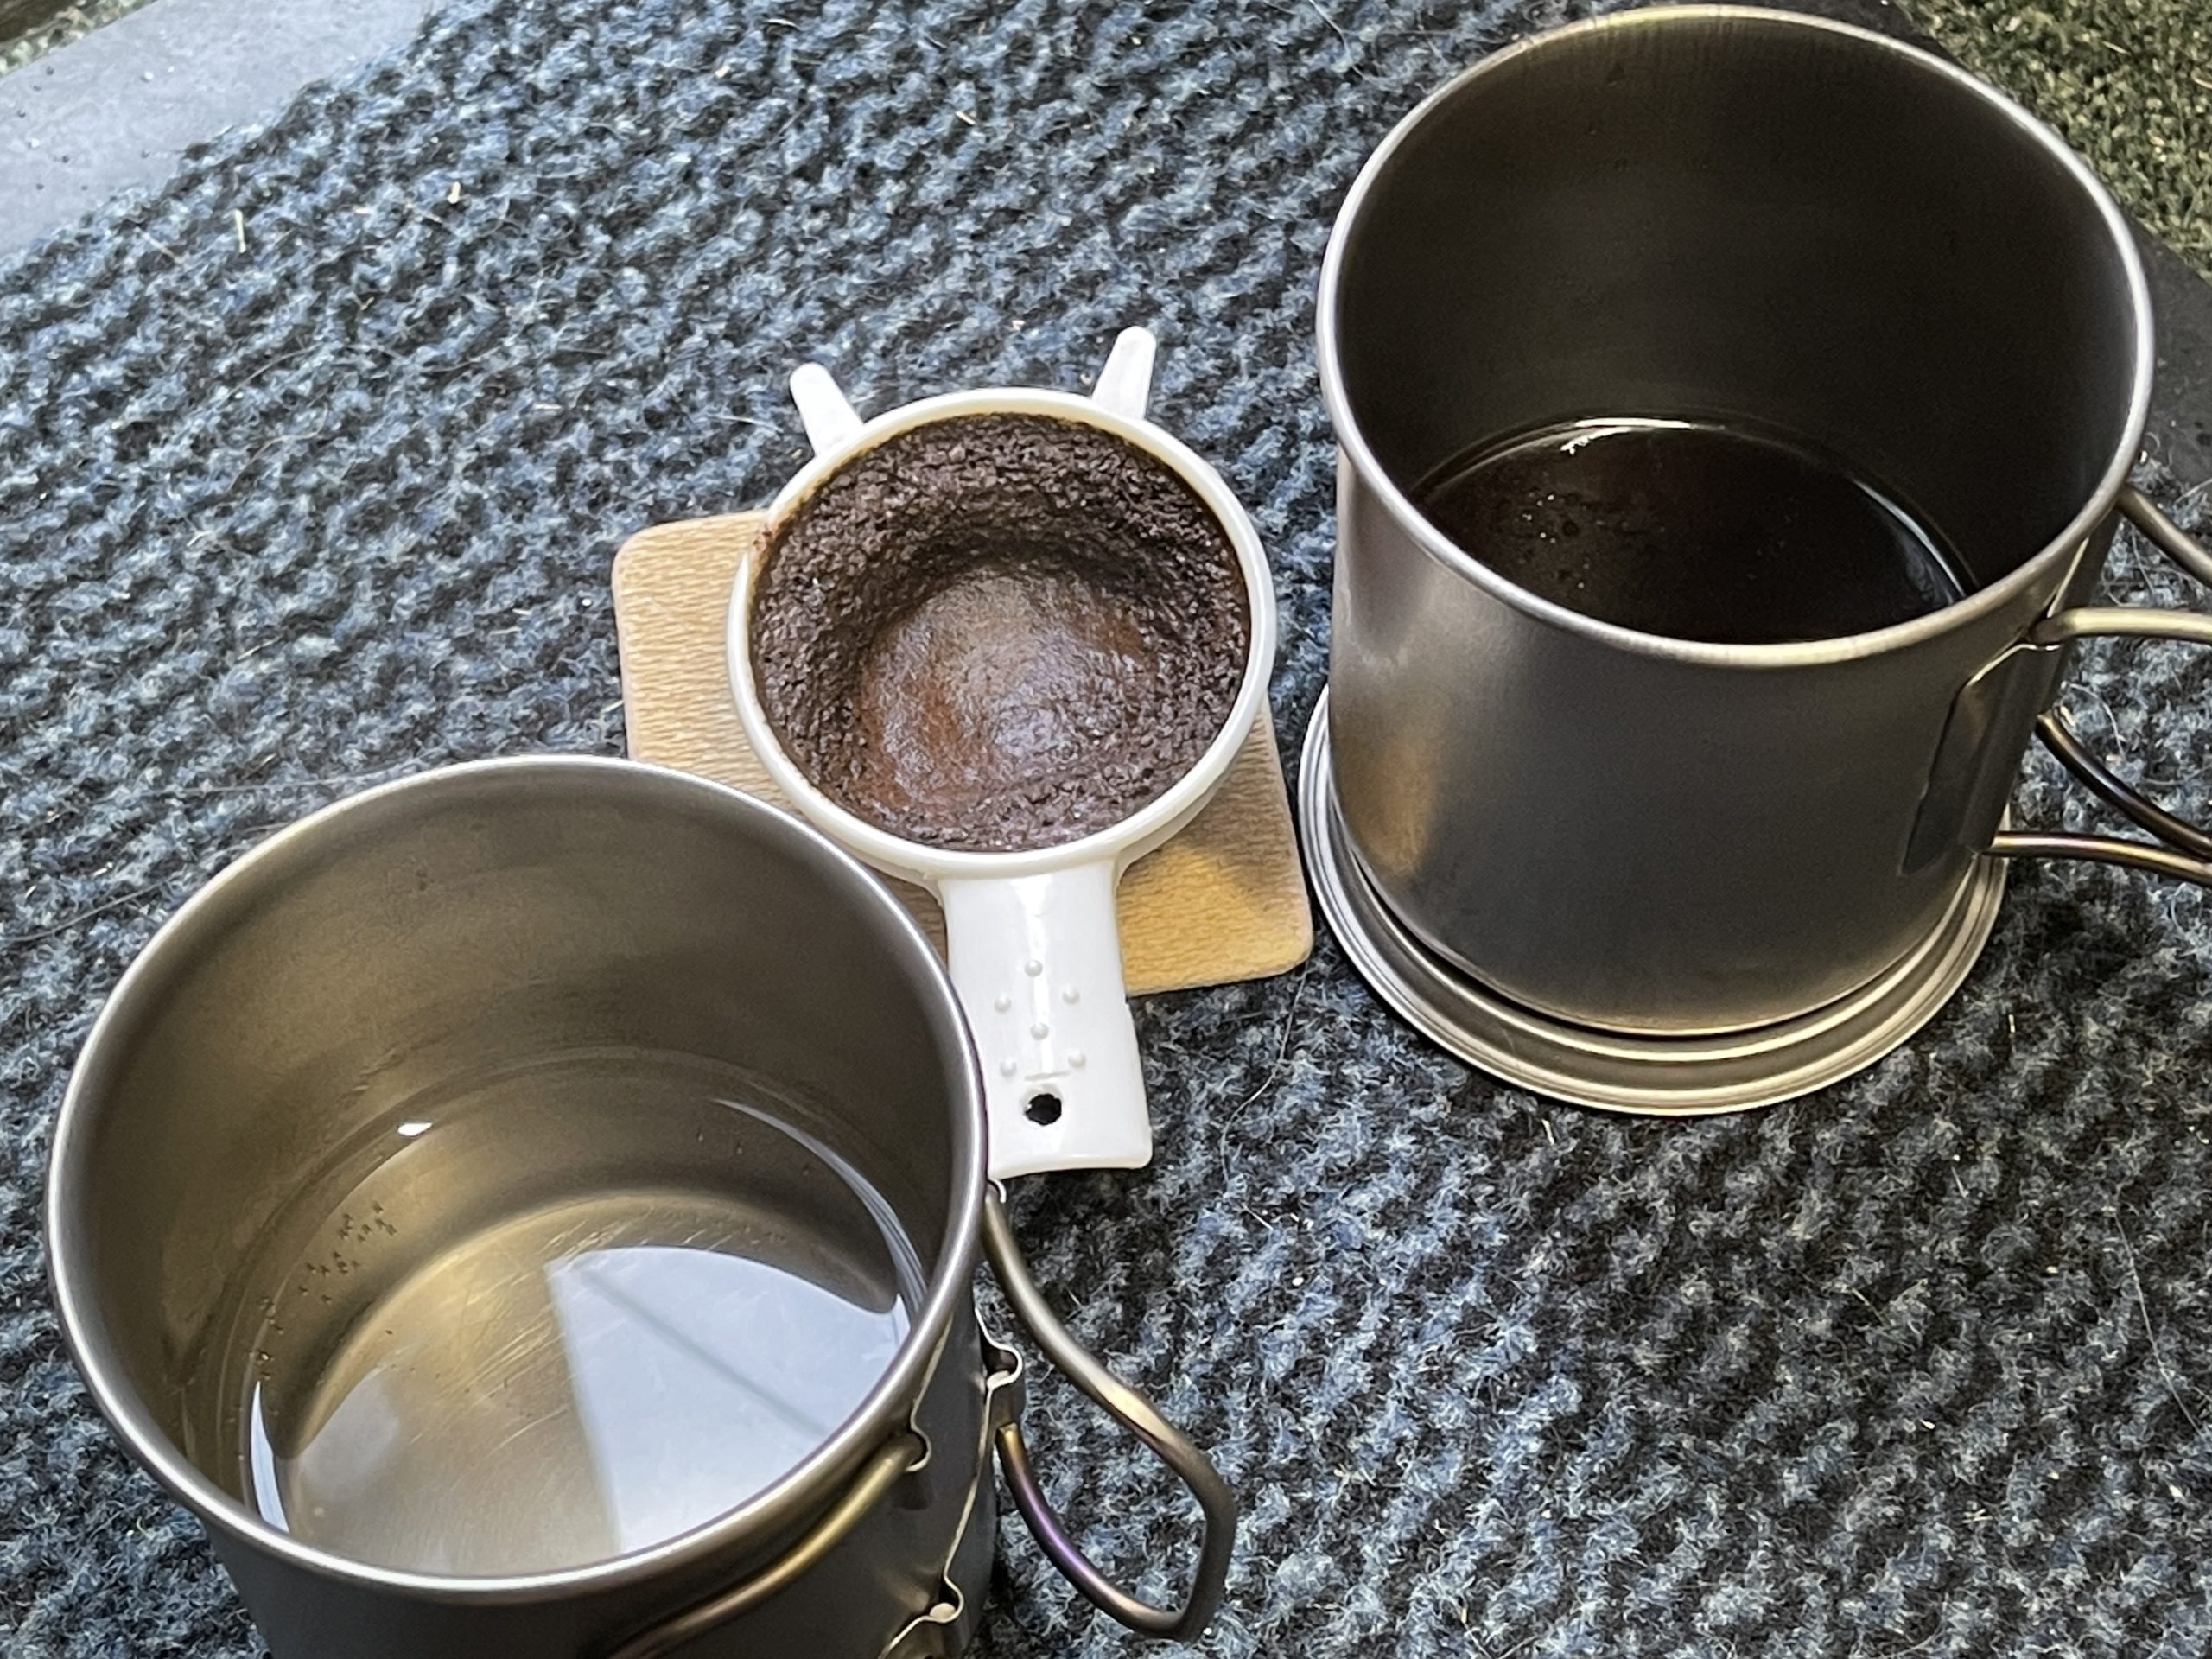
Ground coffee when lightweight backpacking or camping
I never drip all the water through as it is not necessary

5 I take mine black and no sugar when camping – but I do carry coffee creamer and brown sugar for caffeine and energy boost.

This gadget and method only generates used coffee grounds to dispose of, no paper filters and there is no comparison when it comes to the weight or price of this coffee maker when compared to other backpacking/camping coffee gadgets. And it can be used as a strainer as well!
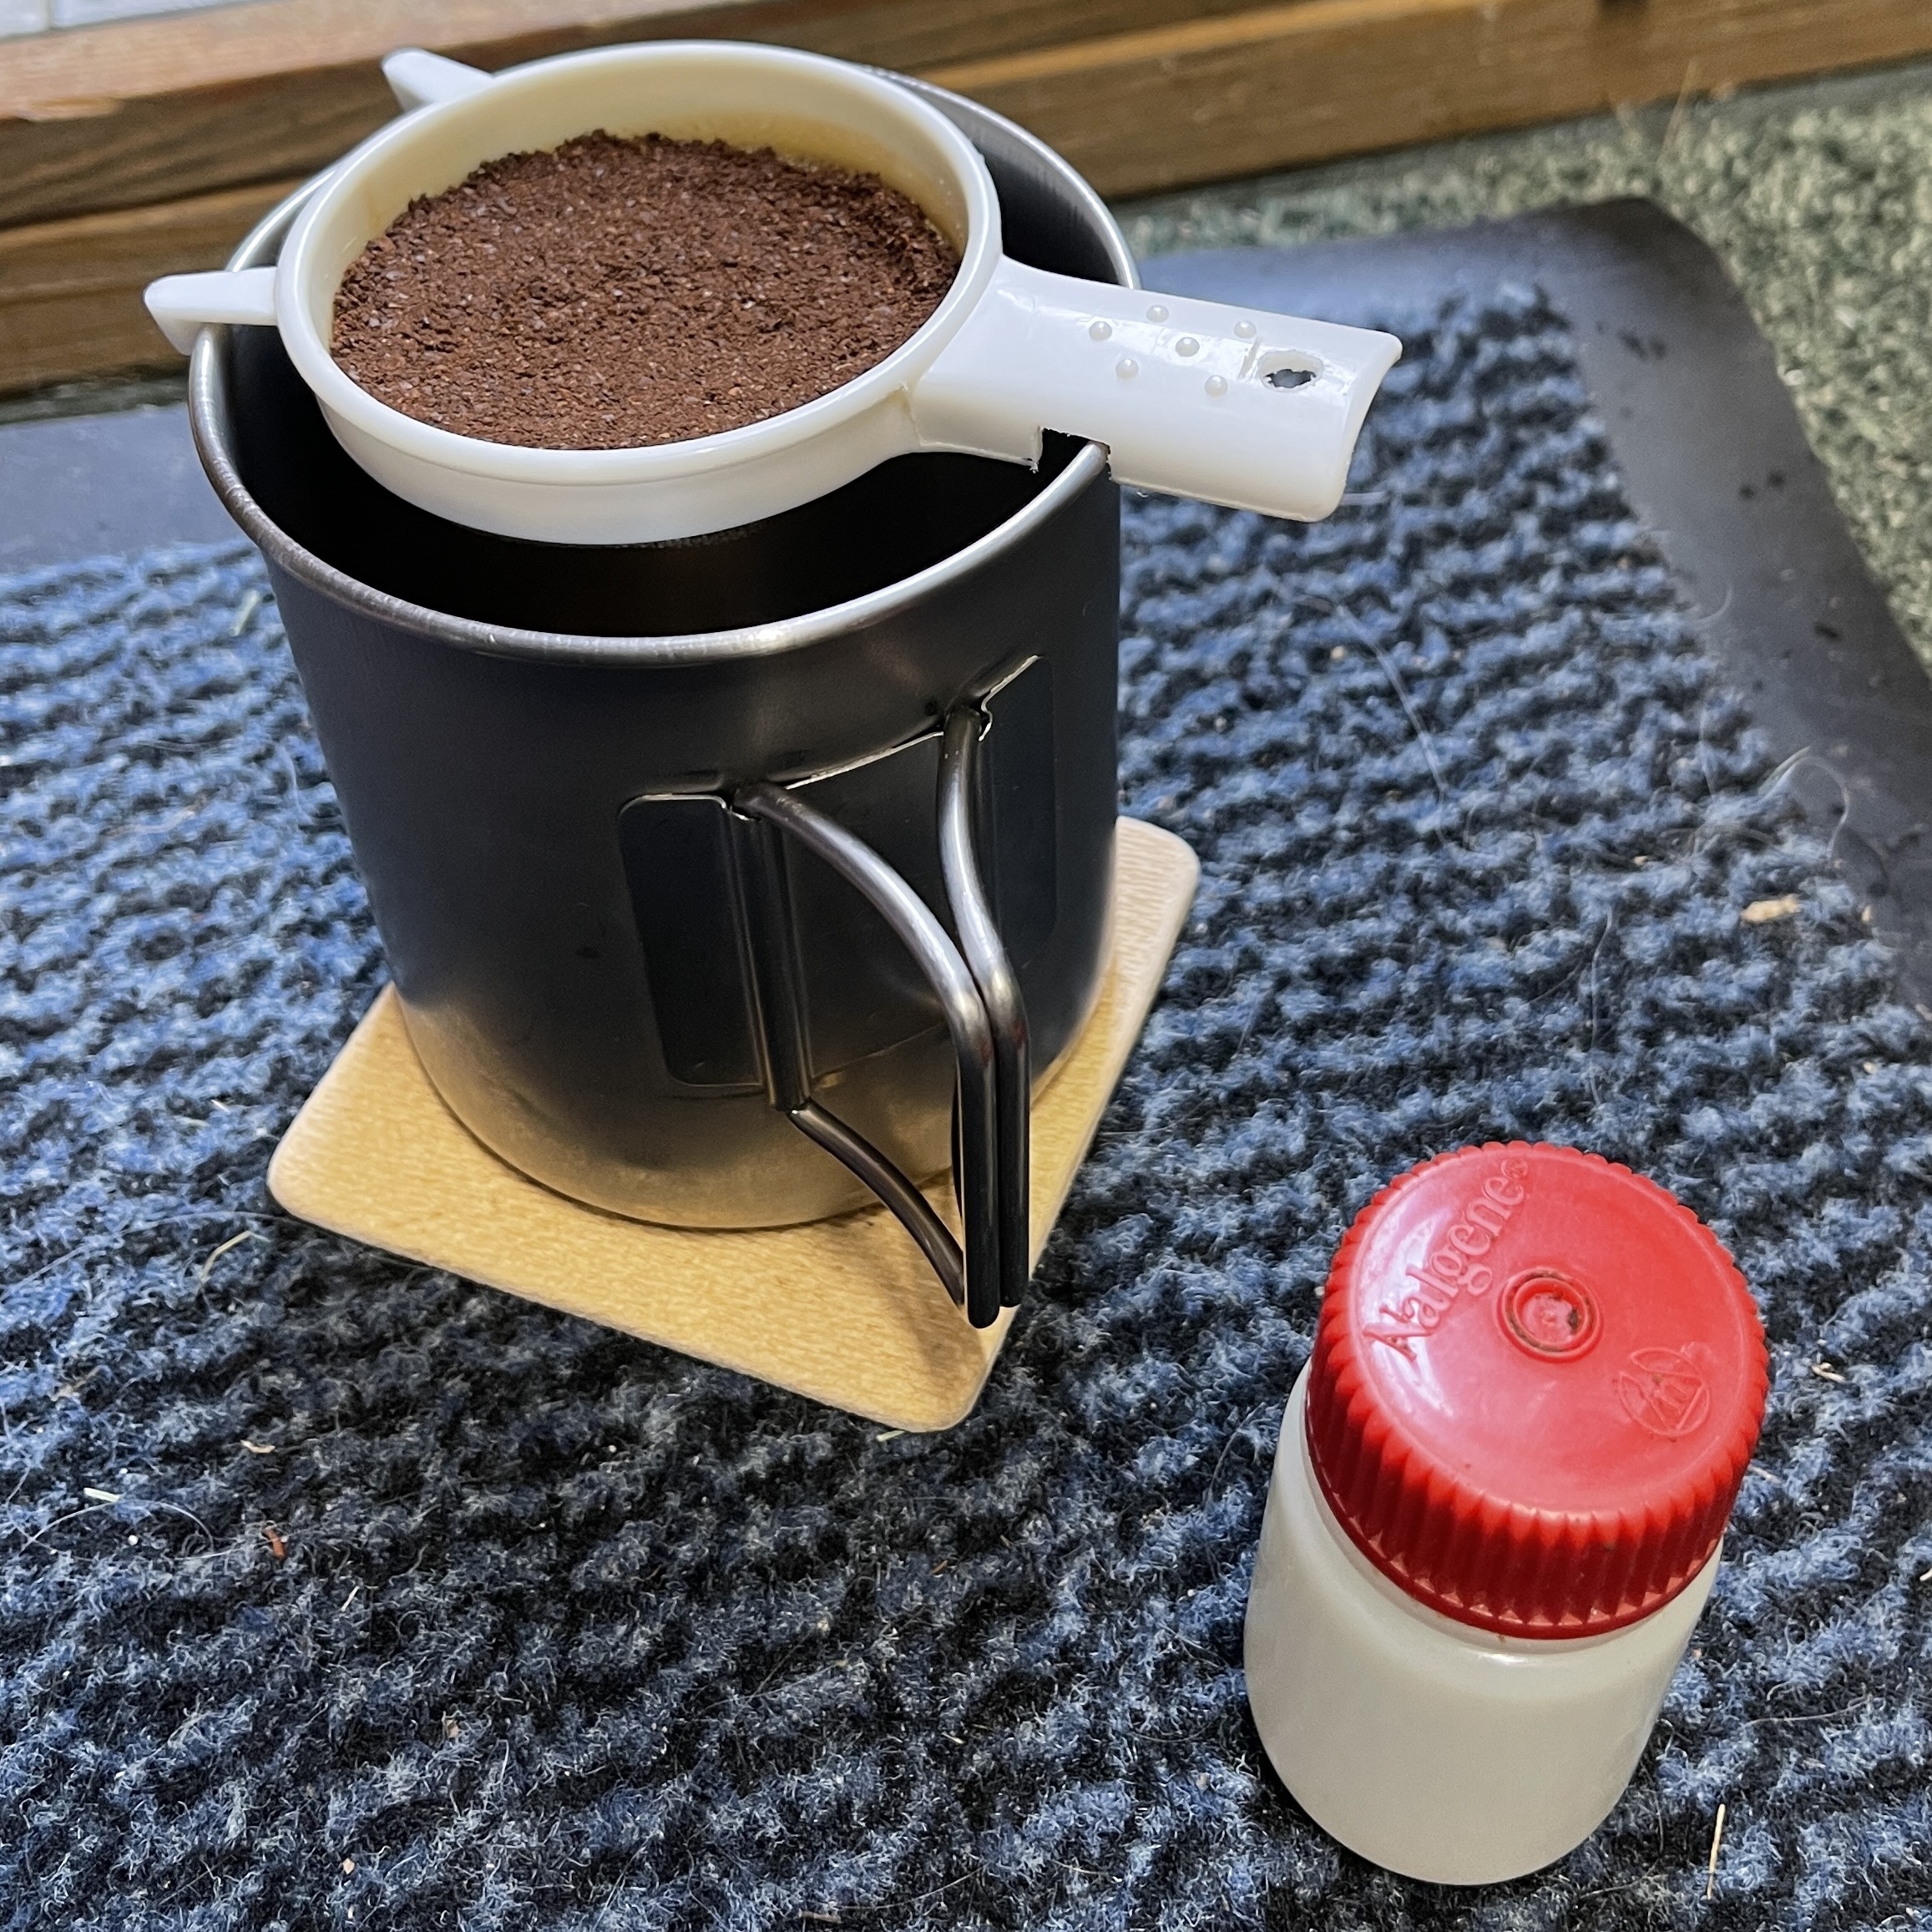
Light and simple bushcraft coffee gear
This is an excellent coffee making kit for my haversack gear

The 30ml Nalgene bottle shown in the photo when “tap” filled (start to fill the bottle and tap it to settle the coffee grounds and repeat until no more settling happens) can hold two measures of ground coffee.

The Wind Shield

It worked better than its predecessor, keeping the heat on the mug. It will also fold up small enough to store in the stove slip case with the stove and the Burt’s Bees tin.

The next test will be later in the week when I can get out for a walk.

How to make camping coffee? Read More »
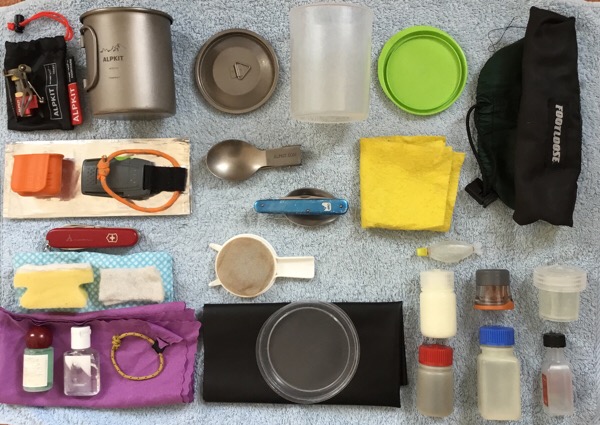
Updated website image

I have been tweaking my lightweight backpacking cooking kit.

lightweight backpacking cooking kit

I have replaced my Alpkit Kraku stove with the latest version. I bought one of the original models when they were released in December 2013 and it has done excellent service, but the o-ring seal became unreliable in September last year. Alpkit sent me some replacement rings but they kept failing – the latest design has a higher valve assembly and a different type of o-ring. So it was time for a new stove.

I have changed my tea-towel for a lightweight pack towel, replaced the battered homemade windshield for another homemade windshield and found an even lighter lid to use as a chopping board.

Updated website image Read More »

Thank you Alpkit – great customer service

A couple of weeks ago, on a trip, I had a problem with my Aplkit Kraku ultra-light stove. When I got home I tested the stove again with a different gas bottle but the join was still leaking. It turned out that over time and use the seal washer had compressed and so was leaking. When I emailed Alpkit and explained the problem they quickly supplied a replacement and a spare washer. I have had the stove a couple of years and use it a lot – Alpkit’s customer service cannot be beaten.

Alpkit ultra-light cooking equipment
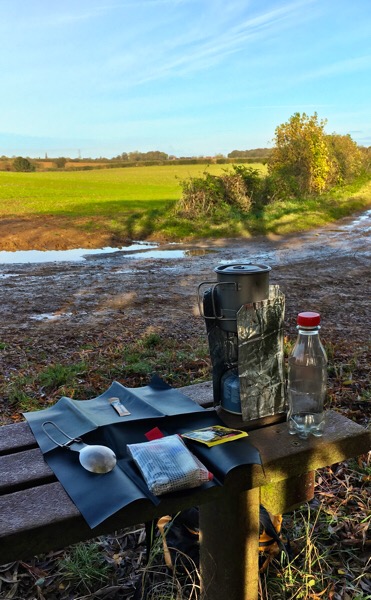
Alpkit ultra-light titanium, pot/mug, stove and folding spoon – the recycled Coke bottle holds enough water for a mug of tea.

Out walking and geocaching
Out walking and geocaching on a sunny, late autumn Sunday morning.

Here are details of my lightweight cooking gear and the pouch of supplies in the photo.

Thank you Alpkit – great customer service Read More »

More Weight Saving

I packed some of my lightweight backpacking kit for this trip – to use whilst walking – and to review with the idea of saving some more weight for this year’s backpacking trips.

Wind shield, chopping board and stove board

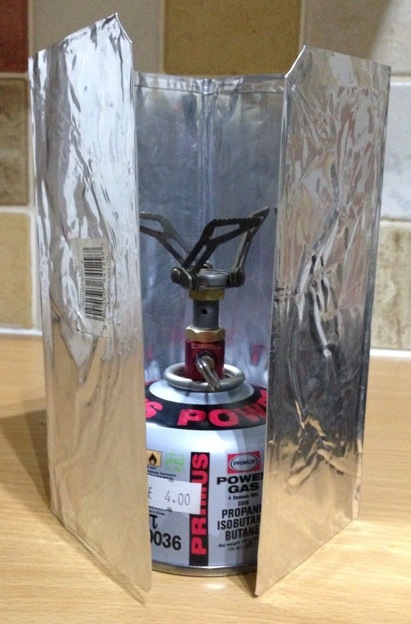
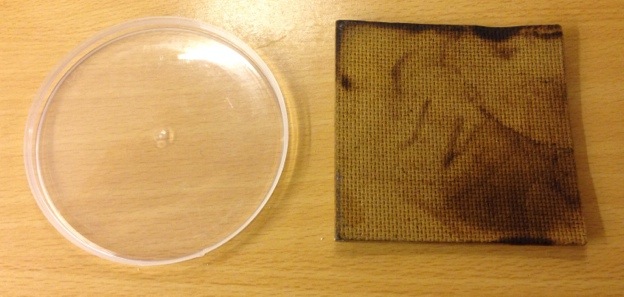
My current stove wind shield is a commercial aluminium model that I cut on half. It works well with my meths stove but was useless for my MSR Pocket Rocket as it was too short and not quite tall enough for my new Alpkit Kraku stove.

20140128-201149.jpg

I decided to replace this wind shield with something taller and ideally something lighter.

I bought two platters, made from heavy duty aluminium foil from a pound shop (2 for a £). Once I had cut off the lip I could flatten one of them out and I cut a 15cm x 30cm panel. To make it a bit more rigid I folded a small lip around the edge. I then folded this into a four panel wind shield.

20140128-211550.jpg

Weight saved
Old wind shield 81g
New wind shield 26g

I use a small wooden board under my meths stove. When I originally cut the board I also used it under my Crusader stove, which is larger. It was time to cut the board to the right size.

Weight saved
Old board 38g
New board 23g

I was using a cut down plastic wall tile as a cutting board, I swapped this out for a plastic lid from a pot of fruit. It is about 9cm in diameter and the lip is useful to stop bits rolling off when I use it.

Weight saved
Old cutting board 18g
New cutting board 4g

I am no longer going to carry the case that I used to store all three items in – another 9g saved.

20140128-215309.jpg

Total weight saved 93g – every gram counts.

More Weight Saving Read More »

Alpkit Kraku Backpacking Gas Stove

First use of the Alpkit Kraku Backpacking Gas Stove

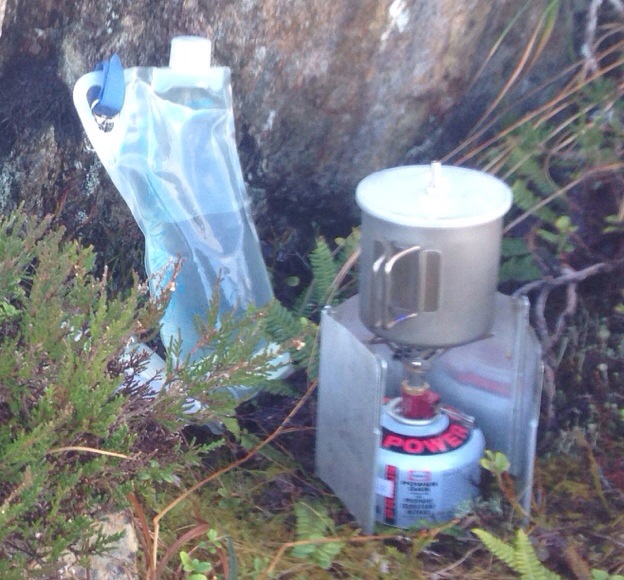
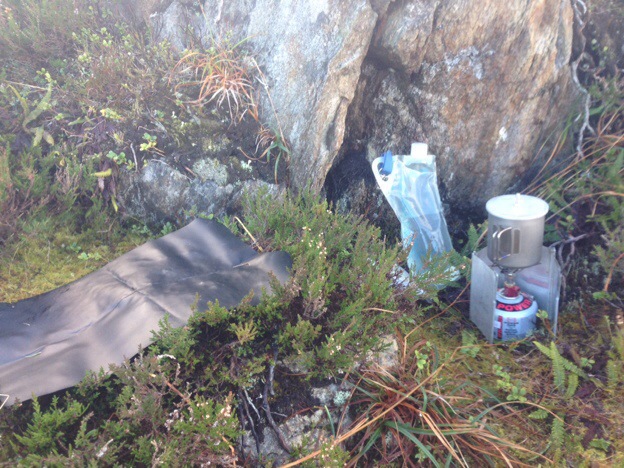
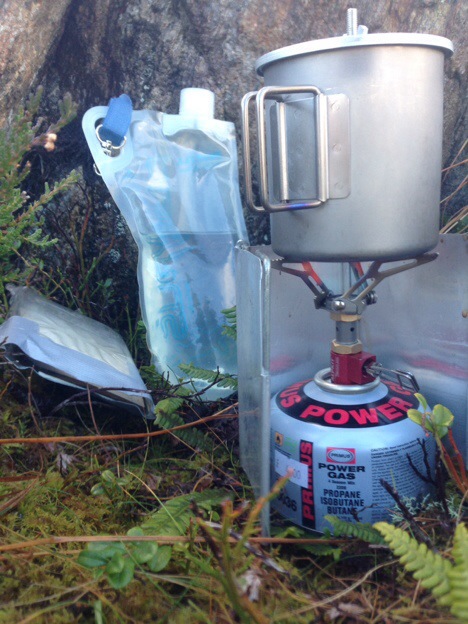
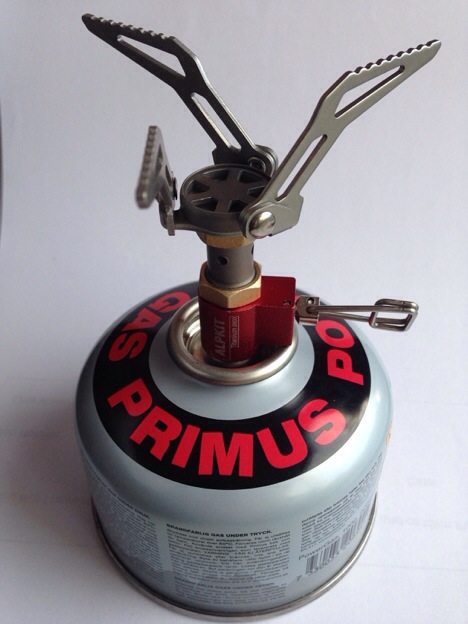
It was my first opportunity today to use the new Alpkit Kraku gas stove. It is very small and I carried a small gas canister to make it a very portable unit. The small size of the burner unit does mean that some care must be taken when fixing it to the gas canister, it can cross thread very easily and if over tightened the shoulder of the valve can jamb on the lip of the gas canister. Once together and the pot supports are set up it does make a very stable stove. I used my MSR titanium mug with lid on it and it sat very well. Once lit, it only took a couple of minutes for the water to come to a rolling boil – I had the stove set up in a very sheltered spot and I was using a wind shield. In the photos you can see the pot support glowing cherry red.

Alpkit Kraku stove

Alpkit Kraku stove

The actual flame head is also quite small, especially compared with my previous MSR Pocket Rocket, it worked well under my mug and I am sure it will work under my Alpkit MiTiMug but I expect it will struggle with a larger pot. It probably will not deliver enough heat for group cooking. When I go camping later in the year I will try it out with the small frying pan I use when static camping. However I bought this as a personal backpacking stove where weight is everything and it is considerably lighter than the MSR stove and when camping on my own it should still be sufficient.

Overall (so far) I am very pleased with the Alpkit Kraku stove – it is very small and light. Well made and efficient – boiling a mug of water significantly quicker then if I had used my meths stove. Because it is so light I may be changing my backpacking habits and using a gas stove more than the ultralight Vargo titanium meth stove I currently use.

Here are some more detailed photos of the stove – More is less.

Here is the post about the walk where I used this stove.

Alpkit Kraku Backpacking Gas Stove Read More »

More is less

In my quest to carry a lighter backpack I have changed another piece of my lightweight backpacking kit.

20140107-150905.jpg
Alpkit Kraku stove

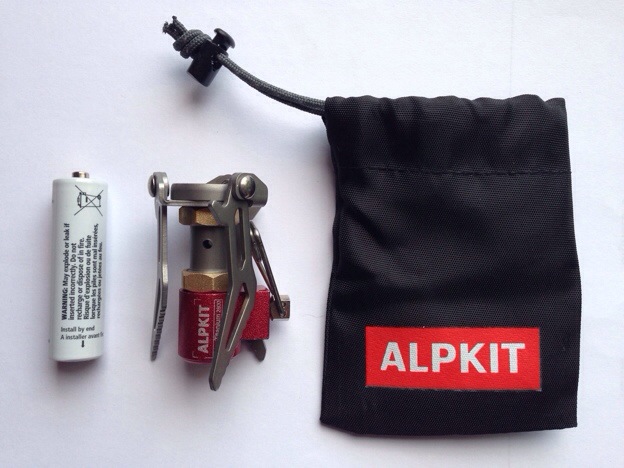
This gas stove from Alpkit weighs just 45g plus a few grams for the bag – my previous MSR Pocket Rocket weighed 108g.

20140107-162422.jpg

To show how small the stove is, Alpkit has a photo on their website comparing it to a AA cell battery (like above) however when I got the stove I was still surprised how light and small it really is. I will easily be able to pack this stove in the stuff sack that I carry most of my backpacking cooking gear in – the MSR stove was to big to fit.

The next thing to do is get out and test the stove – which I plan to do next Sunday morning.

More is less Read More »

Coffee Break

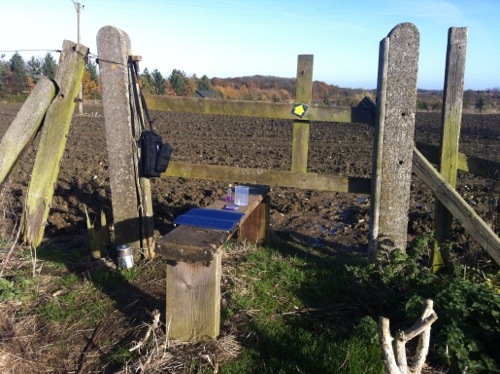
I didn’t take a backpack on my walk this morning, I wore my winter walking coat and carried just enough equipment for a coffee break on the walk back – well actually it was hot chocolate.

20121118-212426.jpg

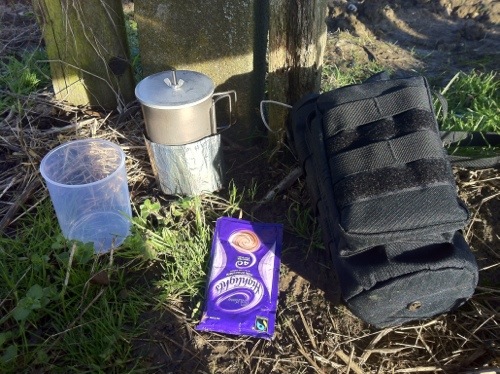
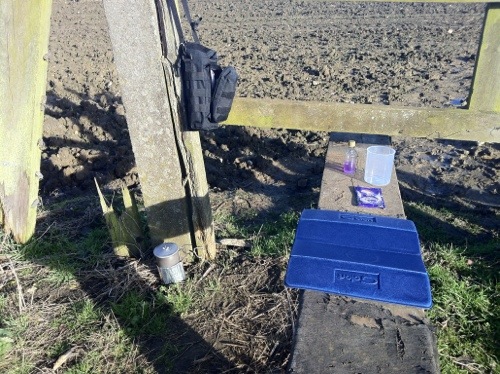
I used a stile as a convenient seat and got my meths stove out of the wind behind the fence post.

20121118-212450.jpg

20121118-212515.jpg

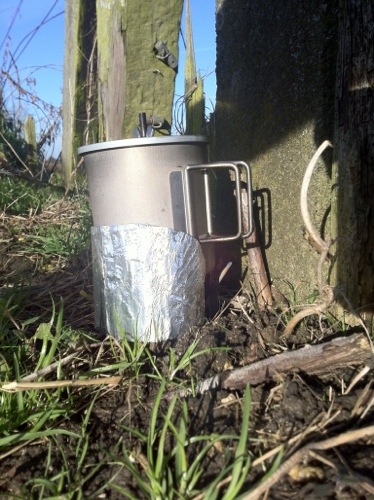
I use a strip of heavy duty aluminium foil, cut from a tray an oven joint was cooked in. The foil is shaped into a “coil” so it fits snuggly around the titanium mug with lid, making an effective wind shield.

20121118-212538.jpg

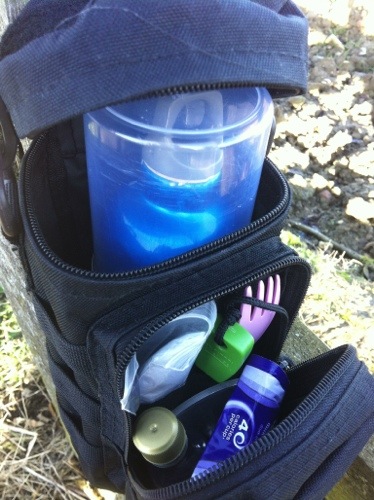
The plastic mug fits over the Sigg bottle and the folded up stove is stored under the bottle, the titanium mug slides onto the bottom of the bottle.

The other sundries fit into the front pocket: spork, fire steel, mug lid, meths bottle, some paper towel in a small ziplock bag for cleaning up and the rubbish.

20121118-212603.jpg

I carried my sitmat in a jacket pocket.

Coffee Break Read More »