Be Prepared!

I want to get plenty of overnight backpacking trips in the year, as practice for some future longer trips – The Speyside Way this summer and the Southern Upland Way summer 2013.

So whilst I have been sorting out the food this week for a trip with Jeremy next weekend I have put together a pack of food for a short solo overnighter, so if I decide to go at the last minute the food will be ready.

As I think the food pack will spend several weeks on the shelf the food had to have a good storage life – so no sausage or salami and the crackers have been double wrapped in cling film.

Menu

Trail Food
Spice and fruit oat cakes, white coffee and dried fruit and nuts

Dinner
Tuna in tomato and onion sauce, crackers, packet of noodles, tomato soup, sesame dessert, apple flakes, tea.

Supper
Hot Chocolate and biscuits

Breakfast
Tea and biscuits
Breakfast biscuits and portion of jam, 2x cereal bars, tea

Trail Food
Honey Chrysanthemum Tea and oat cakes and jam

Extra
Bag of Aldi chocolate buttons

The individual meals are packed in small ziplock bags and then these are packed in a larger ziplock bag.

The only things I need to add to this will be the tea bags and dried milk in my small brewkit – and it is ready to go.

20120427-090907.jpg

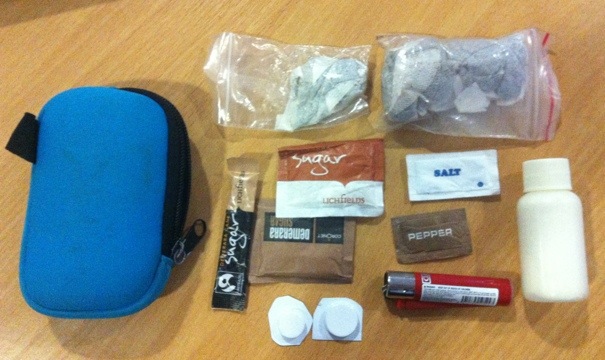
  • 1x Indian spiced tea bag
  • 5x tea bags
  • 3x sugar
  • salt and pepper
  • 20ml dried milk
  • 1x 500mg paracetamol tablet
  • 1x indigestion tablet
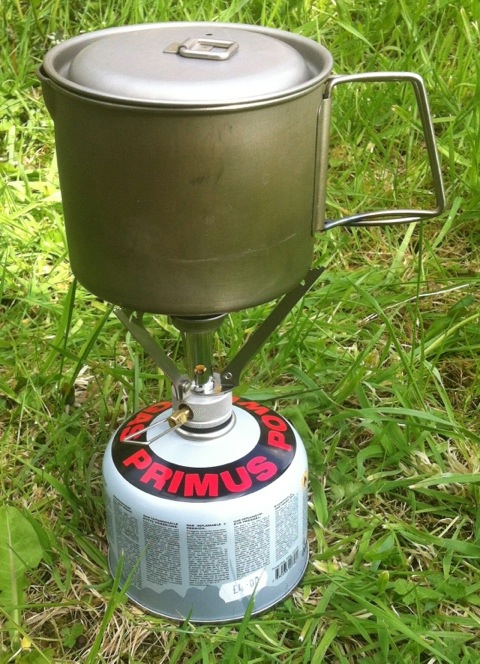
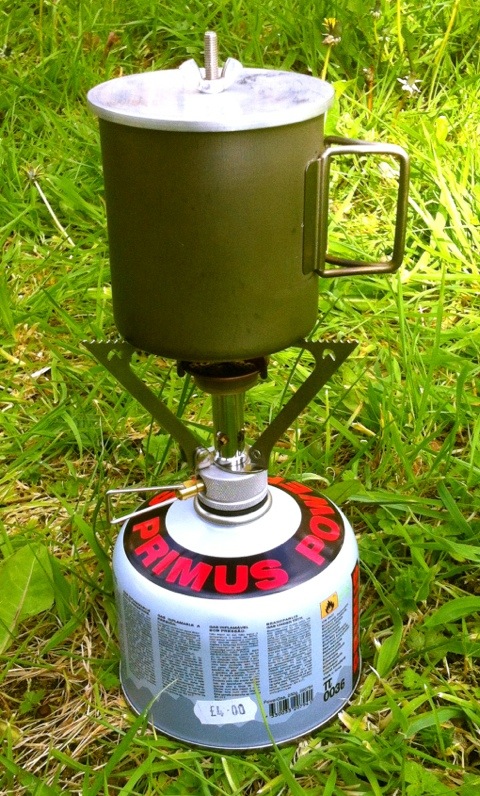
  • small refillable gas lighter – it gives a stronger flame compared to a disposable lighter

The case is an mp3 case bought at a pound shop.

Update
I have added an “army style” can opener to this pouch – as I have removed the Bantam SAK from my backpacking kitchen, so there is no longer a tin opener in the stuff sack.


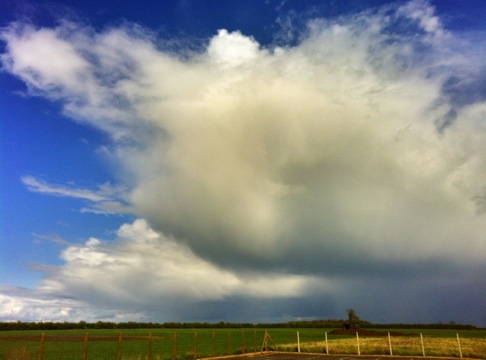
I have been finishing this post, whilst waiting to go to a supplier to look at their Cloud Computing solutions, and looking out of the window here the weather is grey, wet and overcast so the above image may well be today’s “Photo of the Day”!

Be Prepared! Read More »

645 Pro Camera App

Having seen 645 Pro app trailed last week, I decided quite quickly on Saturday evening to buy another camera app for my iPhone.

I gave the manual a quick look over on Saturday and then went out and used it Sunday morning.

It is a complicated app to use – with all the functions driven from the main screen, using small button, and on first use, in bright sunshine where I was struggling to see the iPhone screen I had some difficulty using the camera. However with practice the strength of this app is that all the controls are alway available, making creative choices easy.

There were several features I was really interested in.

Film Stock

It comes with built-in filters that emulate traditional film stock results. I especially like the K14, a saturated colour result similar to Kodachrome and H5, a high contrast filter that emulate Ilford HP5 mono film.

Various frame ratios

I do like Jag.gr’s 6×6 camera – and the square format is included in the options.

Live View

Both of the above functions will display live in the view finder, so you will see a mono square image if you have those options selected.

Below are some comparison photos. Not as sharp as I wanted but they show the colours.

20120424-151549.jpg

taken with 645 Pro K14 6×6

20120424-151653.jpg

taken with Camera+

20120424-152230.jpg

the Camera+ image – post processed with Camera+’s polarizing filter.

If there is a problem with this app it is that it is slow to use. The viewfinder is “laggy” as you pan and tilt looking for your shot. There is an occasional delay after pressing the shutter release and a longer delay before the app returns control to the user. Because of this I was struggling to get the framing right on some moving leaves when using the camera last Sunday.

I am pleased with the array of functions available in this app and look forward to using it over the coming months however its complexity relegates this app to my second camera “when I have time”. Camera+ is still my go to camera replacement app, it is quick to use and has a flexible focus and exposure system. I have taken some of my “Photo a day” images this week with 645 Pro but Camera+ is still the one I am using the most, and remains the camera app I would recommend to people, as it meets most people’s needs. I have only recommended 645 Pro to one friend who is a really keen photographer as he will get some fun and benefit from the app.

Overall I am pleased I bought this app and I am looking forward to any updates that will address the issues.

Camera+ website

645 Pro website

645 Pro Camera App Read More »

MSR PocketRocket Stove – Test

Today’s “photo of the day” is testing the MSR stove.

When Jeremy and I got in we decided to test the MSR Pocket Rocket stove in the backgarden.

The assembly of the stove was very easy, the large knurled bottom of the stove helped with this and assisted with keeping the stove straight on the canister as it was screwed in. Then we tried out the stability of our MSR titanium mug and Titan kettle which we found very good, due to the angled pot stand arms.

20120423-175319.jpg

As per the instructions we did not use a windshield and depended on the “Wind Clip™ wind shield”, these are the three small metal fins on the burner.

20120423-175438.jpg

The stove was set up in an exposed position and there was a strong breeze. The burner lit easily even in the breeze – and we put 300ml of water on to boil, in the MSR titanium mug with lid. The Wind Clip worked as from time to time as the breeze picked up we could hear the flame stutter but it did not go out.

In this exposed position it took 2mins 30secs to bring the water to a rolling boil. When camping it would be possible to give the stove some shelter behind the tent so decreasing this boil time.

Following this test it only took a couple of minutes for the stove to cool sufficiently for it to be handled and packed away.

This was a garden test, which showed this is a good stove – we’ll test it some more when we go backpacking next.

20120423-175614.jpg

MSR PocketRocket Stove – Test Read More »