Outdoor Gear

Photos for my blog and business – JK Sonics Adventure First Aid Kit

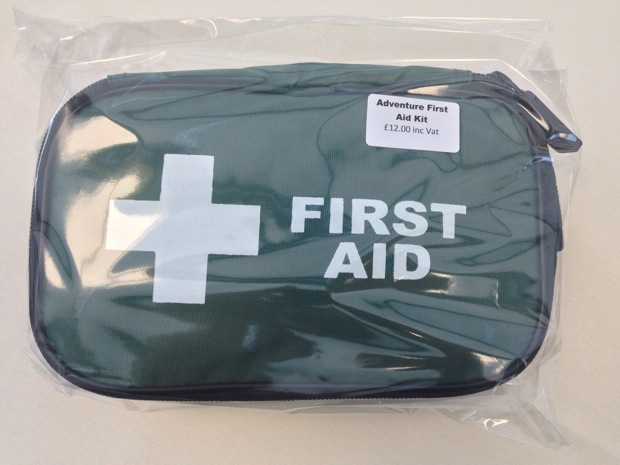
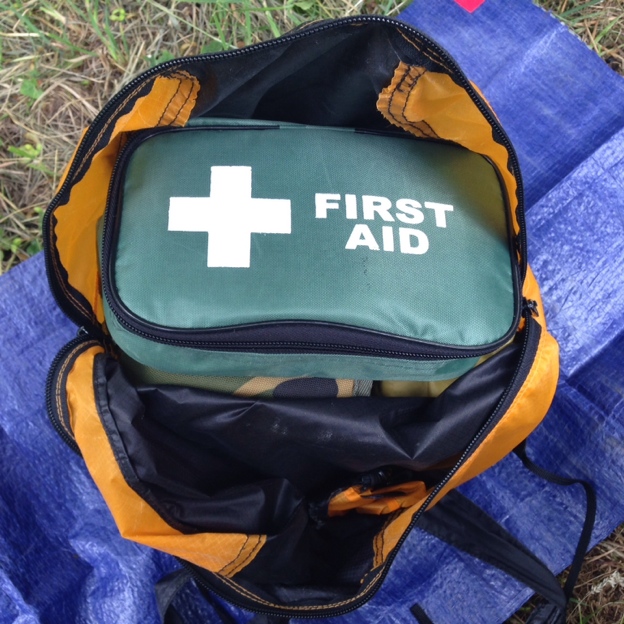
“Photo of the Day”, today is more than one photo! I have taken some images for Nick at JK Sonics to promote his Adventure First Aid kit. I am also going to use them on my web site.

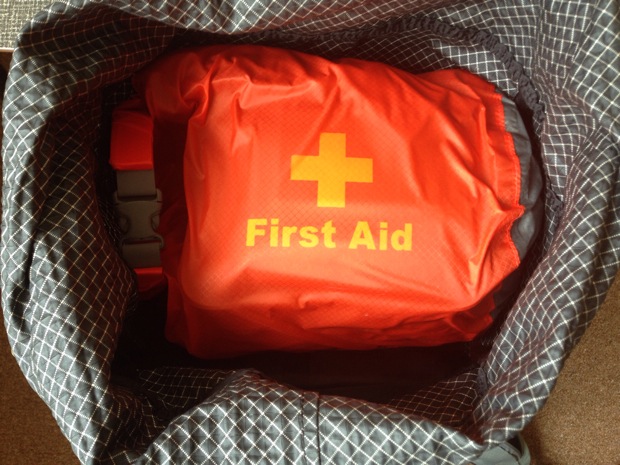
The kit is packed in my 20l Travel Day Pack, with the other gear for a day walk. It sits well at the top of the pack and is easy to spot when the bag is opened. 

Read my full review of the kit click here.

Adventure_First_Aid_Kit.JPG

 Adventure First Aid Kit


Click this link to the page at JK Sonics, where you can buy online, your own Adventure First Aid Kit.

Photos for my blog and business – JK Sonics Adventure First Aid Kit Read More »

Sea to Summit Travel Pack – finished

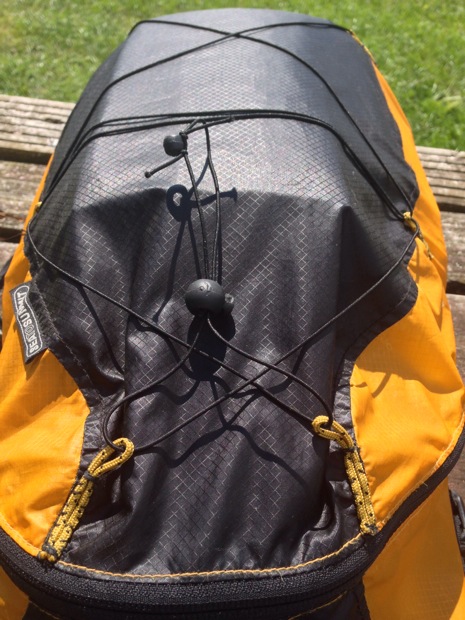
Yesterday there was a stall in Durham indoor market that was selling some thin elastic cord – exactly what I was looking for to finish my modification to my pack. I had a suitable cord grip and bead in my camping box – the bead is needed so the cord grip does not come off.

Using this thin elastic cord I can still pack the travel bag into it’s miniature stuff sack.

See more details about the modifications here.

Update

The thin elastic did not work, it got tangled up when I was using it to hold my waterproofs onto the bag, so I have replaced it with thicker elastic.

Sea to Summit Travel Pack – finished Read More »

Sea to Summit gear update and woodland walk

After the showers stopped I got out for a short walk through some local woods.

My coffee stop was noisier than normal – I had sat down on the field edge to make my coffee. A few minutes later a WI walking group of about twenty stopped along the path on the other side of the hedge. When they walked past they did comment that they must have made more noise than I did!

Sea to Summit Travel Day Pack

This bag has become my “go to” day pack, virtually since I got it. I like he simple design and with the addition of a dry sack or two it is very practical. It is large enough to hold a day load and although the shoulder straps have no padding, it has proved comfortable to carry (remembering that the weight if the load is limited by the small size).

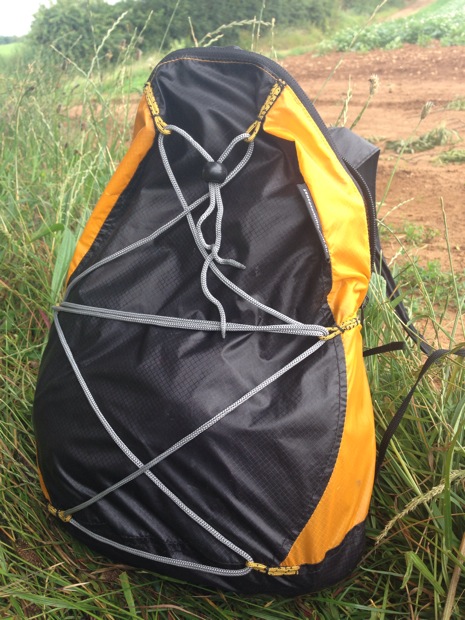
Sea to Summit make a larger model, to which they have added an external compression/extra gear carrying system. Having somewhere to put a wet rain jacket or sling a layer when not in use is the one thing my Sea to Summit Travel Day Pack lacks. I have been thinking of adding some solution myself and this week I realised how I could make a mod that would not really add anything to the weight.

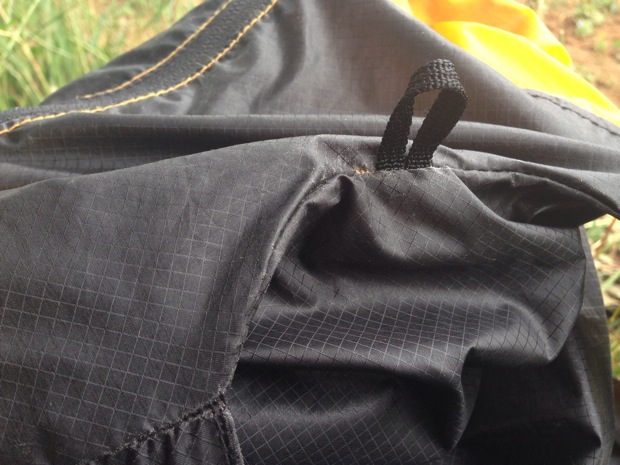
Finding the right material for the loops would be important. There is a top loop in the bag already and I was looking for some similar tape.


here is the loop between the shoulder straps sewn into the seam – I did not think I could copy this

Sea to Summit backpack
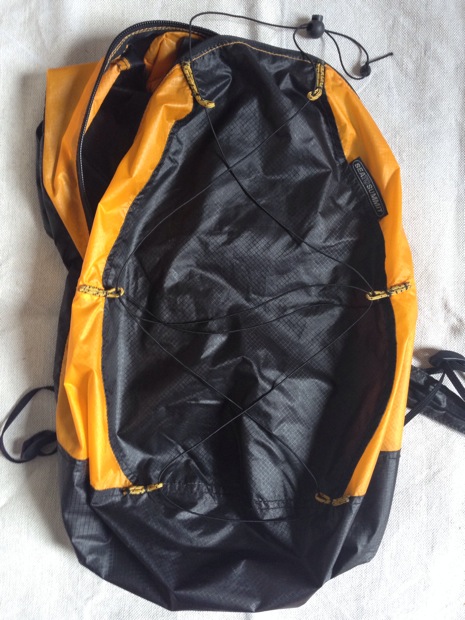
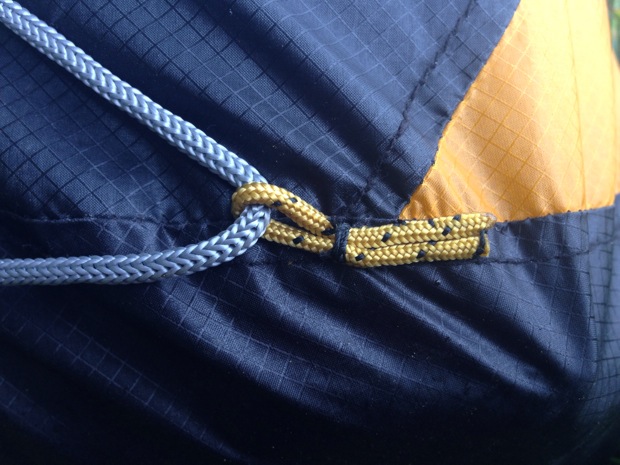
here is my Sea to Summit backpack showing the loops with a spare guy line and cord lock

One problem I thought about was where on the bag would be strong enough for any loops to be attached to? I had thought several times about opening the seams and trying to fit a loop in there but I considered that that would weaken the bag too much.

Here is my modification:

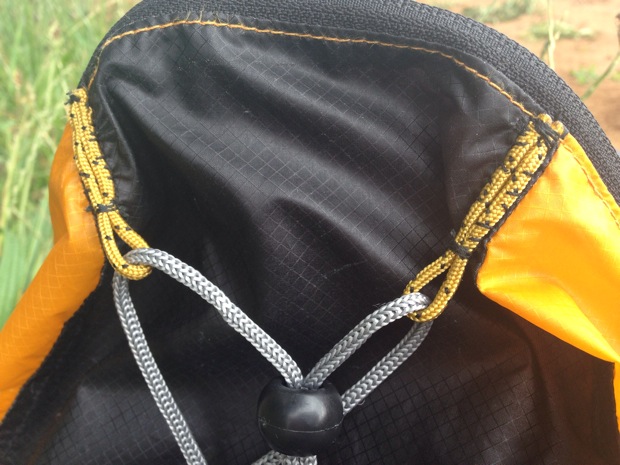
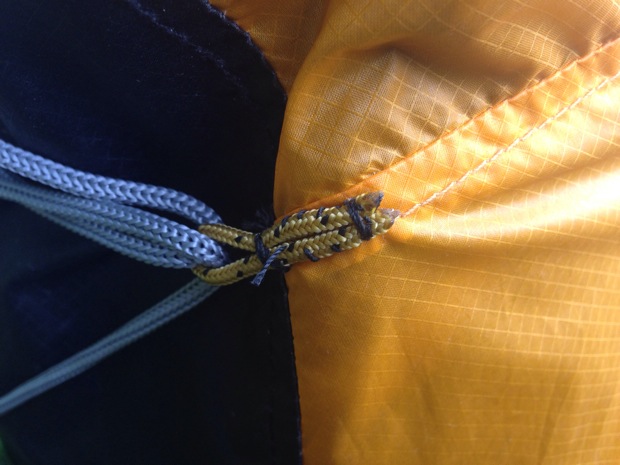
  • I made the loops from the guy lines I removed from my MSR Hubba tent as it was strong light cord that I could sew.
  • Having made the loops I hand stitched them onto the pack over the seams – as these were the strongest points which would take the strain when the cord was pulled tight holding something to the bag.

Here are three shots showing the different anchor points:

I have fitted a spare guy line through the loops, today, as I thought it might come in useful as spare cord, but I will replace it with some elastic cord as that will hold onto the gear, slung on the bag, much better.

More wear and tear

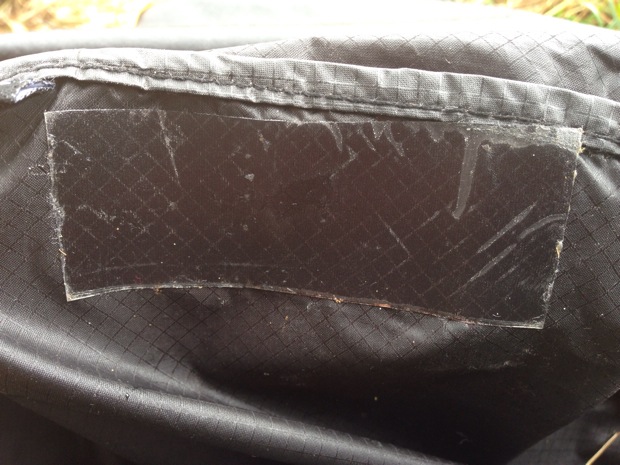
I have previously written about the wear and tear on the Sea to Summit backpack due to the regular use I make of it – see here. Whilst sewing these loops on I noticed some more substantial damage to the bottom of the bag. Being on the bottom, where if it fails I might loose some equipment I needed to make some repairs. I decided that a patch of Tenacious Tape would be a good fix – stuck on the inside of the bag over the heavy abrasion.

I made sure that I kept the thin nylon as flat as possible whilst I put the tape on. Watch this space to see how this works out. If (when) the bag fails I will not hesitate to buy another to replace it.

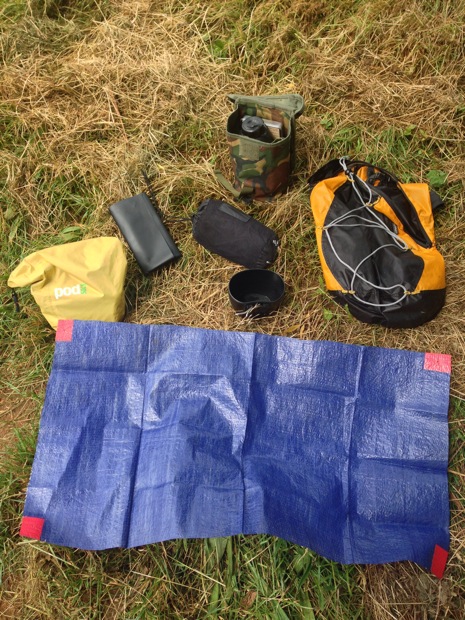
Today’s load

  • 2l dray sack – small first aid kit, sun hat, brew kit etc.
  • rain jacket
  • sit mat and cut down tarp
  • complete Crusader cook set including water in the 58 Pattern bottle

see the finished bag here

Sea to Summit gear update and woodland walk Read More »

Some thoughts on my outdoor gear

Outdoor Gear Army Style Crusader Mug

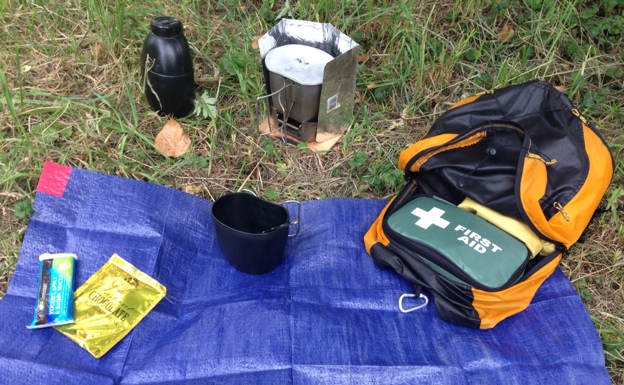
For my walk today I packed my Crusader Mug and Vargo meths stove outdoor gear rather than carrying my backpacking cookset which I usually take. I took the Crusader mug with me camping last week, which reminded me how useful it is as a pot/mug.
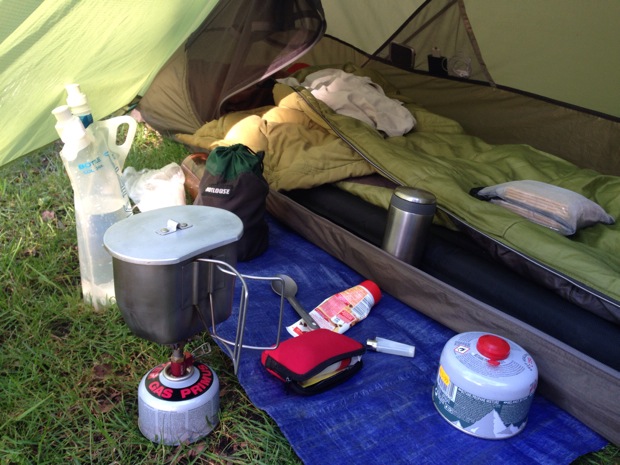
Outdoor Gear - Crusader Mug

Above – some of my outdoor gear, the Crusader mug and lid, the Footloose bag that holds my compact cooking kit and the red brew kit pouch (see below)

The Crusader mug is outdoor gear made for the Army – it is well made, tough and practical.

When I use the titanium Alpkit MiTiMug for cooking it seems no matter how much I stir the food there is always some of it burnt on the bottom of the pot. It is the thin titanium that allows the food to heat and burn too quickly. Last week when I was cooking in the Crusader mug, with regular stirring it was easier the keep food from burning. The thicker steel of the military mug reduces the problem. The steel gives a better heat distribution so making cooking easier. I have fried bacon, sausages and made scrambled eggs in the steel mug something that I would not do in the titanium one.

When camping this year I am going to use the Crusader mug more. However the one issue with Crusader, when compared to the MiTiMug is the weight. When backpacking the ultra light titanium mug/pot wins every time.

Tea

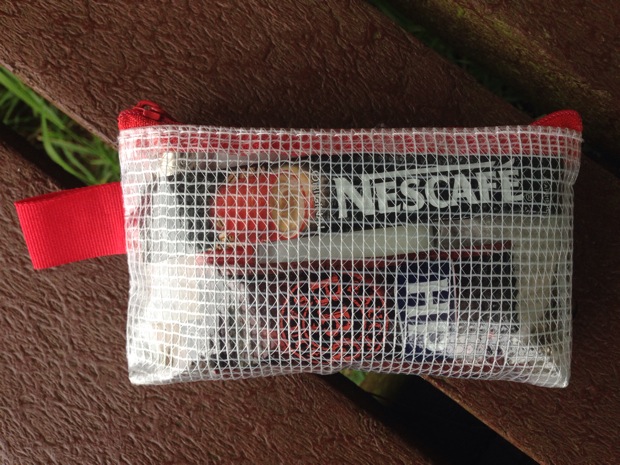
I have found that a small pouch that holds the basics of a brew kit, (tea bags and dried milk as a minimum) is a useful bit of outdoor gear to keep at hand. Going on any trip, camping, backpacking or even a business trip or hotel holiday, carrying these supplies has proved useful.

The first kit I can remember was a small draw string pouch that I had made and the dried milk was kept in a recycled brown plastic medicine bottle. (I am not sure we used the term recycled then!) Over the years I have used various bottles and different pouches but the brew kit has been a constant piece of equipment – and here is the latest version: Click here.

I have changed it again.

When I was packing away last weekend I accidently spilt some water onto the pouch – which soaked it up like a sponge and proved very difficult to dry out. Because of this I have changed to a plastic pouch that I hope will provide better protection. This is still pocket sized but it is slightly larger than the previous one, so I have added a sauce sachet and some extra coffee.
Power Pack

I am a heavy user of my iPhone. When outdoors I use it for map reading/GPS, writing this blog, taking and editing photographs, reading ebooks etc etc etc. This means keeping it charged is an issue. When I have my car with me I can plug it into the cigarette lighter socket or use the power inverter and the mains charger but when I do not have the car, I need another plan.

In my outdoor gear I have an emergency 2Ah battery pack (in my possibles pouch) and a 10Ah Battery Pack. I often use the 10Ah pack when camping with my car to charge my gadgets in the tent overnight. It does not weigh so much that I will not carry it on some overnight backpacking trips – I carried it on my last walk to Woodhall Spa so I had enough power to watch video during the evening.

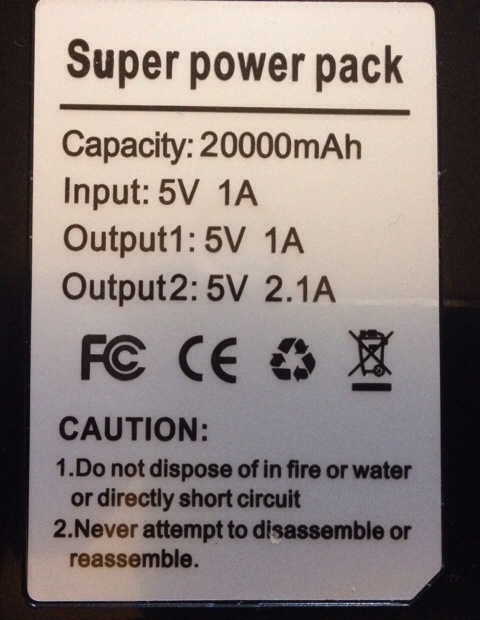
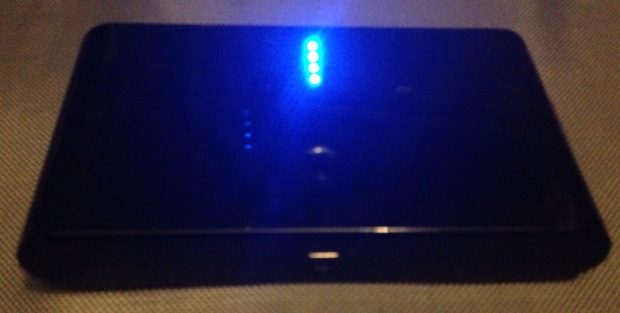
Before going to Sandringham last week I plugged the charger in, the lights flashed “oddly” and jammed on. It had obviously failed in some way, so I was no longer willing to plug my gadgets into this power pack. After a quick look on eBay I found a 20Ah unit for less money than I had paid for the 10Ah pack – so I bought it.

The new unit has several advantages over the last one:

  • Obviously it has twice the power storage!
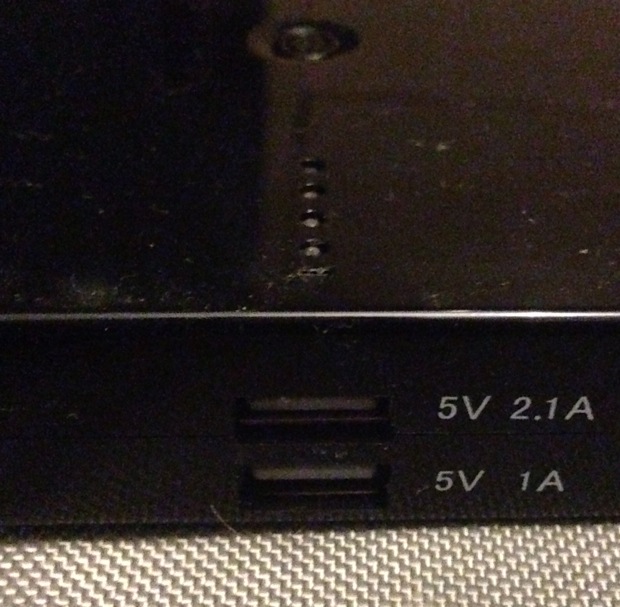
  • It has two USB ports, 5v at 1A and 5v at 2.1A.
  • Two devices can be charged at once.
  • My iPad can be charged from the 2.1A socket.

This power pack fits in the same case as the old one, although the 20Ah pack is a little larger and weighs 322g compared with 254g. The protective case weighs 101g so if I need to save some weight I can carry the it in a ziplock bag.

MP3 Player

To help preserve the battery life on my phone I have used an 8GB Apple iPod Nano, as part of my outdoor gear, for entertainment whilst walking and camping. Diana bought it for me whilst I was practice walking for the Wainwright’s Coast to Coast Walk in 2007 but by the spring of 2014 the battery had faded.

HTC Wildfire S
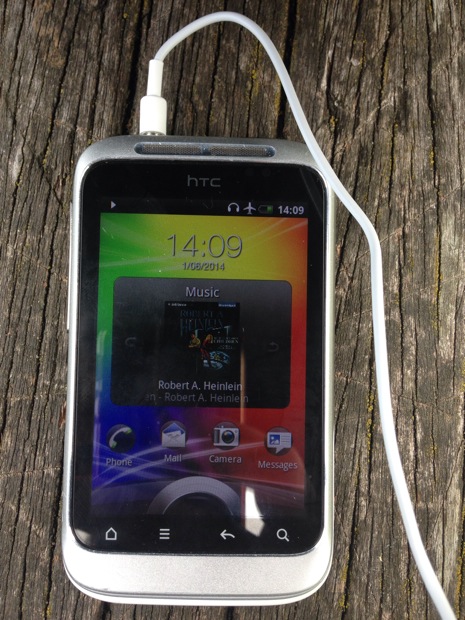
Outdoor gear MP3 player – listening to Robert Heinlein

We bought Jeremy an iPhone a couple of weeks ago and so he no longer needed his old phone – so I thought I would see if I could make a useable MP3 player from it.

The Wildfire S is very limited in internal memory, 256MB, but I installed a 16GB memory card for extra storage. On my first build I managed to fill the memory having added only a couple of apps as some of the installed apps could not be moved to the card.

A search of the internet gave me a patch for the firmware to allow me to move (nearly) all the apps I wanted to the card – it did not work for DropBox. I factory reset the phone and started again.

The first step was to disable the Mobile Network and then set the phone into Airplane Mode.  By turning on the wifi (whilst in Aiplane Mode) I could get online and install the apps I wanted. As part of this initial process I upgraded to Google Play, but did not upgrade any of the pre-installed apps.

I copied some music and audiobooks to the storage card and tried it out and the HTC Wildfire S makes a good MP3 player – with extras. It has wifi so I can get onto the internet.

I have installed:

  • Aldiko for ebooks
  • AntennaPod for podcasts
  • Google Drive and OneDrive (but not DropBox) to get access to books, audio books and music I store online
  • Memory Map and the full UK OS 50k map set
  • WordPress app
  • Twitter

These were the must have apps. I also added Google’s QuickOffice so I could at least look at Word or Excel files – I am not sure the screen is large enough or sensitive enough to do any major work on.

The Wildfire S also has a built in FM radio.

Jeremy had taken care of the phone so both the screen and battery were in good condition. I have added a screen protector – I cut down one I had in my desk for a previous PDA. I have replaced the 1.2Ah battery with a 2.5Ah model from eBay, keeping the smaller battery as a spare.

Overall this old phone will make a good replacement for my iPod and it gives me much more functionality. Using it as an ebook reader will have a great impact on my iPhone battery life, as I read a lot and have had to accept that battery usage, now I will save that. The battery life on the Wildfire is very reasonable when not using it as a phone or on wifi – if I carry a charge cable I can recharge the Wildfire from the Power Pack.
Some thoughts on my outdoor gear Read More »

Lunch – Spires and Steeples walk

This is an article I wrote last week, but I forgot to post it – here it is,  just a little late!


I have a small beaker with a lid in my lightweight cooking kit, for rehydrating food in and to use as a mug when I am using the titanium mug as a cook pot. Unfortunately on my last overnight trip I noticed that a small crack has started to develop in the bottom of the beaker, so I guess it will not be long before it starts leaking. I’d like to find a replacement but it took a some searching to find this beaker, as I wanted one that fitted inside my titanium mug and had a convenient, comfortable drinking lip. I bought this one in Cornwall.

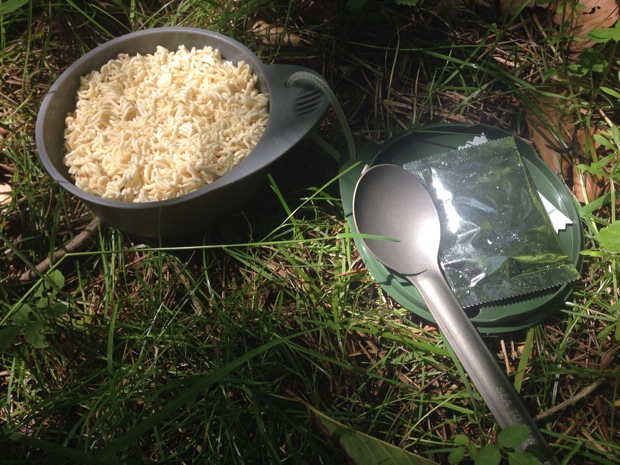
In the mean time I shall use a Light My Fire cup. There was an issue though, can I rehydrate a packet of noodles in it?

Noodles for lunch on my Spires and Steeples walk, last Monday, seemed like a good opportunity for a test.

Testing the Light My Fire mug

I had to crush the noodles quite small to get them to fit in the mug – this was easily done in the packet before opening them.

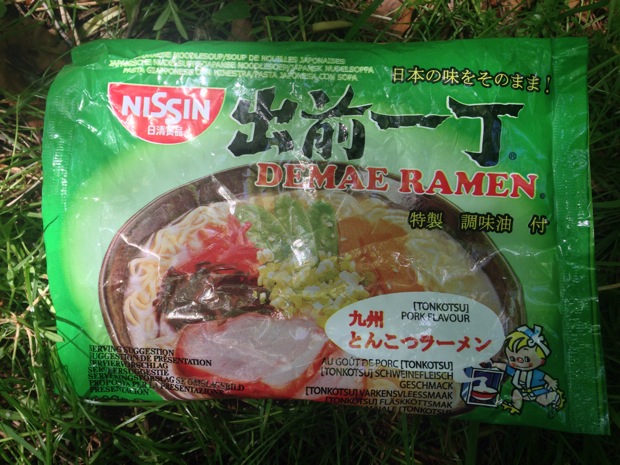
Crushed up, dry, Pork flavoured Japanese noodles (100g).

Adding the water and stirring the stock in had to be done carefully as the mug was brim full.

With the lid on, I left the noodles for about five minutes to soak up all the stock.

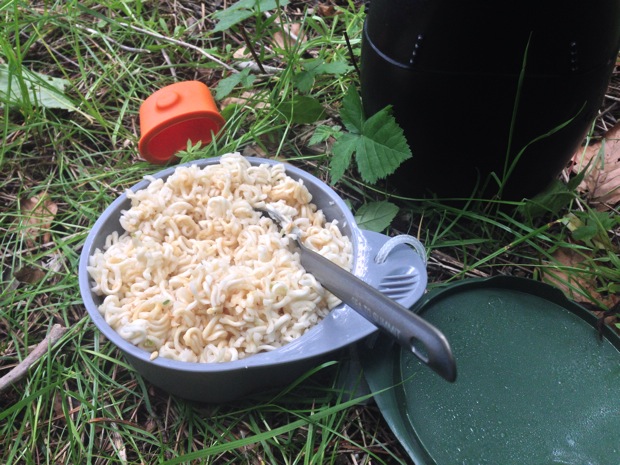
Success though, the mug is full but the noodles are completely rehydrated.

There are a couple of good reasons to use this mug:

  • it is more stable than the current beaker – less chance of knocking it over and spilling food and drink in my tent
  • the sipping lid will keep my drinks warmer, longer

However:

  • the lid, unlike the beaker, is not water tight – at the moment I put the sealed beaker into my sleeping bag using it as a pot cosy, I will no longer be able to do that
  • the volume is smaller than the beaker

Conclusion

I think this will make a good addition to my lightweight kit, because of the extra flexibility.


Lunch – Spires and Steeples walk Read More »

Launch of the JK Sonics Adventure First Aid Kit tonight

Nick launched the Adventure First Aid Kit at the Business Club tonight.

Nick and I have been developing this kit over the last few months to be a lightweight kit for adventure activities in the UK. The brief was to meet those small first aid needs, cuts, stings, burns etc that happen when outdoors but to also provide enough equipment to stabilise a more serious casualty until help arrives.

I will run a more complete review of the kit, complete with photos and a detailed contents list, later this week.

Click this link to go to the product page on the JK Sonics website.

Launch of the JK Sonics Adventure First Aid Kit tonight Read More »