Backpacking

MSR Hubba Tent – test

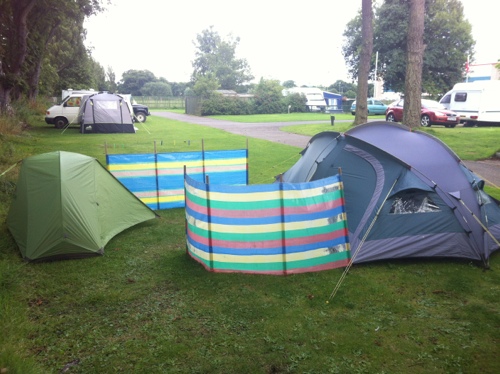
I put the Hubba tent up again last night – and slept in it to try it out. That left Jeremy on his own in the other tent, which he thought was alright, and as I could hear him texting with Sakira late into the night, he must have been pleased to get rid of me.

20120824-073938.jpg

20120824-074012.jpg

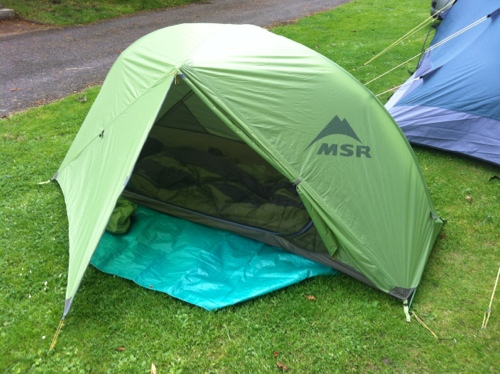
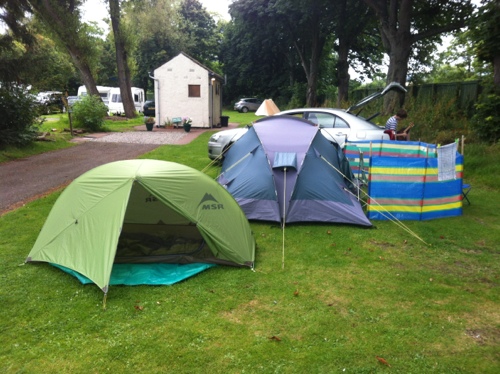
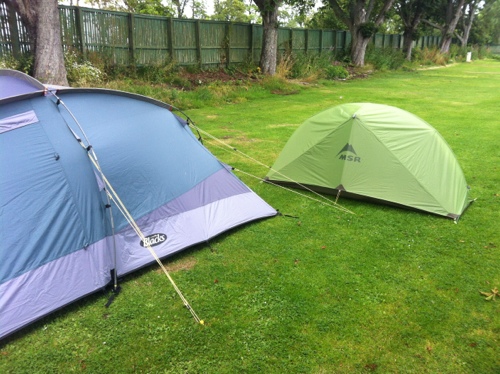
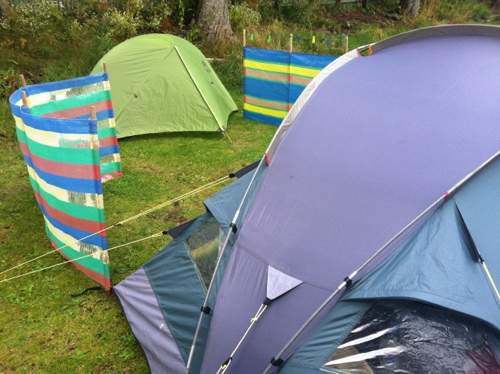
The above shot shows the profile of the tent, with the back pulled out, the large porch and the sleeping area. I added the high visibility guy at the back so I will have somewhere to hang my tea towel etc to dry. It is attached using a lightweight plastic carabiner, so it can be removed.

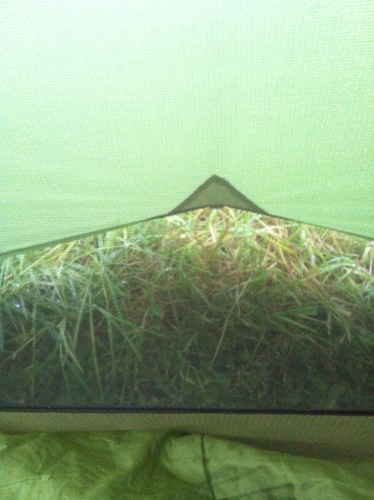
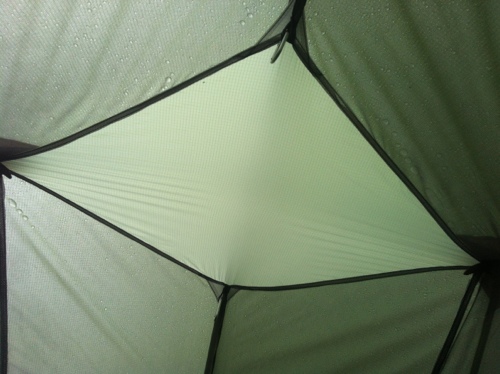
The inner tent is made of netting so you get a good view of the inside of the flysheet. The rear of the flysheet is lifted higher than you would expect to aid with ventilation. To keep the weather out the ground sheet comes up much higher at the back.

20120824-075536.jpg

looking out the rear of the tent – the ground sheet edge is higher than my three season sleeping bag

As with nearly all one man tents the condensation overnight is quite high. The the inside of the flysheet was very wet when I got up but the inner tent was dry.

There is a two-way zip on the flysheet door to help with ventilation – and I left the top unzipped by about 20 cm, but the gap this left was small, so I am not sure if it helped much,

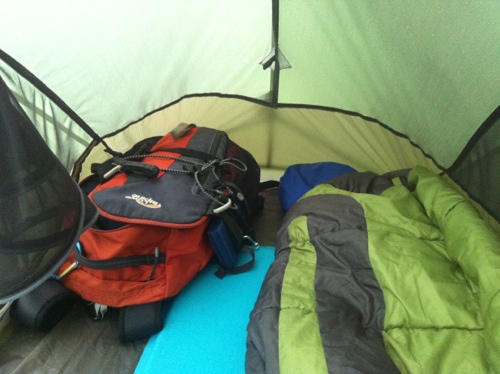
Inside, for a small tent, there is plenty of room for one person and some equipment – on a backpacking trip the main pack will have to stay in the porch. I could comfortably sit up and move around inside the tent, easily reaching my kit stored at either end. When backpacking I carry a small tarp (1m square) this will be useful to have in the porch to extend the living space. I will probably cut the tarp to fit the porch space.

20120824-081347.jpg

my 22l daypack at the foot of my bed – the full length sleeping mat is well clear of the end of the tent giving plenty of room for tall people or equipment

The above shot may give the impression there is room for two people in the Hubba – there is not, it is one person wide.

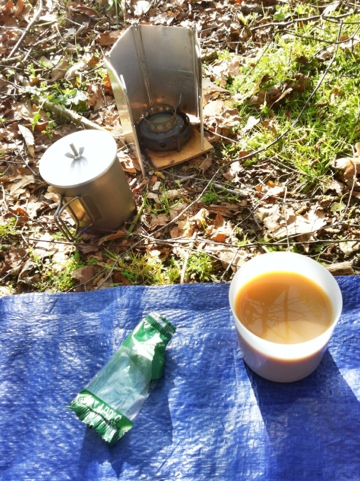
The porch is very deep making it a long reach to close the door zip right to the bottom, but giving plenty of useable storage and living room. I brewed my early morning coffee in the tent, taking care to light the stove on its lowest gas setting and with the mug already on the stove.

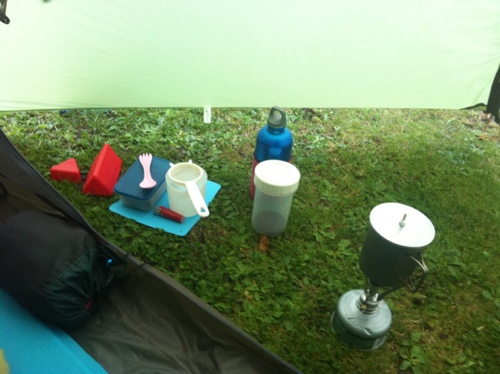
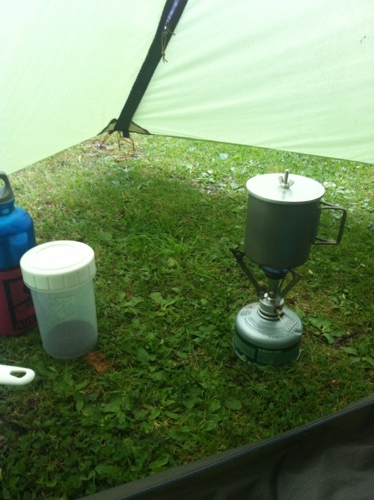
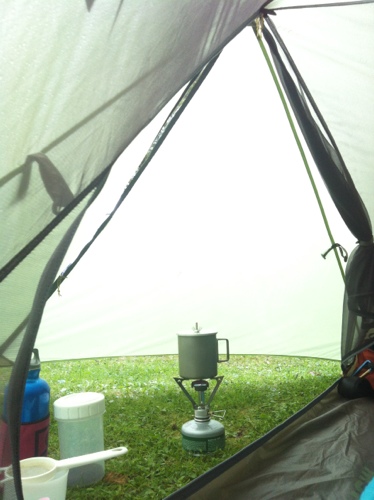
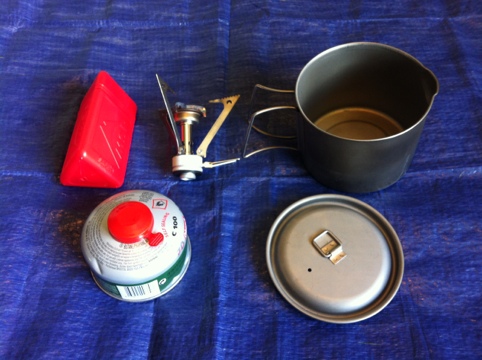
These shots show the amount of headroom in the porch, allowing for cooking inside, if the right equipment and care is used. I fitted my MSR Pocket Rocket stove to a 100g gas bottle to lower the height and set it back into the highest part of the tent without getting too near to the inner tent. The inner tent door was securely fastened back whilst using the stove and the area around the stove kept clear.

20120824-082601.jpg

20120824-082645.jpg

20120824-082719.jpg

the above shots show the room in the porch and my MSR stove set up using my MSR titanium mug with kid

I would not use my meths stove inside the closed porch

It had been raining for most of the night and was still raining whilst I made the coffee and the Hubba kept me and everything inside dry. I was unable to conveniently use a stove in my old backpacking tent due to its wedge shape – the domed, high headroom of this tent addresses that problem for when I am backpacking in bad weather.

I unzipped the double door zip to give extra ventilation whist making the coffee.

20120824-083336.jpg

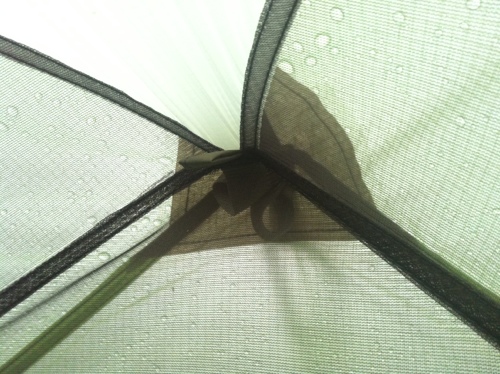
The tent is made to the highest standards, I could not find any seam stitching faults. All the strain points are well reinforced without adding to the weight too much.

20120824-083630.jpg

20120824-083706.jpg

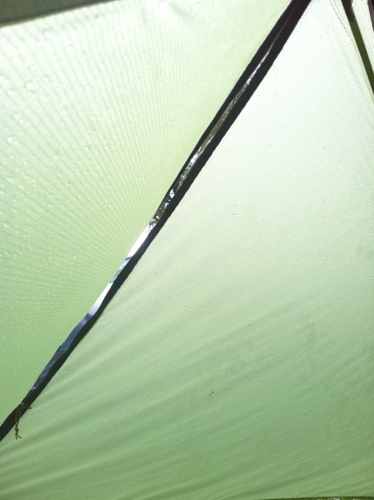
The light green colour is discreet for wild camping but still allows for plenty of natural light to get in.

20120824-084102.jpg

you cannot miss that this is an MSR product

So after one night (in the rain) I am very pleased with the MSR Hubba, I had a comfortable dry night in it – and it addresses the issues with my old backpacking tent:

  • small packed size and light weight
  • a porch suitable for using a stove in
  • bad weather design
  • enough living space
  • good headroom to sit up and move around in

The down side with all small tents is the condensation – I will have to see how this works out when I am backpacking and having to pack the flysheet away wet in by rucksack for the day.

MSR Hubba Tent – test Read More »
New Backpacking Tent – MSR Hubba

Just before coming away I bought a new tent – a lightweight, one person MSR Hubba. Because the tent can be erected without pegs, I had put it up in our living room and in a friend’s conservatory but today was the first chance to put it up outdoors and pegging it out.

20120819-202304.jpg

20120819-202339.jpg

20120819-202359.jpg

It came with six light alloy stakes but I have replaced these with eight titanium hooked pegs. It takes just six pegs to put the tent up, the extras are, a second peg for the door and one for a rear guy line. This guy was not supplied with the tent but I am going to add one for stability in windy conditions and also to use as a line for drying equipment on.

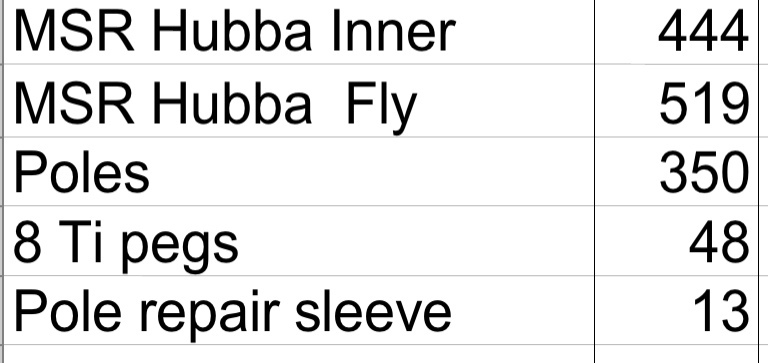
Here are the weights in grams – total is 1374g.

20120819-205558.jpg

This is much lighter than my previous backpacking tent (a Coleman Bedrock II) and it packs much smaller. This packed size was the most important reason for changing my tent as it now gives me more useable volume in my Golite Jam backpack, for food and equipment on multi-day trips.

Compared to the wedge shaped Coleman tent it has more useable space as the porch is larger, although the floor area in the inner tent is smaller. However with the arched shape I can comfortably sit up in the centre of the tent and safely use my MSR Pocket Rocket stove, on a 100g gas bottle, in the shelter of one on the doors – and if the wind changes direction (as it did a few weeks back when I was camping at Dunbar) I can use the other door.

The tent is simple to put up – but I was doing it in no wind – on a windy mountain it would be a bit more “flappy”!

I was going to sleep in it tonight but after getting the tent up there were a number of strong rumbles of thunder, so rather than have a wet tent to deal with in the morning, I packed it away and will use it overnight, later on this holiday.

There was a little light rain, not a storm, just enough to make things damp but it stopped after twenty minutes, so I could have used the new tent.

New Backpacking Tent – MSR Hubba Read More »

New Equipment

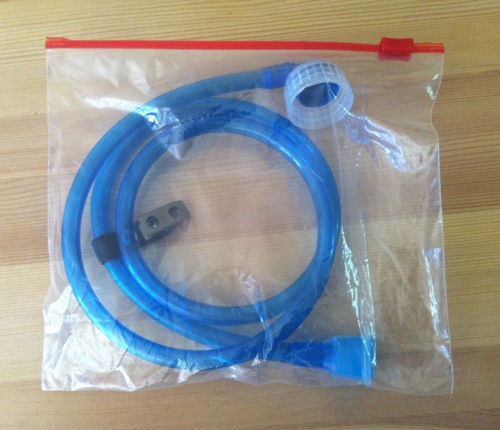
When I was in Wales the other week I bought a drinking tube kit for my roll up, 1l Platypus bottle. I have a Camelbak water bladder but I have had trouble with it going mouldy between trips – even though I have a Camelbak cleaning kit and hanger, which I use and I take care when drying it out. I now store the Camelbak with water in it and the air squeezed out. On the other hand I I have had no trouble with the roll up Platypus bottle – again I take care to dry it out before storing it away. The drinking tube kit will convert any Platypus roll up bottle into a bladder system – I can use it as a drinking system whilst on the trail and easily use it as a water bottle at the campsite.

20120812-101626.jpg

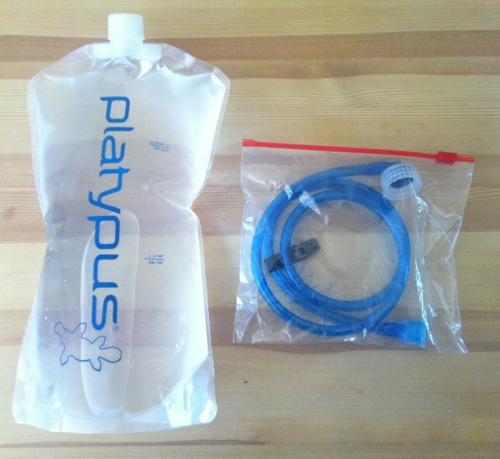
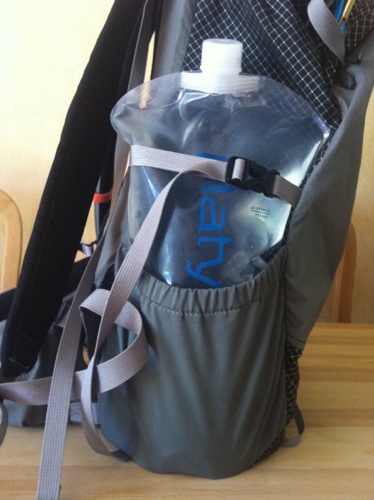
Next month I am planning a wild camping trip to The Old Man of Coniston – when I will need to carry the water I will need for overnight – so I have bought another Platypus, a 2l version for extra water storage.

20120812-102622.jpg

Here it is stored in my GoLite Jam backpack.

20120812-102859.jpgl

New Equipment Read More »
Overnight trip to the Old Man of Coniston

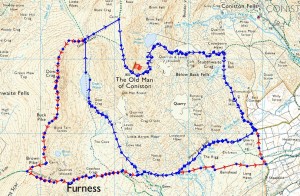
Next weekend I am planning a backpacking trip to the Lake Dustrict, with a couple of friends, to walk up the Old Man of Coniston with an overnight camp – depending on the weather. (Click on the map for a larger version).

Old Man of Conniston

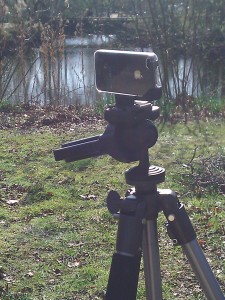
The main reason for going away is to spend the weekend taking photographs – so we are taking a tripod with us and I am going to try my hand at some video on my iPhone. I have a bracket to mount my iPhone on a tripod.

iPhone on a tripod

This weekend I have been sorting the gear.

  • I will get to try out my second inflatable pillow!
  • I am going to take my MSR Pocket Rocket stove with a 100g cannister – I have not yet used it on an overnight trip
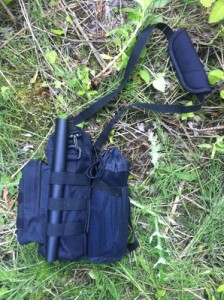
  • I am going to test using a Molle water bottle pouch to carry my lunch and brew kit – fixed to the hip belt or compression strap on the Golite Jam2

Molle Water Bottle Pouch

  • I am going to pack the titanium meths stove and 50ml of meths in the Molle pouch – for hot drinks whilst walking

Food for the trip

We are going to start walking after lunch on the Saturday

Saturday

  • On the trail dried mango slices and salted cashew nuts
  • Instant white coffee – I can make a brew whilst waiting for the light to change for that perfect photograph

Evening meal

  • Smoked Sausage
  • Tortilla x3
  • Onion Gravy
  • Instant custard and chocolate chip cake
  • Tea

Indian tea (with milk and brown sugar) wafer biscuits
Hot chocolate, wafer biscuits

Sunday

Tea and biscuits  whilst still in my sleeping bag

Breakfast

  • Cereal bars
  • Breakfast biscuits
  • Crackers and jam
  • Apple flakes
  • Tea

On the trail dried mango slices and salted cashew nuts

Extras

  • Boiled sweets, apple flapjack bar
  • 2x instant peach teas (use hot or cold)
  • 15ml of dried milk 2x sugar packets 2x pepper packets 1x salt packet 1x tomato ketchup sachet
  • 1 oz Southern Comfort
  • Tissues

Emergency Food – Glucose tablets

Water

  • 1l in my CamelBak for the walk – this should be enough for both days as we are not walking far
  • 1.3l for evening meal
  • 0.7l for breakfast
  • 0.9l for extra cups of tea and cleaning

I am going to store some water in the car so I can drink before setting out and on my return.


Let’s hope the weather is good enough!

Overnight trip to the Old Man of Coniston Read More »
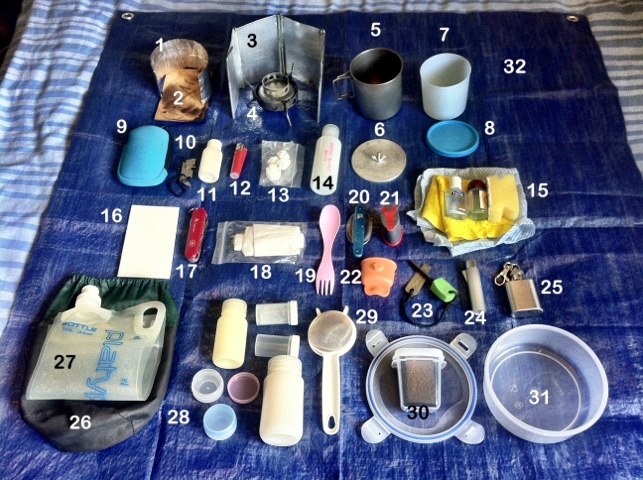
Annotated Kit Photograph

20120514-083427.jpg

1 Aluminium foil wind shield – wraps in close around the stove for really windy weather
2 Stove board/stand – it protects the grass and makes a stable base for the stove.
3 Half aluminium wind shield – I bought a wind shield, cut it in half and removed a panel to make it fit better around this stove and mug
4 Vargo Triad XE Alcohol / Fuel Tab Titanium Stove with a copper mug support
5 MSR Titanium mug – mug and cooking pot
6 Aluminium lid for the mug
7 & 8 Small Beaker with lid – second mug when the titanium mug is being used as a pot. The lid makes it a useful storage jar and it is just big enough to rehydrate a 65g pack of noodles in.
9 Small Brew Kit
10 Army style tin opener
11 25ml bottle of dried milk
12 Refillable gas lighter – it has a stronger flame than a disposable lighter
13 2x fuel tablets – emergency fuel
14 Methylated spirits- in a clearly marked bottle – packed in a ziplock bag to protect the other equipment from leaks.
15 Washing up and Hygiene
– Alcohol hand cleaner – hygiene is essential when camp cooking
– 20ml Multi-purpose bio-degradable soap – for washing up, cleaning clothes or person. I decant some into a shampoo bottle that I got from a hotel
– 1/4 Pot sponge
– Hi absorbent cloth – for drying up
– Kitchen cloth
16 Plastic Cutting board – this is made from a plastic wall tile cut in half – 5cms x 12cms. Some kind of chopping board is often overlooked, having something to cut on saves other bits of kit, lids or plates getting damaged. I have several of these tiles in my camp box when one gets too badly scratched up I will replace it.
17 Victorinox Camper SAK – cooking knife, tin and bottle opener as well as an all round camp tool.
18 Paper towels in a small ziplock bag
19 Small LMF spork – this is a double ended utensil with a real fork at one end and a real spoon at the other. A true spork is not very good at getting the last drops of gravy out of a bowl or for hooking up a forkful of noodles.
20 Camp folding spoon and knife
21 Three section spice pot/shaker
22 GSI pot lifter
23 LMF ferro rod and striker
24 Spare gas lighter
25 1oz Single Malt Whisky
26 Stuff sack that holds most of this equipment
27 1l roll up water bottle with sports top for easy pouring
28 Selection of small pots and bottles to carry, dried milk, peanut butter etc
29 Coffee maker/tea strainer
30 Air tight canister for fresh coffee
31 600ml bowl with a clip on lid – this is large enough for the meals I make, but it also serves as a container for transporting more fragile food whilst walking.
32 1m square lightweight tarp – for putting on the ground and making a clean cooking area

Not shown in the photograph

  • Tea bags and sugar packets in the brew kit
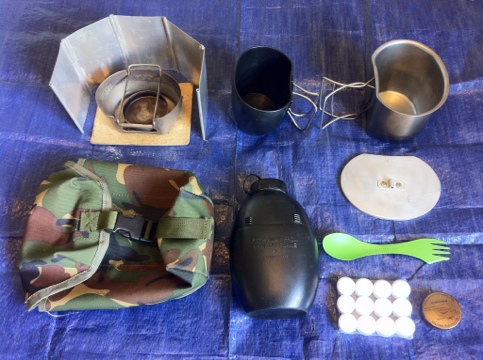
  • 58 Pattern British Army water bottle
  • Plastic food bags with wire ties used both for food storage and for packing rubbish out

Annotated Kit Photograph Read More »
Gear that worked – Gear that didn’t

Inflatable Pillow

I’ll start with the failure – the inflatable pillow. It started off alright, it was comfortable, but that soon decreased as the air slowly leaked out from the valve. Luckily it only cost me a pound. I dumped it in the bin before leaving the campsite – however I will be looking for a better quality inflatable pillow as the idea was good.

Peanut Butter

I have seen in other backpacking blogs that in the US peanut butter, in single portion packets, is easily available in supermarkets – I have found it online in the UK but not for a price that makes it a viable purchase here.

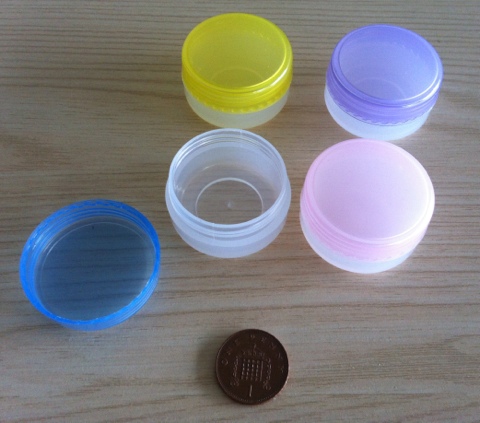
I have been on the lookout for some small containers to portion jam, honey and peanut butter in to, and last week I found these in Boyes, in Lincoln at 89p a pack of four.

20120507-103719.jpg

The pots have a very secure high thread so they can be filled to the brim. I filled two with peanut butter for this weekend and found one pot was enough for four crackers at lunchtime.

So these are a success.

Beaker or bowl

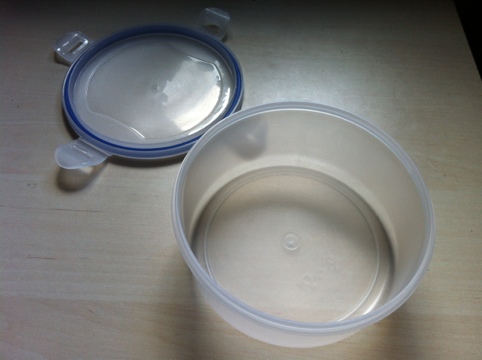
I have swapped the screw top beaker for a 600ml bowl with a snap top lid.

20120508-165800.jpg

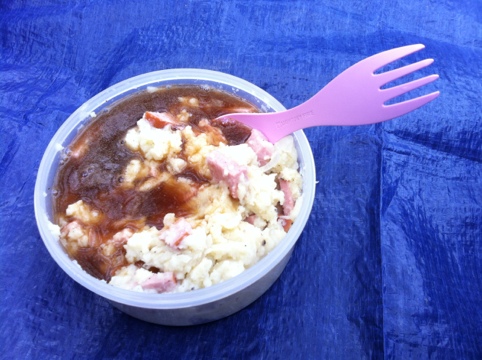
It is much larger which was needed to make the sausage and mash dinner.

20120507-131812.jpg

I have gone back to carrying the lightweight beaker that fits inside my titanium mug, so I can have tea whilst cooking. The titanium mug with a lid still makes an excellent “one person kettle” and a mug. I can use the titanium mug almost straight from the stove – I have a GSI pot lifter to hold the handles in when I lift it from the stove (and to handle the lid and wind shield when hot) but by the time I make my tea or coffee in the mug the handles and mug lip are cool enough to hold and drink from.

20120507-123627.jpg

Gear that worked – Gear that didn’t Read More »